Background Layer in Photoshop
In this Photoshop tutorial, we will discuss about Background Layer in Photoshop.
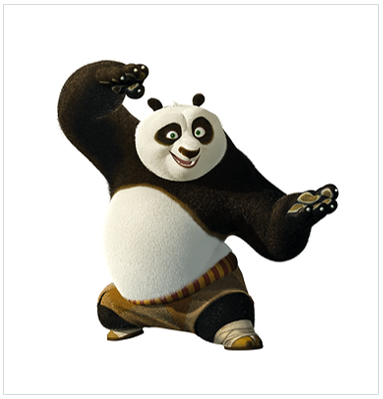
Suppose we have below three images. Each image has different background. First image has white background, 2nd has Red background and 3rd image has no background.
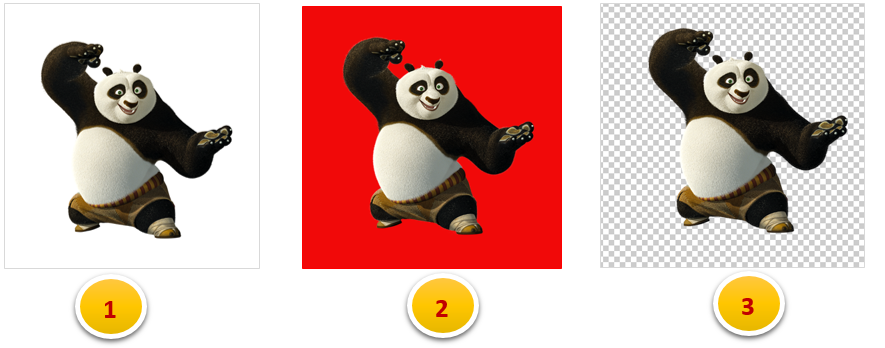
Background Layer plays an important role in creating above images with white background/ colored background / transparent background. Let’s see in below examples, how we can do it.
Example-1: Create an image with White background
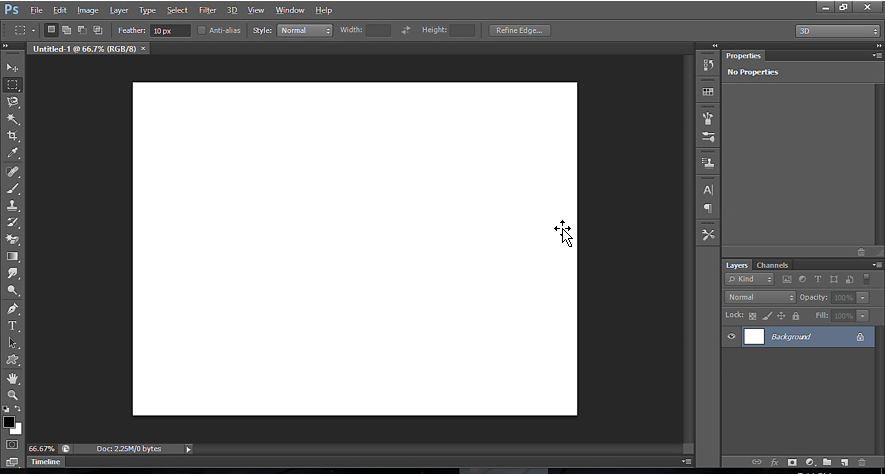
Open Photoshop application and create a new document. Select Background content as White.

Below is how the Canvas look like.
Drag Panda image from your desktop to canvas as shown below and click on accept icon to place it.
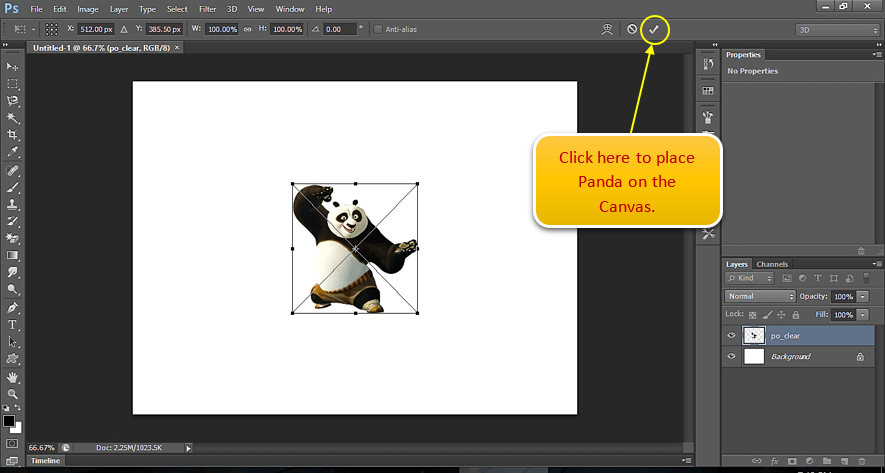
Below is the Output Panda with White background
Example-2: Create an image with Colored background
Open Photoshop application and create a new document. Select Background content as background color.

When we select background content as ‘background color’, then the application checks the color settings of Photoshop application.
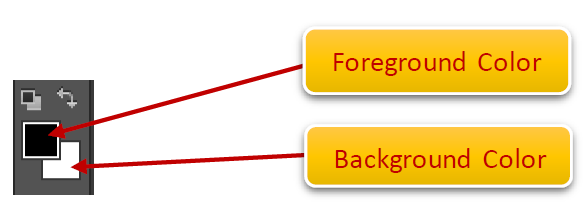
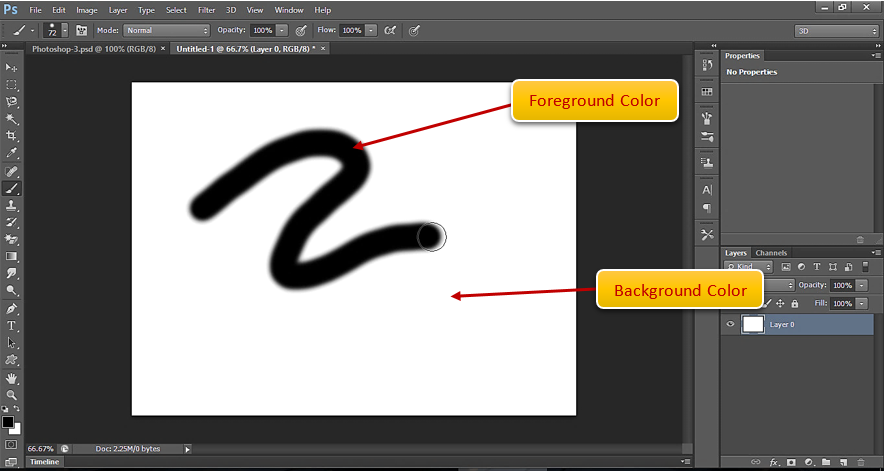
As per Photoshop default color settings, we get background color as ‘White’ and ‘Foreground color’ as Black. We can see the color settings at the bottom of Toolbar panel.
Due to above color settings, we get the canvas background color as White and content on the canvas as black.
Change color settings in Photoshop to get a colored background
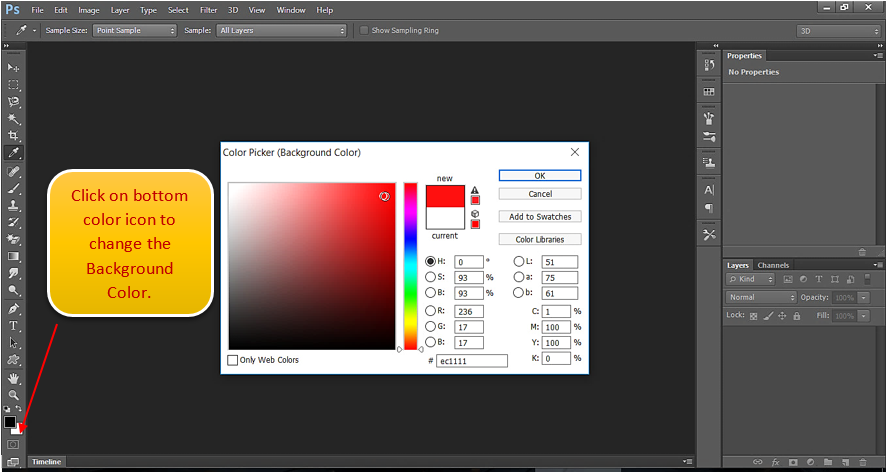
Suppose we want our canvas to be of Red. For this we need to change the color settings. Click on the color icons as shown below to change the background color. When we click ono the color icon, it opens a color picker window. Select the Red color and set the background color as Red.
This is the final color settings:

Now open a new document with this color settings. Select Background contents as Background color.
Below is how the Canvas look like.

Now drag the Panda image on the canvas.

Below is the Output - Panda with Red background

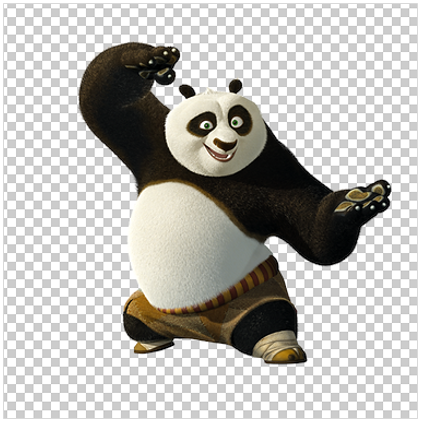
Example-3: Create an image with Transparent background
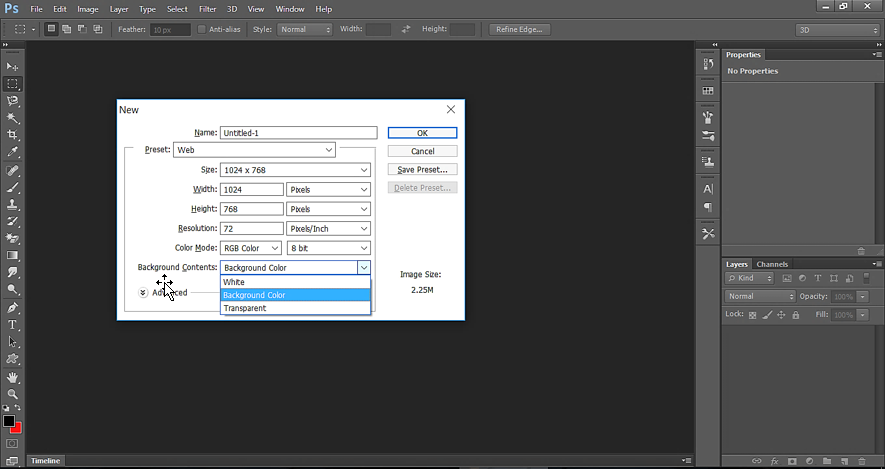
Open Photoshop application and create a new document. Select Background content as transparent.
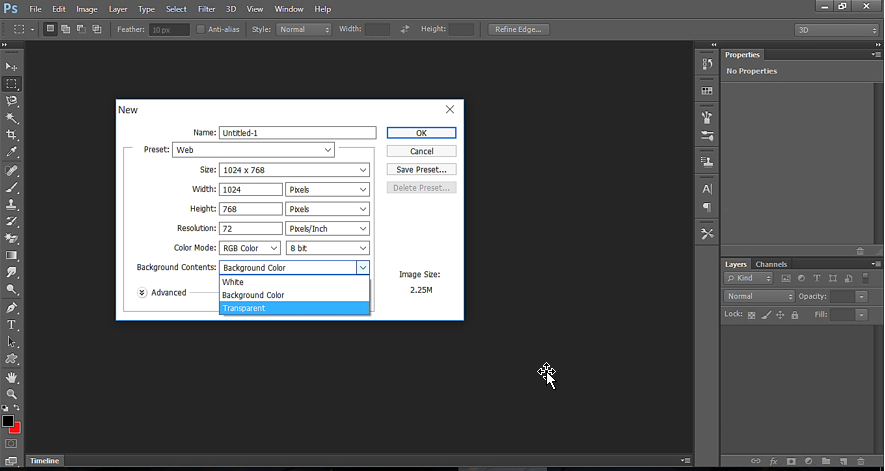
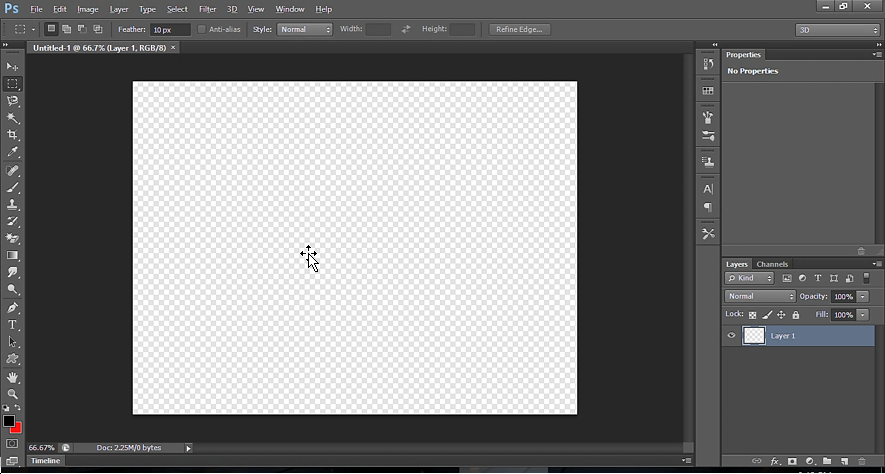
Below is how the Canvas look like.
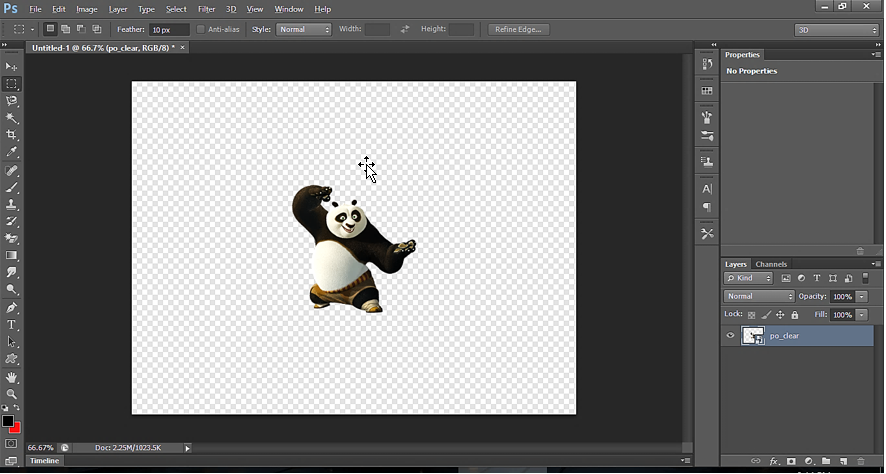
Now drag the Panda image on the canvas.
**Note:
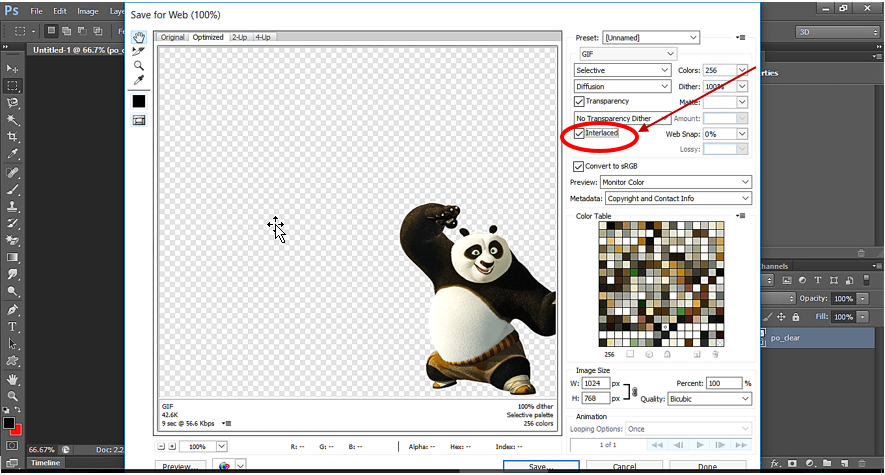
Image with transparent background should be saved with Interlaced feature on, else we won’t have the final image with Transparent background.
To save the image with Transparent background, go to File -> Save as, then check the Interlaced box as shown below. Finally click save.
Below is the Output - Panda with Transparent background