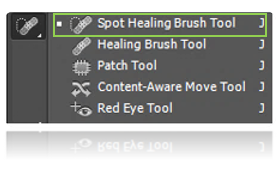
Spot Healing brush tool in Photoshop
Spot healing brush tool is used to heal the spotted area by using the sample color/shading/luminosity/texture of its surrounding area. It can be used to remove spots, blemishes on an area. Spot healing tool paints the affected area by picking the color/texture/luminosity of sample area.
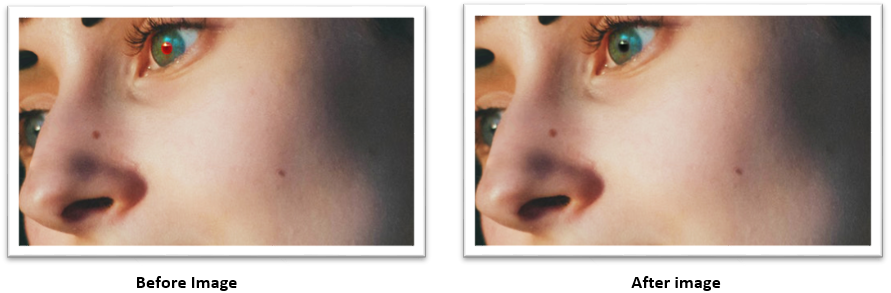
Spot healing brush example in Photoshop
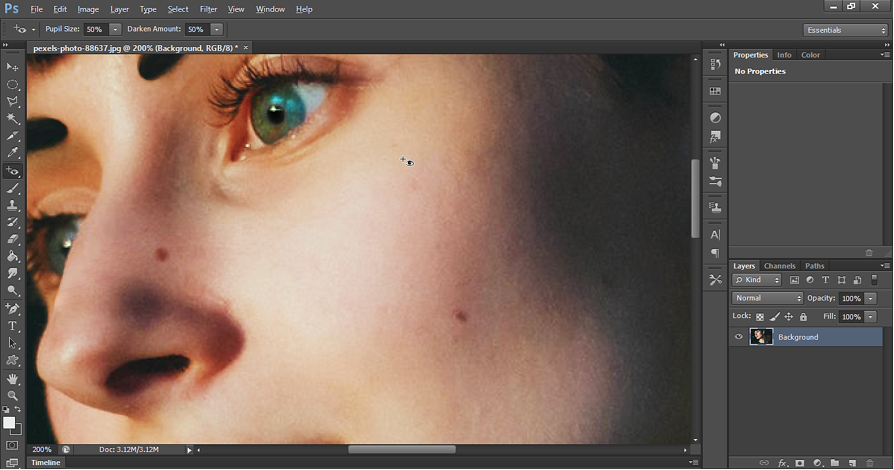
Let’s open below image in Photoshop application.
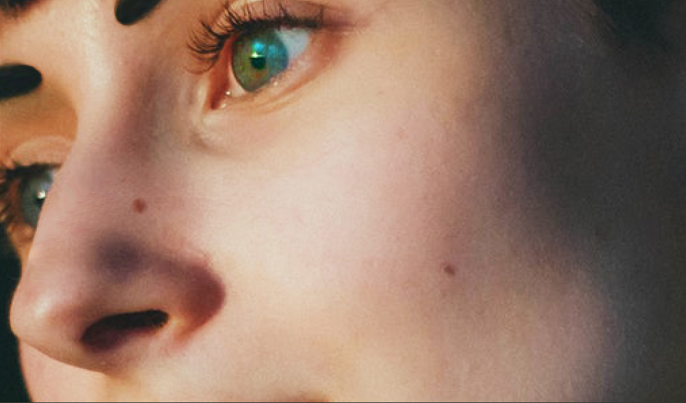
In above pic, we are going to remove moles appearing on the right face using Spot healing tool.

How Spot healing brush tool works:
As discussed earlier, Spot healing tool heals the spotted area by using the sample color/shading/luminosity/texture of its surrounding area.
To use Spot healing tool, we can simply click on the spotted area. When we do so, it will check the color/tone/shading/luminosity/texture of surrounding area and copies the same to the spotted area.
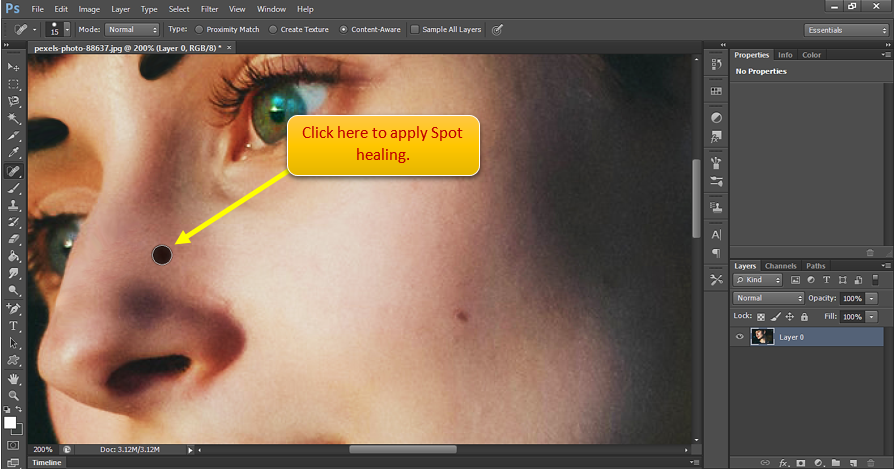
Let’s apply spot healing brush tool on the mole at nose area. We can decrease the brush size by typing [ on the keyboard and to increase we can type ] on the keyboard. Adjust the brush size so that it covers the spot completely as shown below:
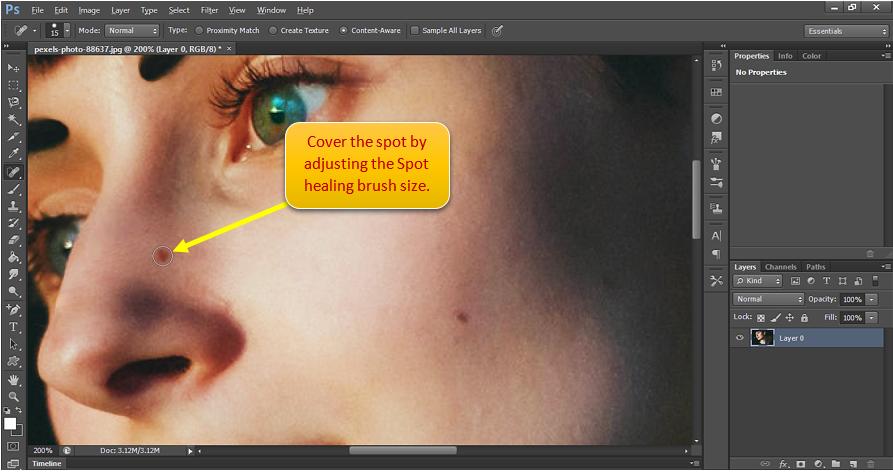
Once we have the spot healing brush covering the Spot, just click on the spot area and we are done.
Below is how the face looks like now:

We can apply the Spot healing brush in another way.
We can put the cursor in a sample area around the spot and then start dragging the cursor until it crosses over the spot, we want to remove.
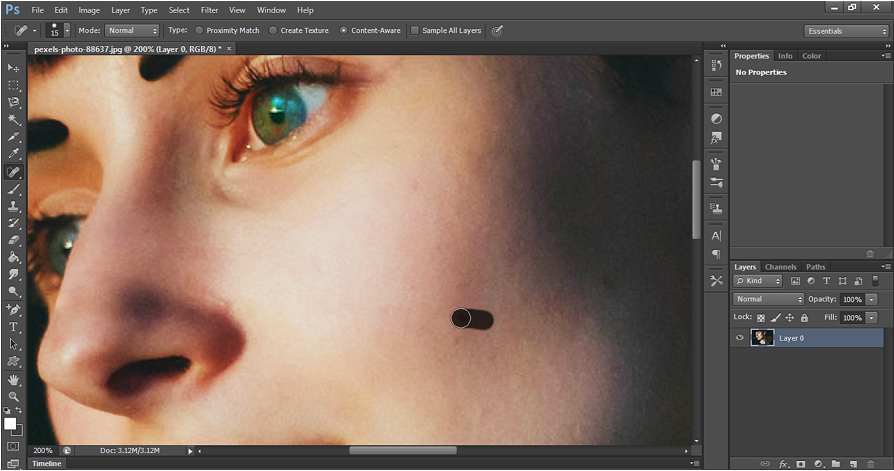
When we drag the cursor from the sample area, it takes the attributes of sample area and copies to the spot area, making it same as the sample area. See how we drag the brush.
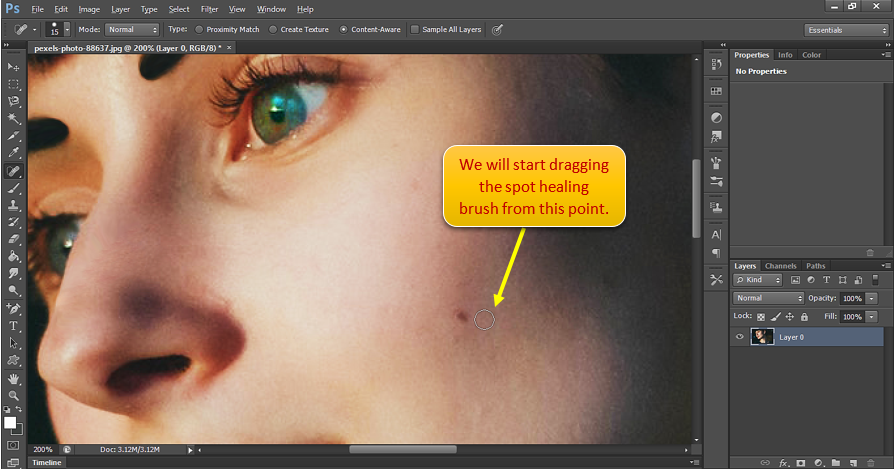
Below is how we drag it to cover the spot.
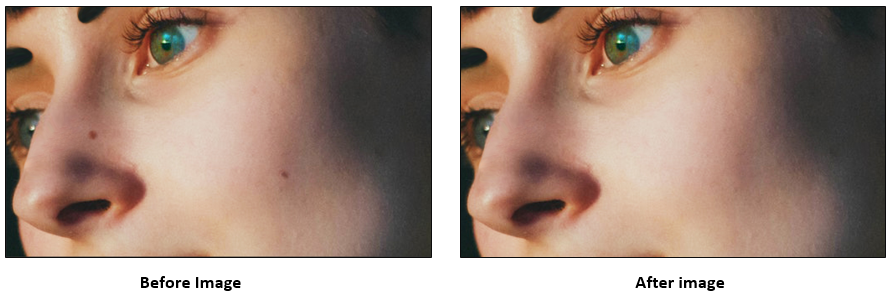
Finally, we get below output by using Spot healing brush tool:

Spot healing brush tool Output:
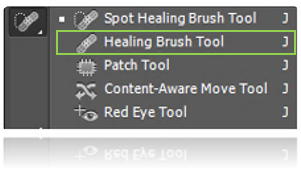
Healing brush tool in Photoshop
Healing brush tool  can be used to remove spots, blemishes on an area. Healing brush tool removes the spots by applying the color/tone/shading/luminosity/texture of a sample area. We select the sample area as per our need. It can far away from the spot area.
Healing brush tool example in Photoshop
Let’s open the image in Photoshop application.
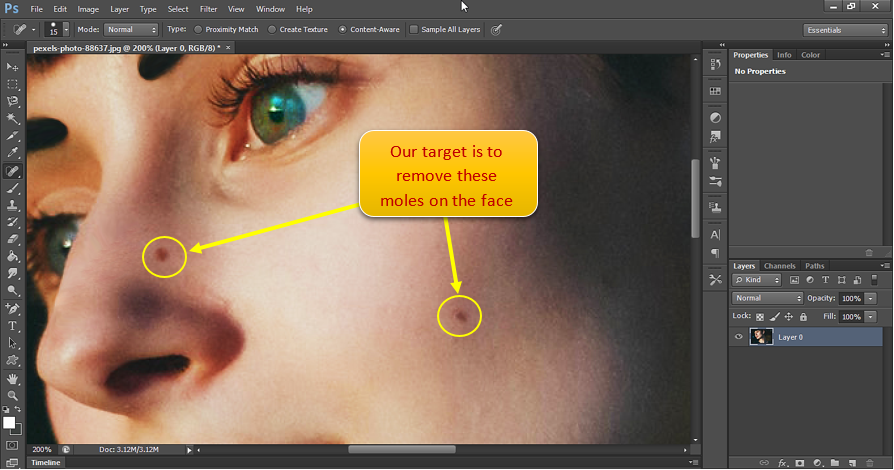
In above pic, we will remove moles appearing on the right face using Spot healing tool.
How healing brush tool works:
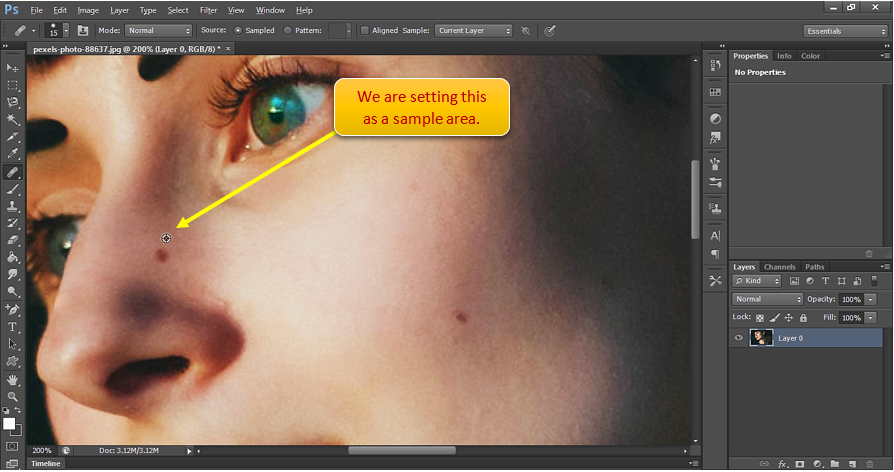
As discussed earlier, healing brush tool heals the spotted area by using the color/shading/luminosity/texture of a sample area. We need to manually set the sample area.
To set the sample area, just press Hold Alt key on the keyboard and then click on a place you want to set as sample area. While we do this cursor changes to  .
.
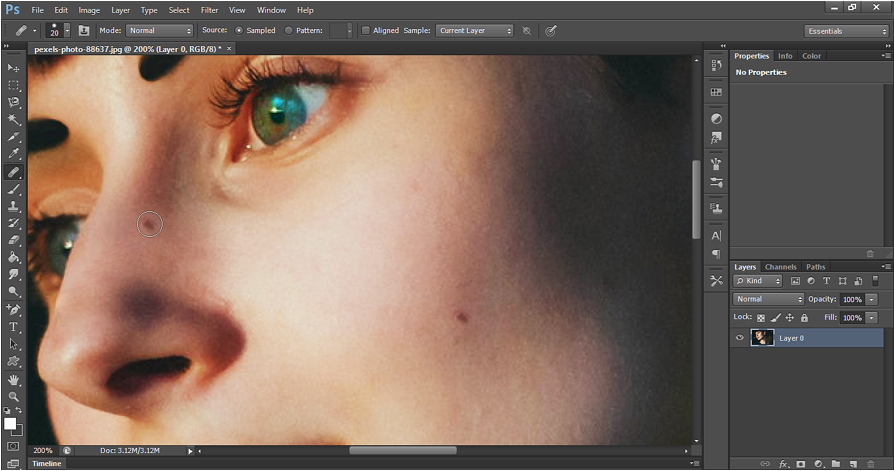
Now drag the cursor at the spot area and it applies the sample color/pattern on the spot area as shown below.

Let’s put the mole back on the nose. To do this, we will set the sample using Alt (Option key in Mac). While holding Alt key, click on 2nd mole on the face. To adjust the brush size, use bracket key on the keyboard.

As we drag the cursor, we can observe that the cursor carries the sample area color/pattern with it (i.e. we see a mole in the cursor). Apply it on the nose again by a single click.
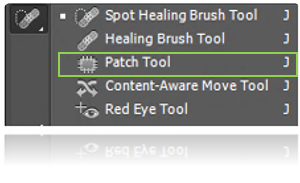
Patch tool in Photoshop
Patch tool  can be used to remove spots, blemishes or distraction in an image. Patch tool also works similar to healing brush tool. But in Patch tool, we define the sample area selection which can be a dissymmetric close path. The sample area selection for Patch tool work similar to the selection we do by Lasso tool.
As we know that the healing brush tool work area is symmetric in all direction and picks the pattern/color in all direction symmetrically. While in Patch tool, we can control the selection of source area and hence can have better control on the work area. So, we can use the patch tool for larger and more dissymmetric image.
Patch tool example in Photoshop
Let’s open below image in Photoshop application.

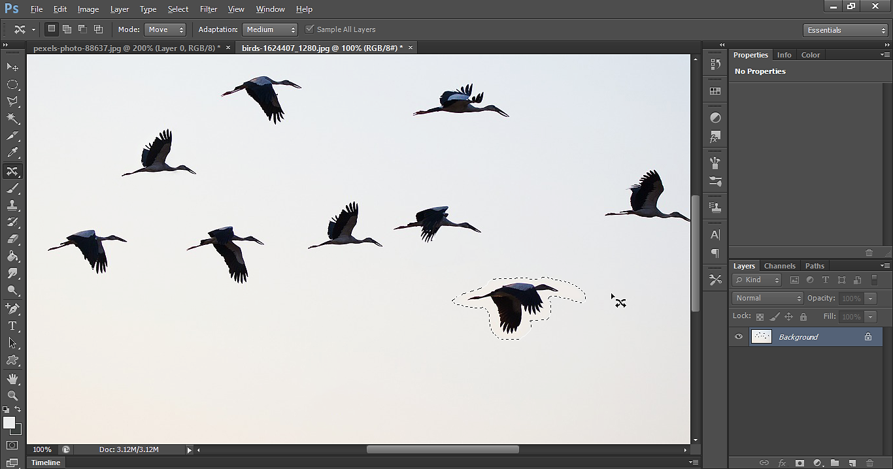
Now use Patch tool to make a selection of bird as shown below. In below pic, we are drawing a closed path around the bird using Patch tool.
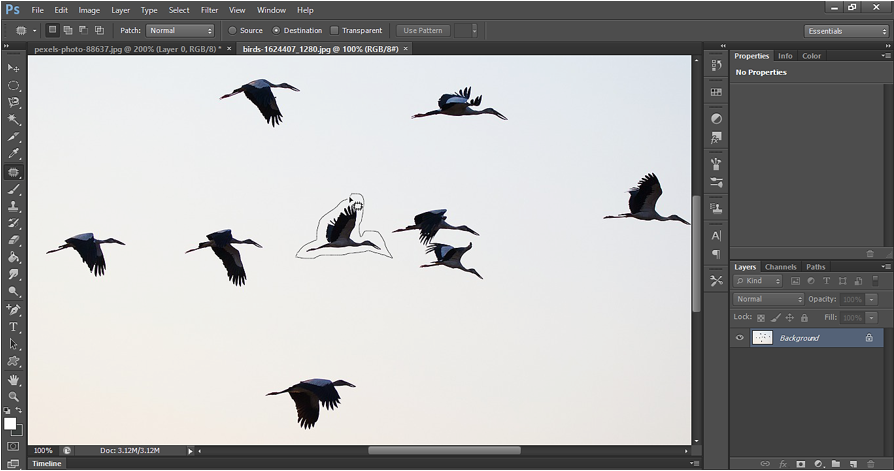
In Patch tool option bar, make sure Destination option is enabled as shown below.
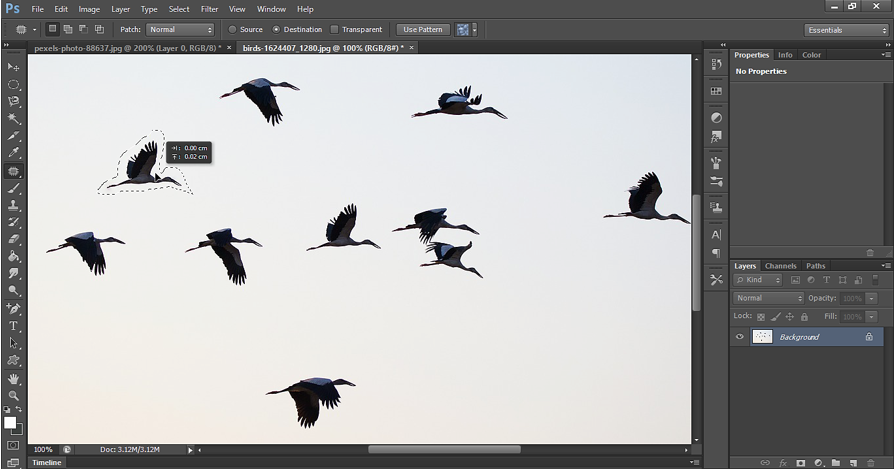
Case-1:
If the destination option is enabled, then we can move the source object to destination i.e. a new object is copied at destination for the selection of Source object.
Patch Tool Option bar settings:

See how we can cloned the bird in another location using Patch tool.
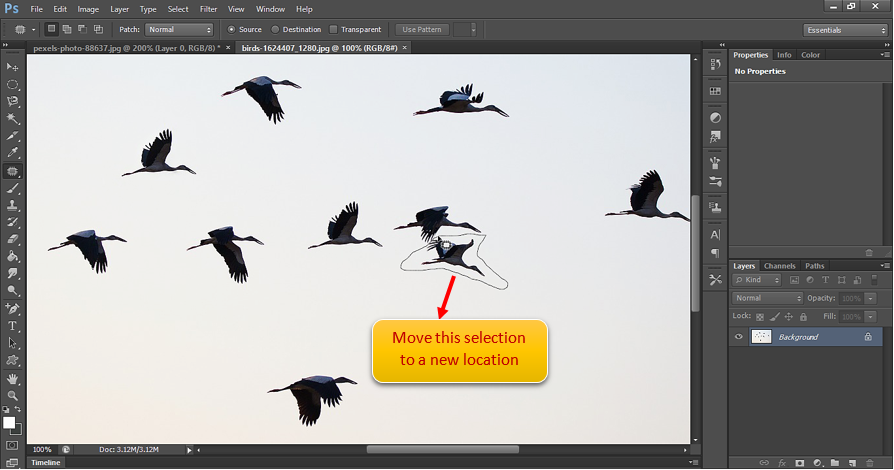
Case-2:
In Patch tool option bar, make sure Source option is enabled as shown below.
Patch Tool Option bar settings:

It works in reverse way as compared to Destination option. When we move the selection with Source option enabled then we actually move the Source to a new location. Whatever things is available in the new Source location is copied at the Destination source. The destination here will be the location where the initial selection was made.
In below image, we make selection of a bird with Source option enabled in Patch tool.
Let's move the bird now by dragging the mouse cursor to a new location on the canvas. Where-ever we release the mouse cursor, becomes the Source location for the object. In below pic, since the new location is sky background, hence the source location becomes the Sky background. Since the destination should be a copy of source, the background at source is copied at the destination.

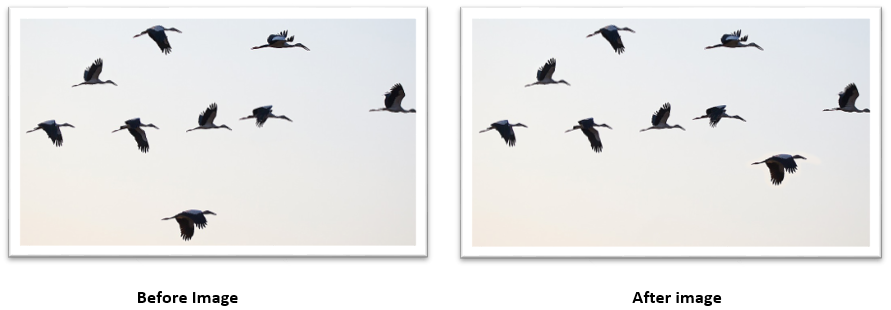
Below is how the final pic looks like on the canvas.

Patch tool Output:
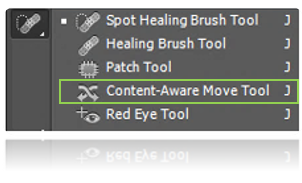
Content-Aware move tool in Photoshop
Content-Aware move tool  can be used to move an image segment from one place to another place while maintaining the background.
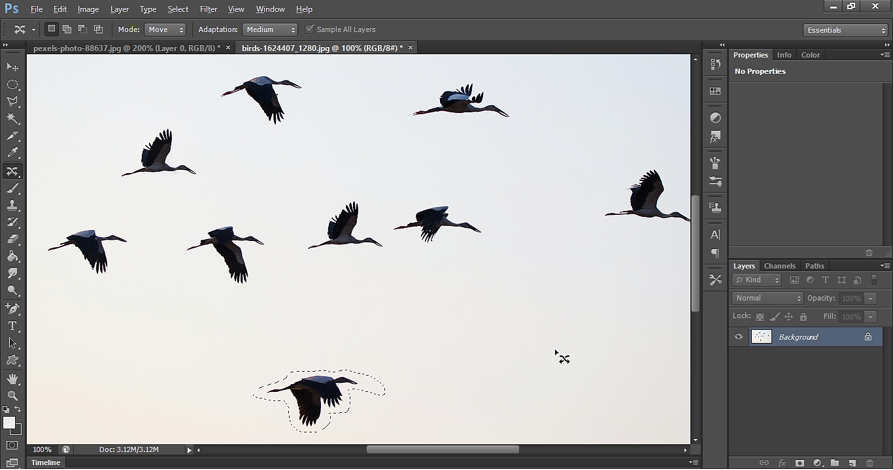
Content-Aware Move tool example in Photoshop
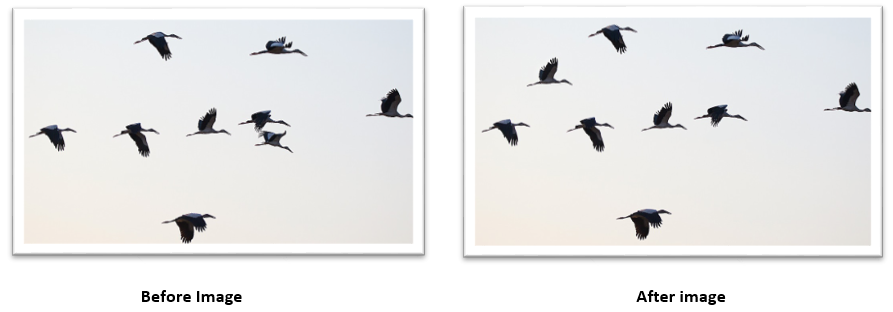
Let’s open the image in Photoshop application. Now make selection of a bird as shown below using Content-Aware move tool.
Now move the bird from one place to another place using Content-Aware move tool.
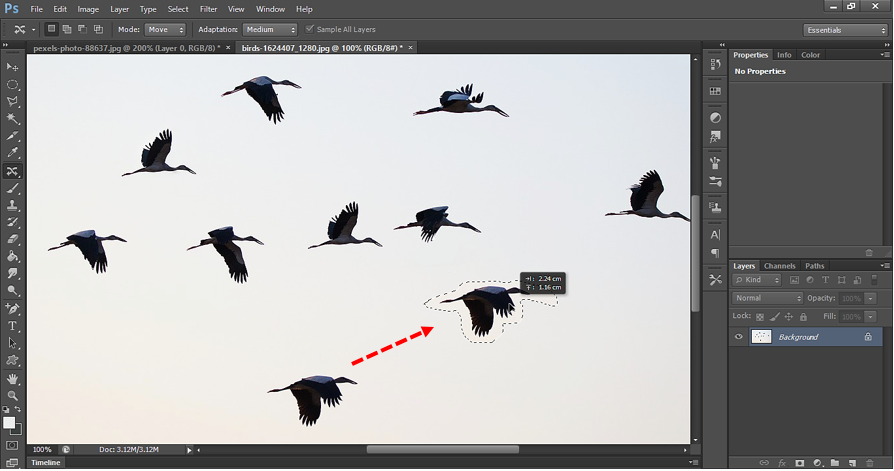
Below is how the image looks like after using Content-aware move tool.
Content-Aware move tool Output:
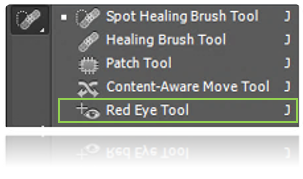
Red eye tool in Photoshop
Red eye tool  can be used to remove red eye effect in a photo.
Red eye tool example in Photoshop
Let’s open the image in Photoshop application. As we can see, there is Red eye problem in below pic. We can correct this using Red eye tool.
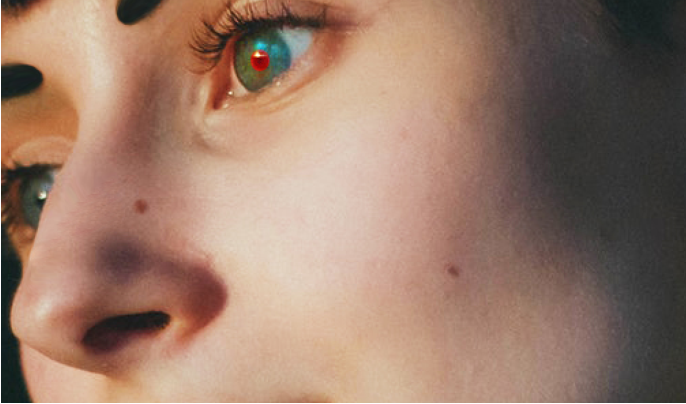
Just select Red eye tool and click on Red eye. It removes the red eye problem.

Below is the output.
Red eye tool Output