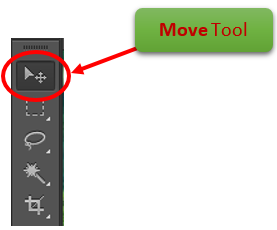
Move Tool in Photoshop
The Move tool  allows us to move a selection or Layer Contents by dragging it. It is also being used to Transform the selection.
Move tool is the very first tool in the toolbar. See below:
Example of Move Tool in Photoshop:
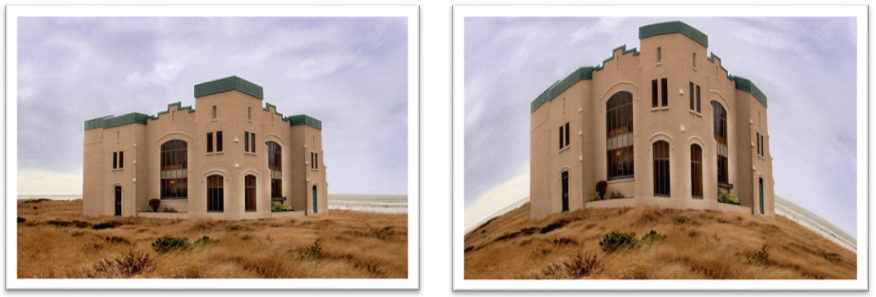
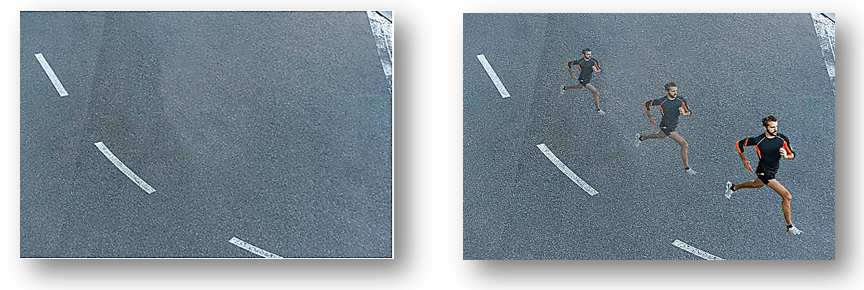
We will use below 2 images to illustrate the use of Move tool in Photoshop.
Image-1
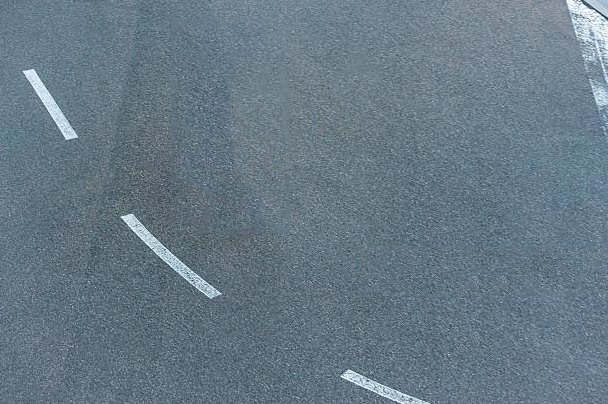
Image-2
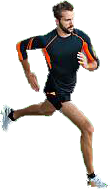
Let’s open Photoshop application and drag the “Road” pic from your desktop to Photoshop application. After that drag the “running man” pic from your desktop to Photoshop application. It looks like below:
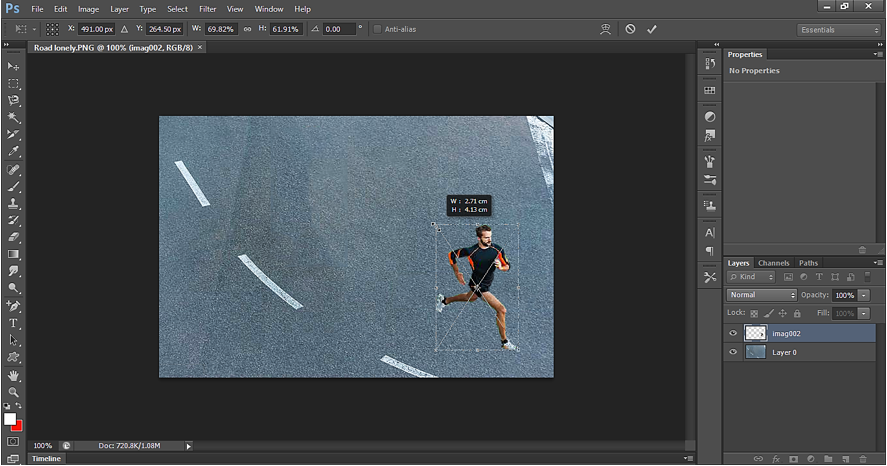
As we can see, we have transform tool activated here. We can activate it manually also by clicking Ctrl+T. by using the transform tool, we can resize the pic. After resize click on accept icon  to accept the changes.

Below is how it looks like.
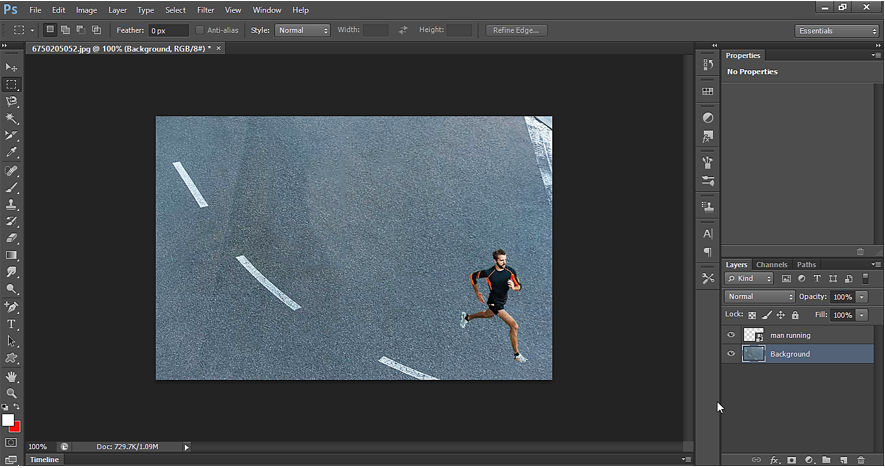
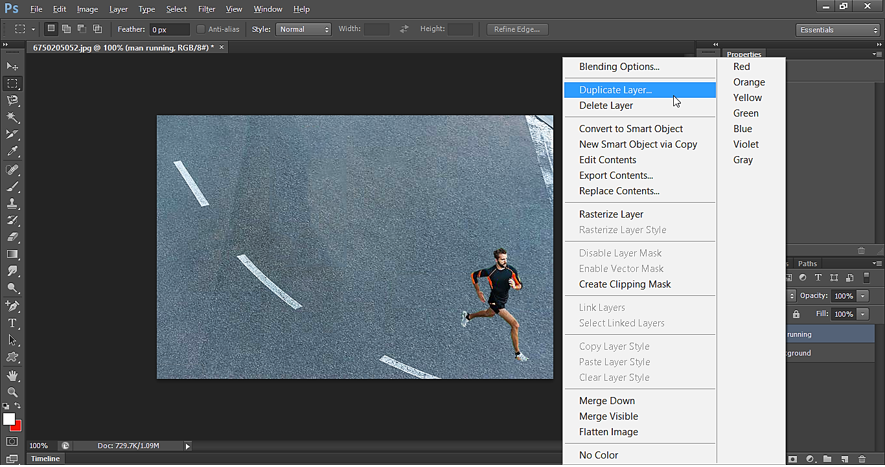
Now right click on the layer and click on Duplicate Layer.
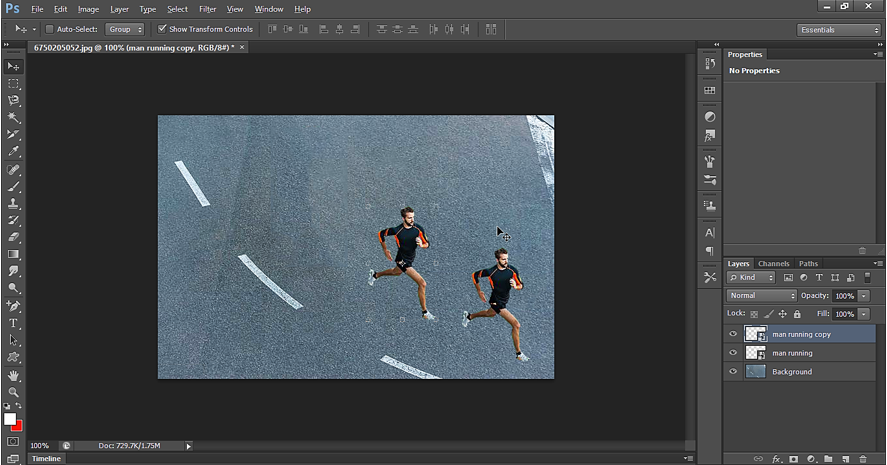
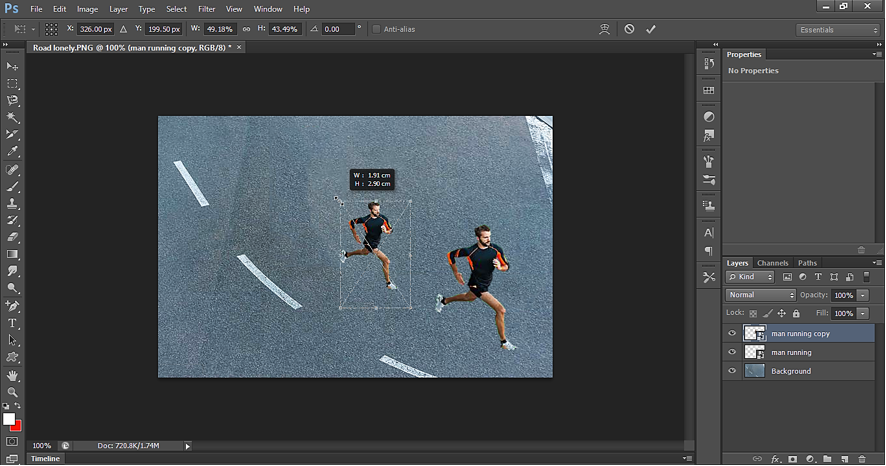
Now select duplicate Layer and then use move tool  to move the content of duplicate layer from one place to another on the canvas. As we can see below, we have moved the duplicate of running man to a new position.
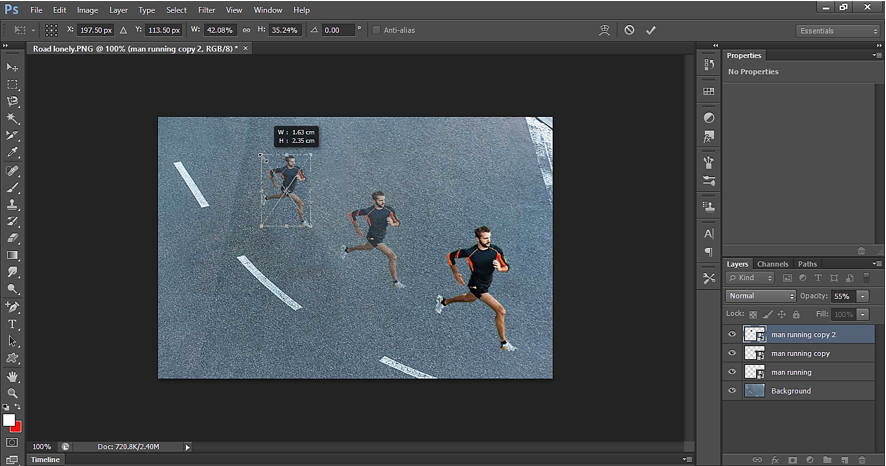
Now since we have the running man selected, we can resize it. As we try to resize it, we can see new option in the option bar i.e. Transform option as shown below. We use this to set width, height, rotation. We can see one Warp option. We will see example to Warp option in another example.

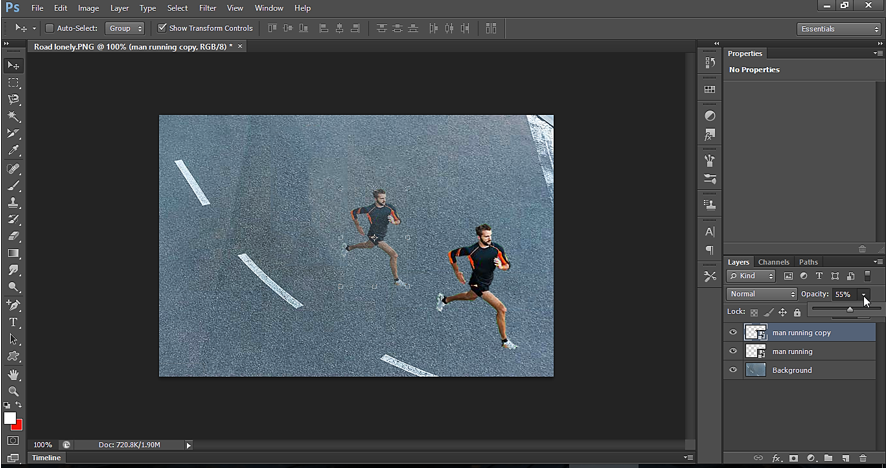
Let’s reduce the size of 2nd running man.
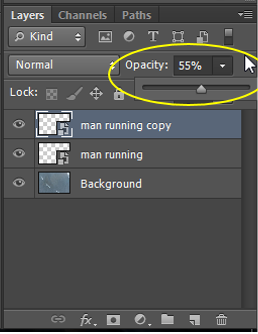
Now set the opacity of 2nd man to 55%.
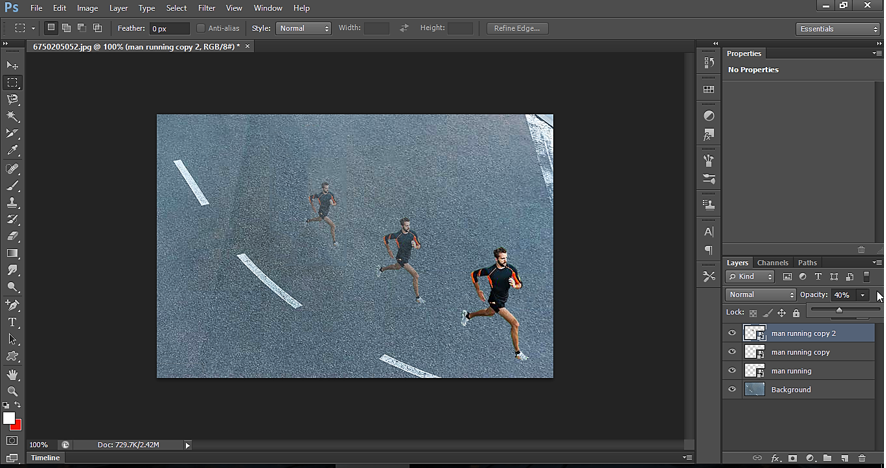
We get the below image.
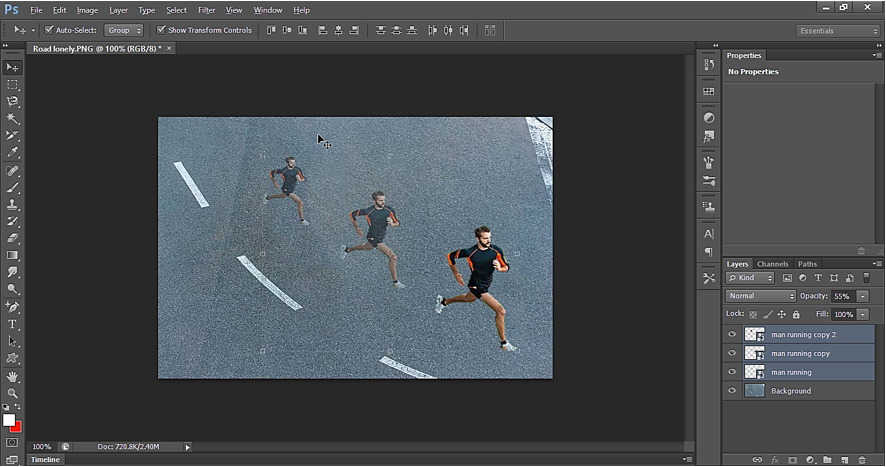
Again, duplicate the Layer (‘man running copy’) and repeat the same process to get the output as shown below:
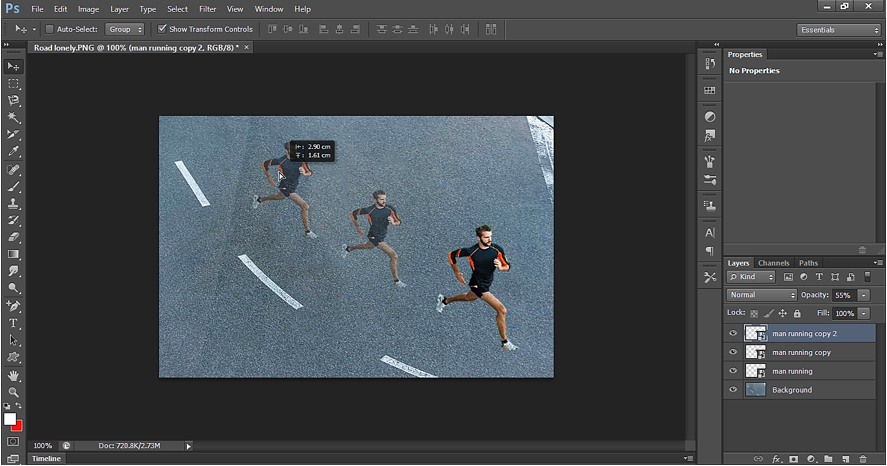
Once done accept the changes.
Output - Move Tool in Photoshop
‘Auto-Select’ option in Move tool:

By default, when we use the move tool, we can only move current active layer.
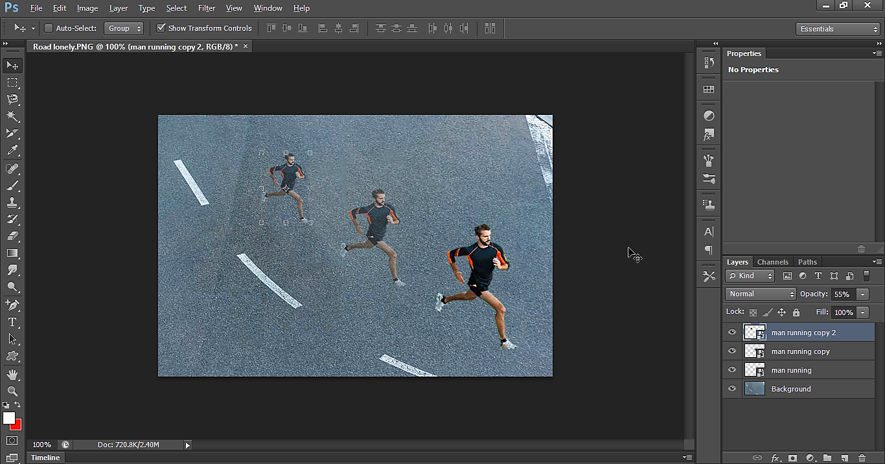
If we want to move other running man also without going to selected respective Layer for the running man, then we can use auto-select option. When we use Auto-select, which image we clicked is selected for move operation.
So, with Auto-select selected, if we take the cursor on 1st man, we can move 1st man only. If we put the cursor on 2nd man, we can move 2nd man.

‘Shift key with Auto-Select’ in Move tool:
Suppose we want to perform move operation on all 3 man at the same time. To do this, we must select all the 3 man’s layer at a time. To do this enable Auto-Select in move tool and click on 1st man, then press SHIFT key and select 2nd man and then with Shift key pressed click on 3rd man and we will have all the man selected at once.
When all 3 man’s layer are selected, some other options also get enabled in move tool.

These options are used to align the man’s layers with respect to each other in horizontal or vertical direction.
e.g. When we click the icon  , we get alignment as shown below:

Transform Tool in Photoshop
We can use Transform Tool to Scale, Rotate, Skew, Warp or change perspective.
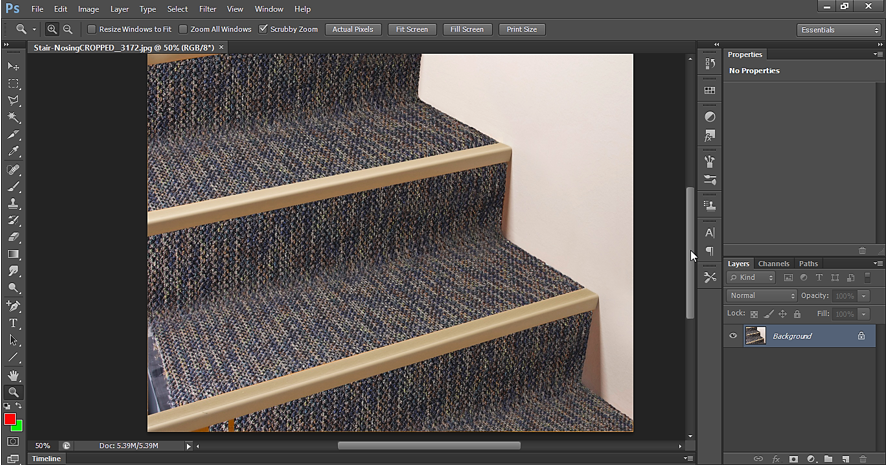
Open below image in Photoshop application and let’s see how we can use different Transform tool features.
To illustrate transform feature, we will use horizontal type Text tool and will write text on the canvas. After this, rasterize the text. To rasterize the text, right click on the Text layer and select ‘Rasterize Type’.
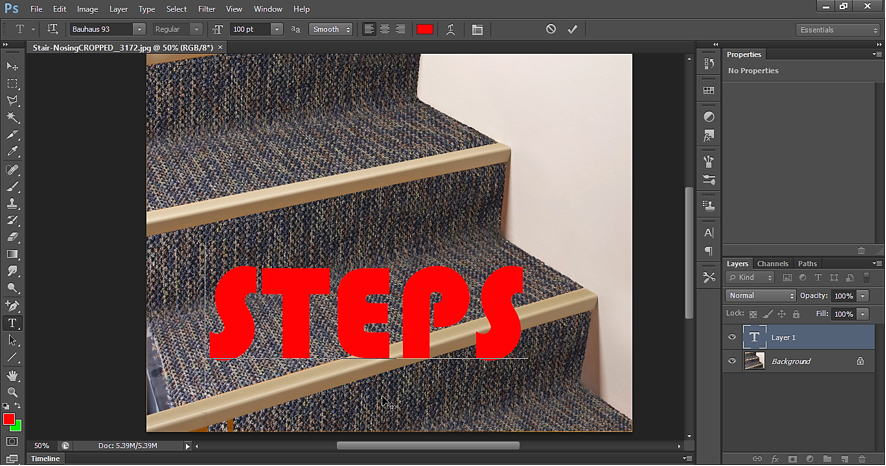
With Text layer selected, press “Ctrl + T”. Ctrl + T stands for Free transform and it enables features like Scale, Rotate, Skew, Warp or change perspective.

Now let’s see different features of Transform one by one.
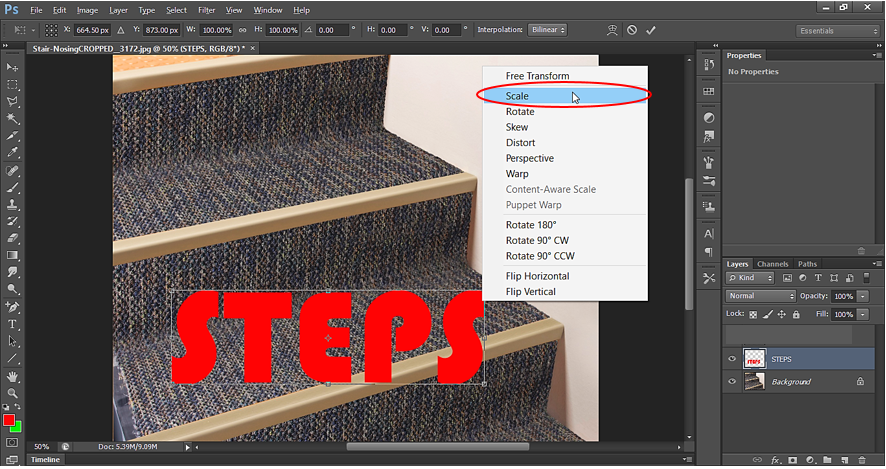
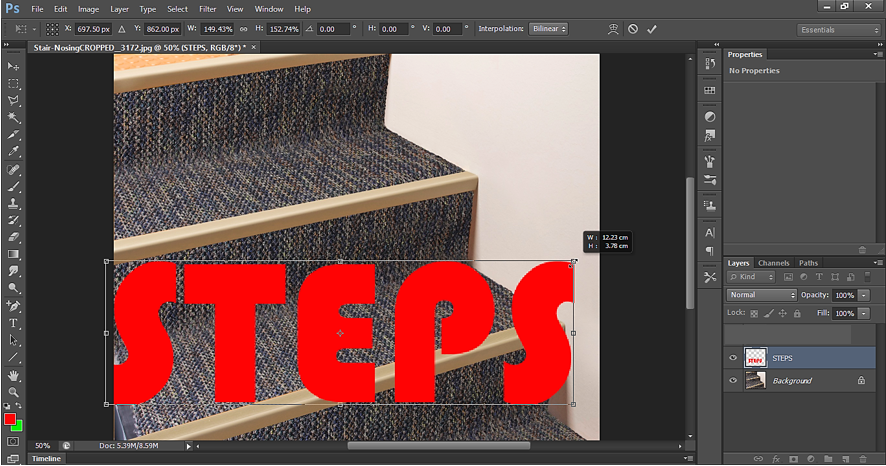
(a) Scale Transform in Photoshop
We can use Scale transform feature to change the width, height of text.
To Scale the Text, right click on the text and select ‘Scale’.
Output of Scale Transform in Photoshop
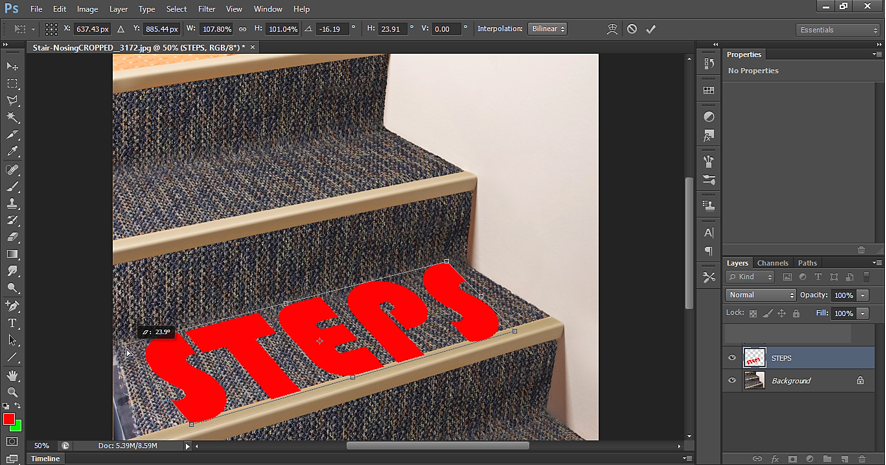
(b) Rotate Transform in Photoshop
We can use Rotate feature to rotate the text.
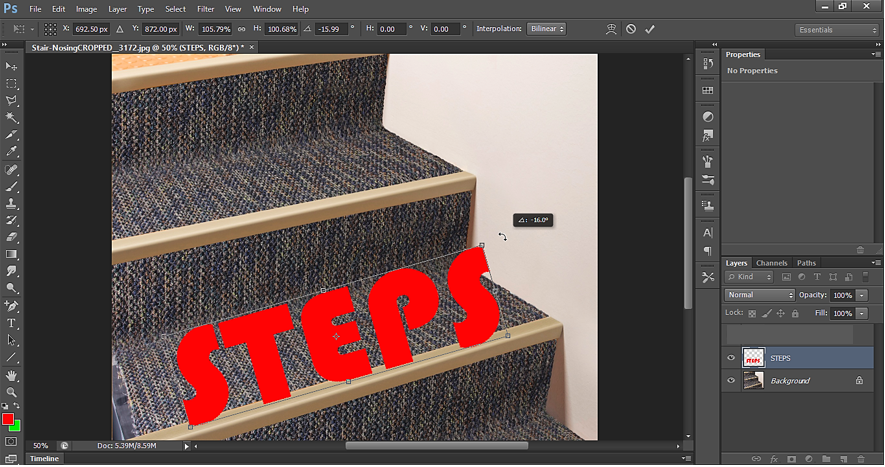
To rotate the Text, right click on the text and select ‘Rotate’. When the cursor changes to  , rotate it to align along the edge of stairs.
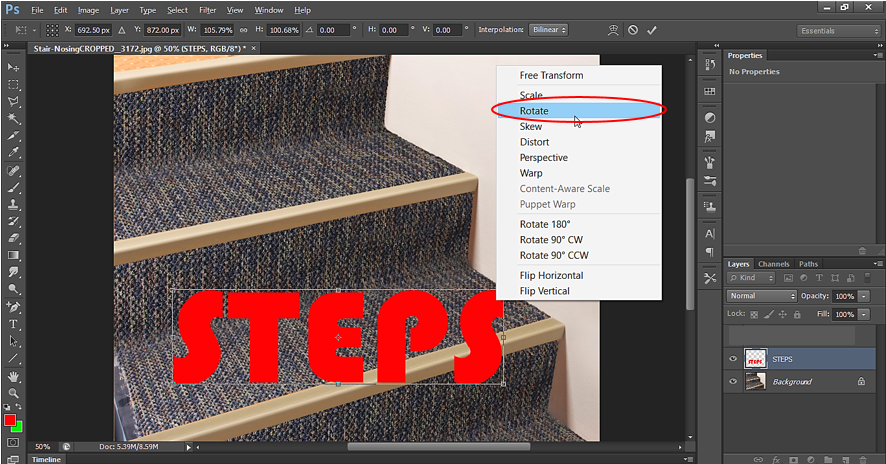
Output of Rotate Transform in Photoshop
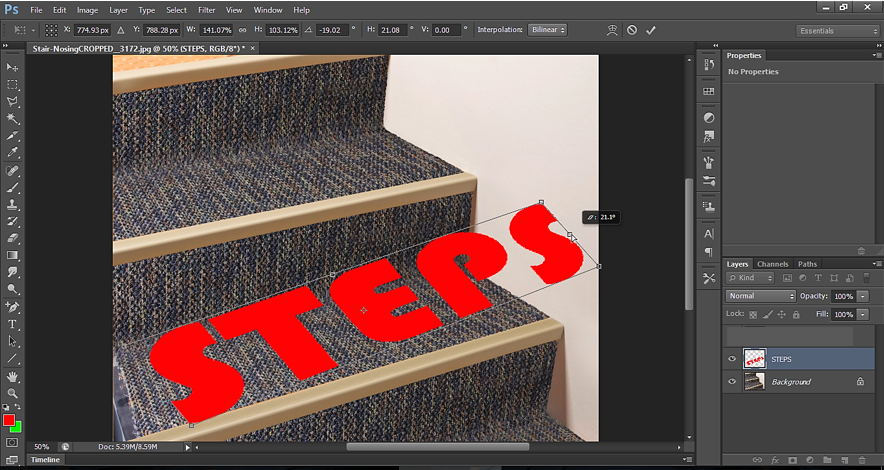
(c) Skew Transform in Photoshop
We can use Skew feature to tilt/twist the text.
To skew the Text, right click on the text and select ‘Skew.
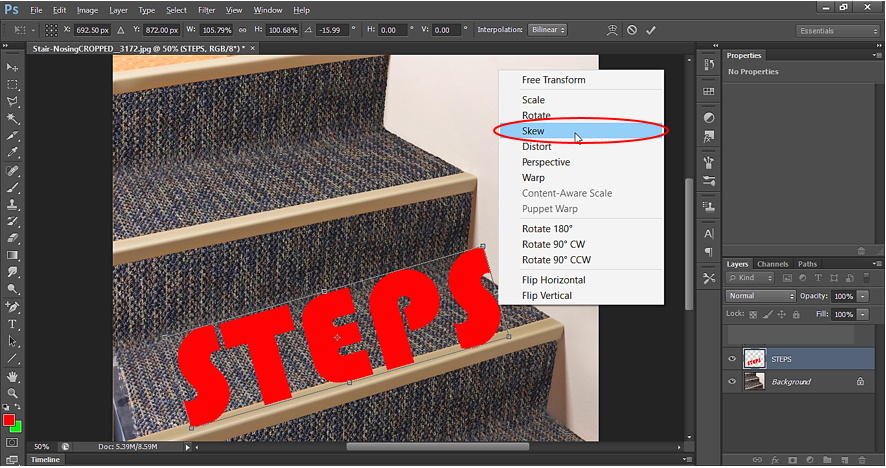
We drag the text from top-right corner to use Skew transformation.

Now drag the text from top-left corner toward left hand side to widen the text and align it better on the surface.
Output of Skew Transform in Photoshop
(d) Distort Transform in Photoshop
We can use Distort feature to change the horizon of the text.
To distort the Text, right click on the text and select ‘Distort’.
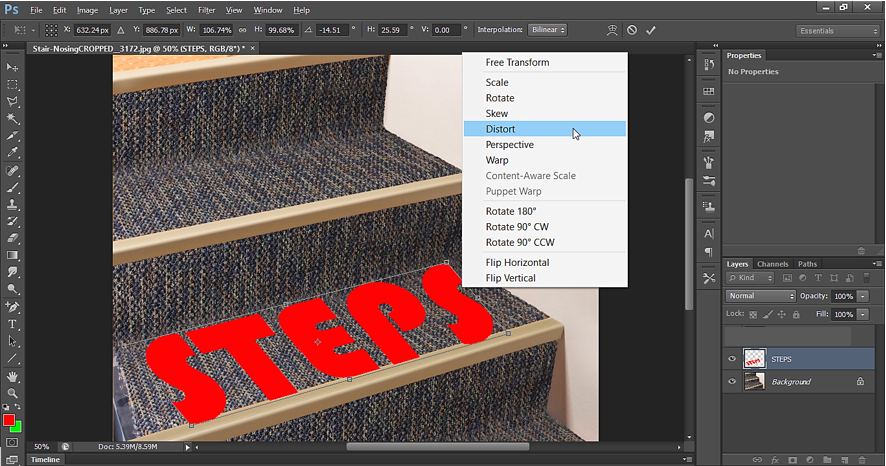
Below is how we can change the horizon of the text.
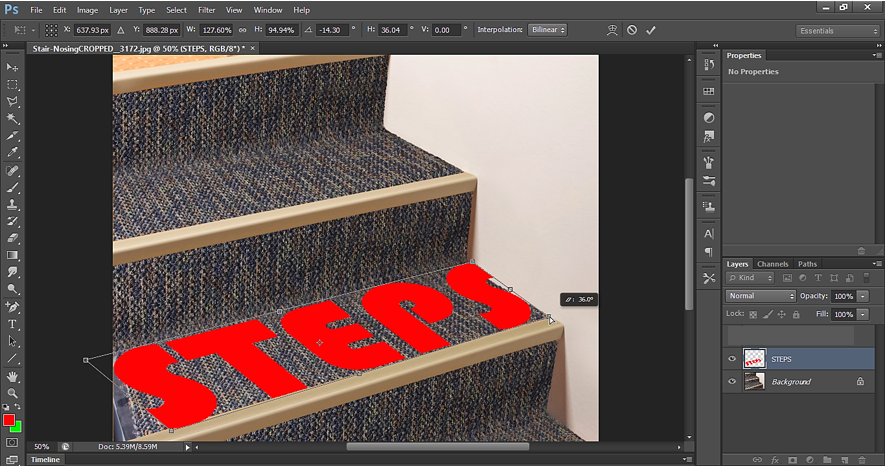
Let’s align the text on the floor.

Now use the distort transform on the top-left to drag it toward left hand side and give it a better alignment as shown below:
Output of Distort Transform in Photoshop
(e) Perspective Transform in Photoshop
We can use the perspective feature to narrow down the text in any direction or to expand the text in a direction i.e. to change the perspective/view of a text.
To change the perspective of the Text, right click on the text and select ‘Perspective.

Output of Perspective Transform in Photoshop

(f) Warp Transform in Photoshop
We can use the warp transformation to narrow down the text in any direction or to expand the text in a direction from different viewpoint. The transformation area will be limited only to the places where we apply Warp. Rest of the places will not be affected by Warp.
To use the warp transformation, right click on the text and select ‘Warp’.
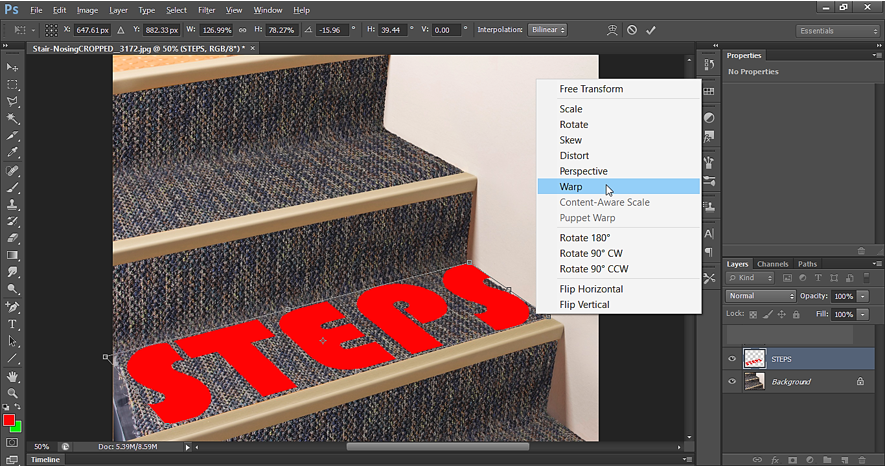
We select the right-top of the text and apply Warp. Warp affects only the right-top edges of the text and doesn’t affect rest of the text. Hence gives better control on transformation.
Now apply Warp the left-top corner. Then repeat the Warp transformation on bottom-left corner.
Output for Warp Transform in Photoshop

Press Enter to accept the change.
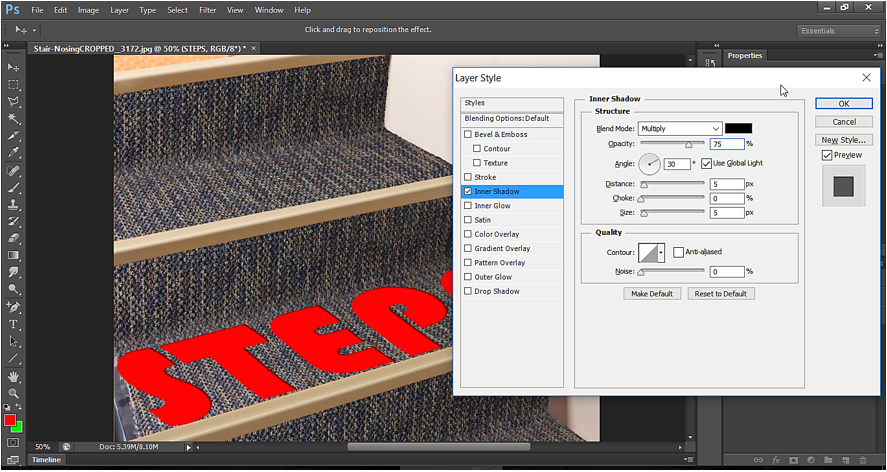
Now use Blending mode to put some effect on the text layer.
Output of all Transform tools:
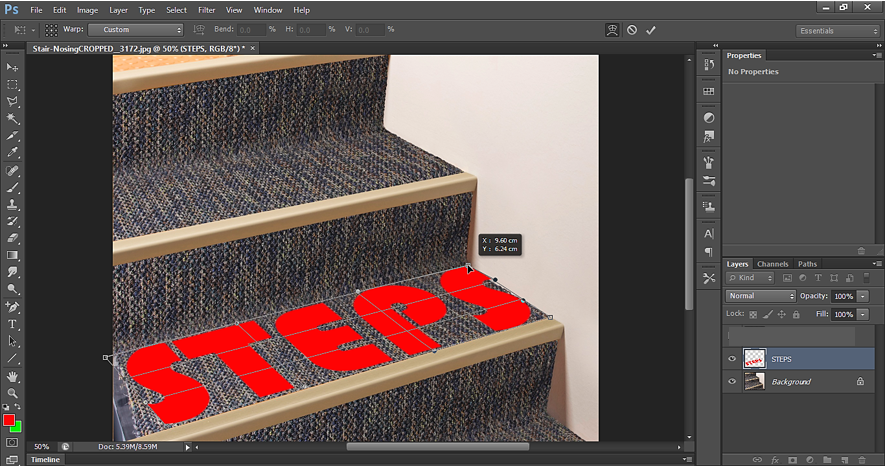
TRANSFORM -> Warp : Example 2
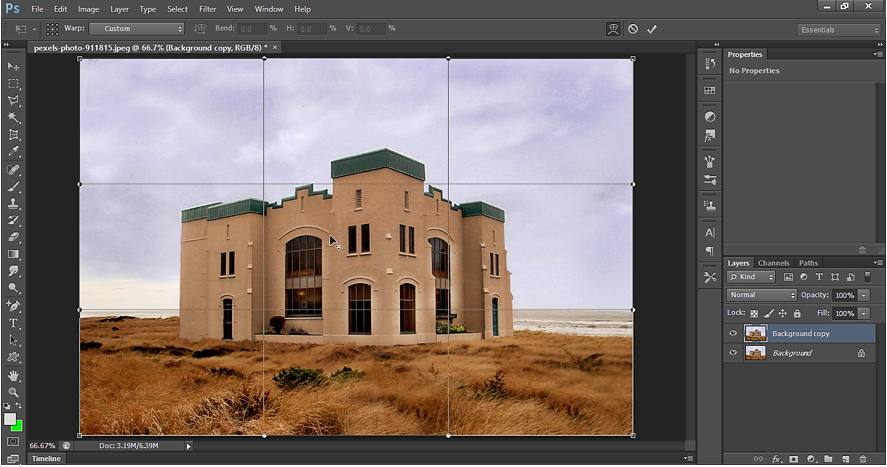
Let's take below image to do the warp transform.

Duplicate the Layer and then apply the transform-warp.
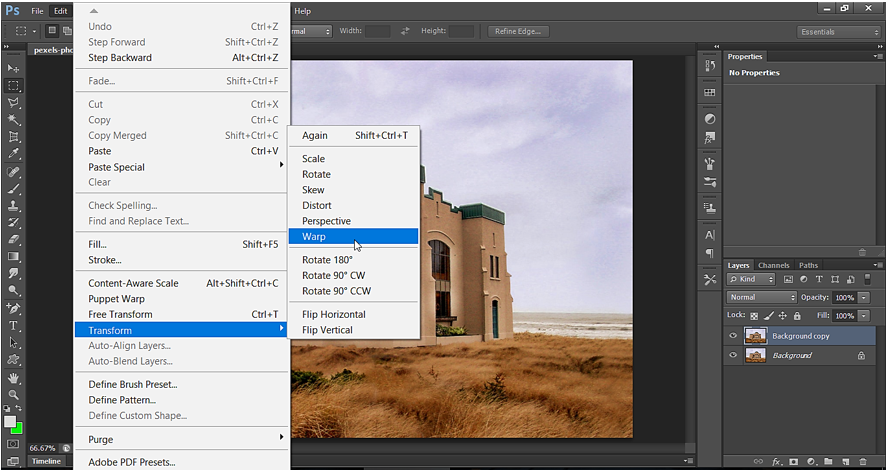
warp control appears as shown below:
Press Enter to apply the Warp done on the canvas.
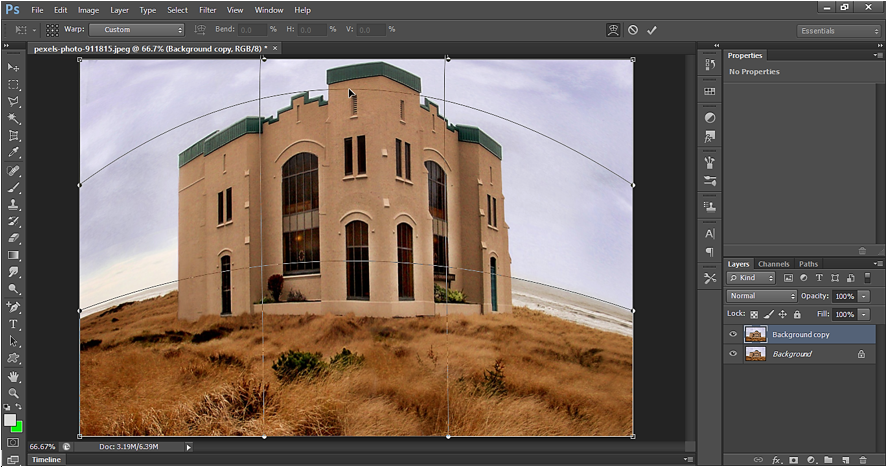
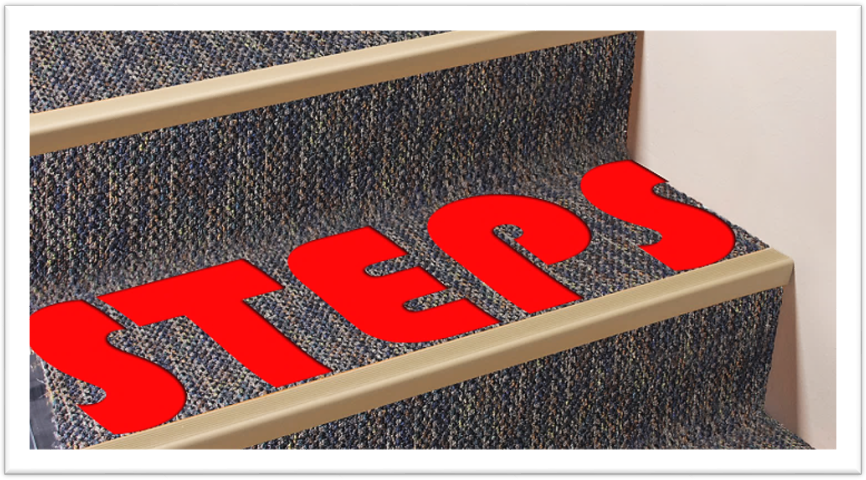
Output: TRANSFORM -> Warp