Lasso Tool in Photoshop
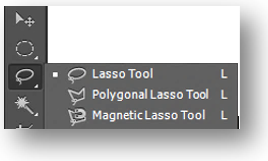
Lasso Tool in Photoshop is used to make the Selection of a segment of the image. Below is where Lasso Tools appears in Toolbox. There are three variations of Lasso Tool as shown below. First one is the standard lasso tool.
Let’s discuss each Lasso Tool one by one.
Lasso Tool
This is the first among the Lasso tools that appears in the list. Lasso Tool is a Free Hand Selection Tool and is used to make the Selection of a segment of the image. We start from one point of image segment and then drag it with free hand to cover the entire segment.
Lasso Tool example in Photoshop
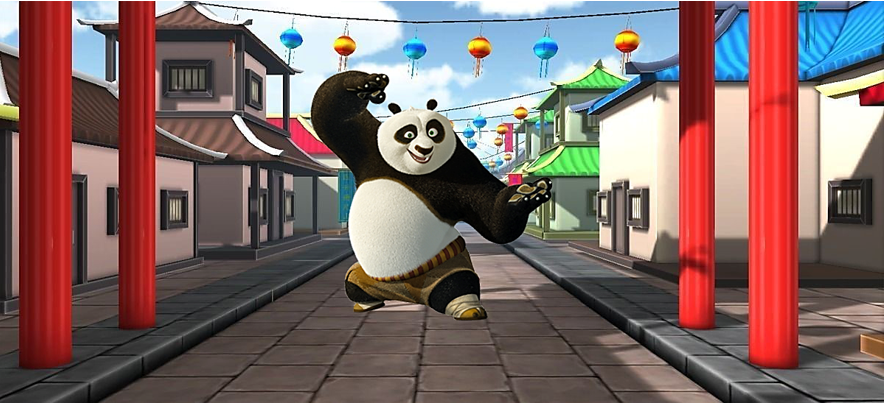
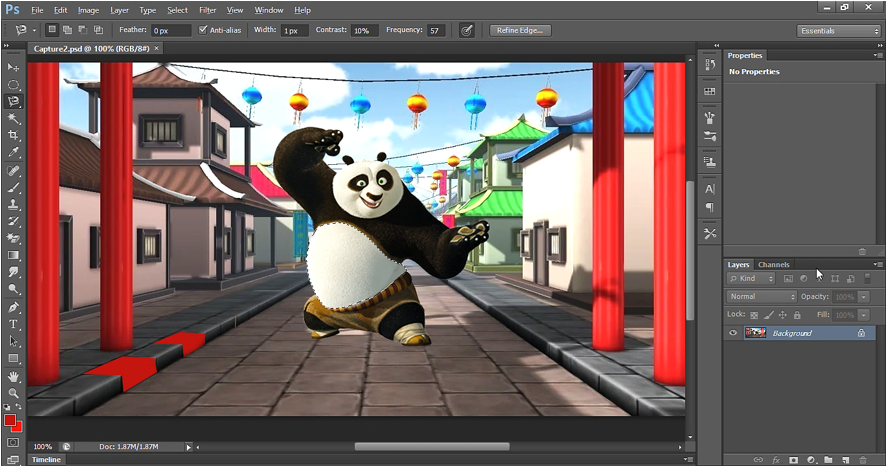
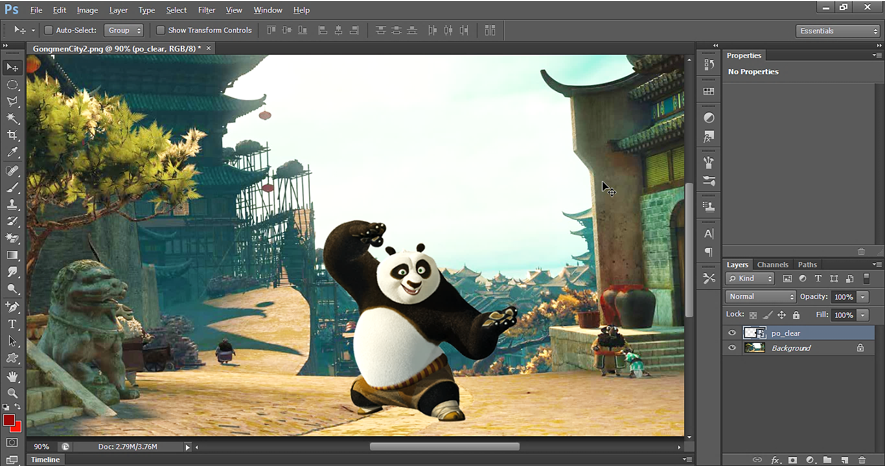
Open below image in Photoshop.
Now, select the Lasso tool as shown below. You can also select this tool by pressing “L” on the keyboard. Once we click it, the cursor sign changes to  .
.
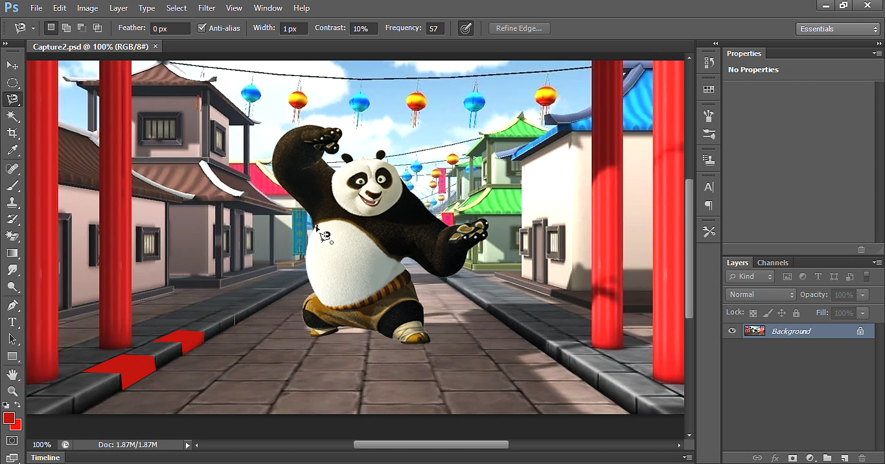
Now we can start selecting any image segment on the layer.
Holing the left click, start dragging the cursor around the image segment and close the path to make the selection.

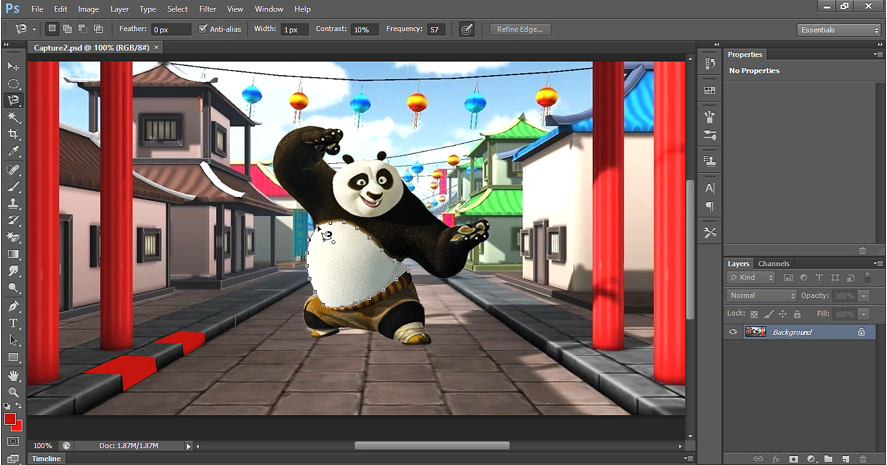
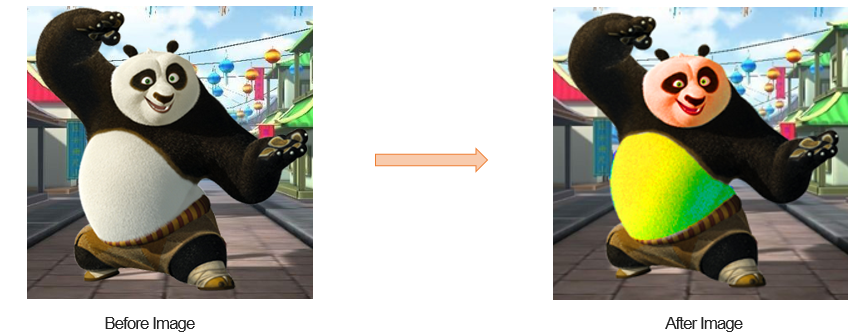
Below is the final selection that we have made surrounding Panda’s belly.

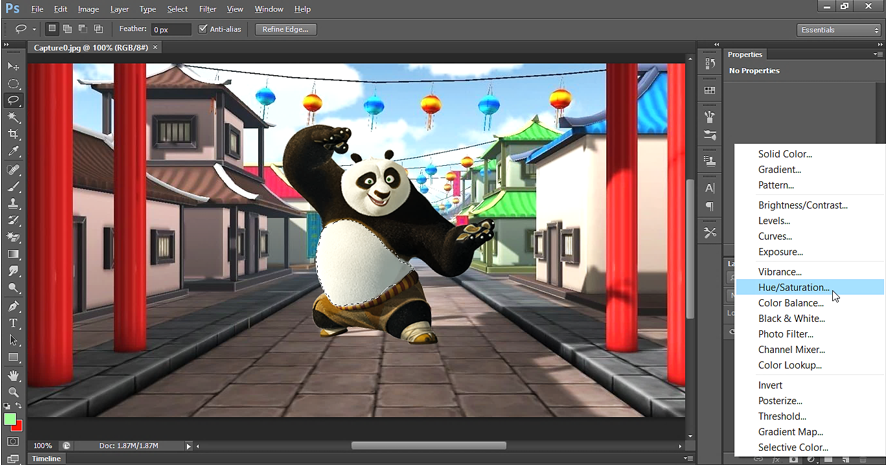
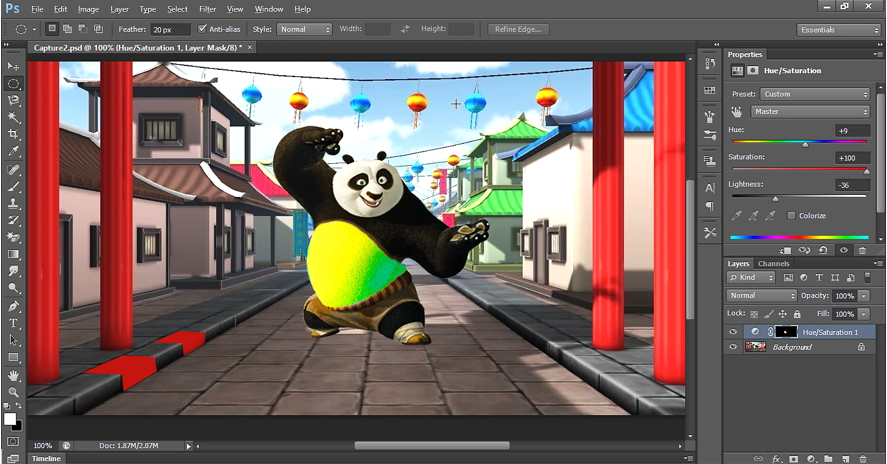
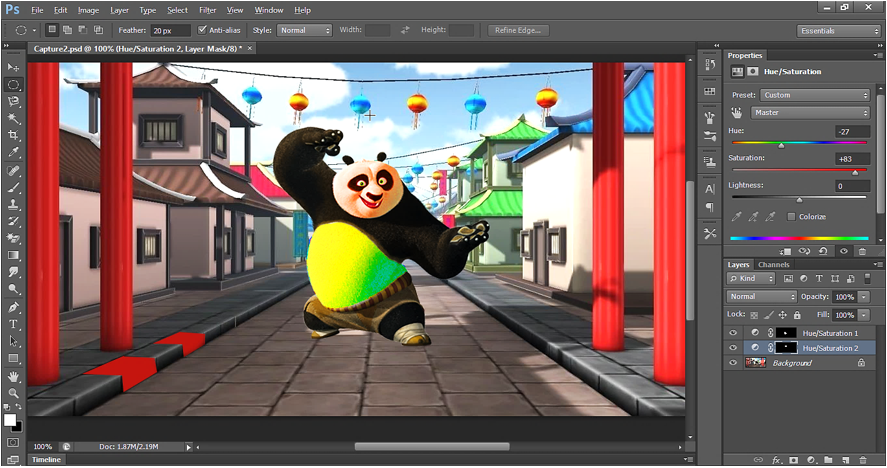
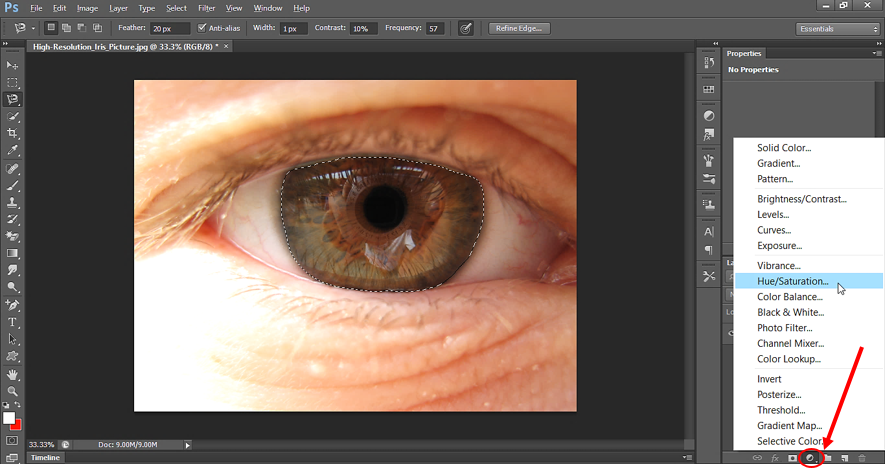
Now, select Hue & Saturation and change the color of the Selection we made using Lasso tool. To adjust Hue/Saturation click as shown below:
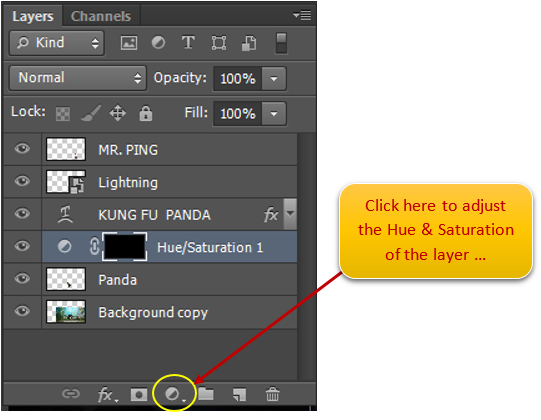
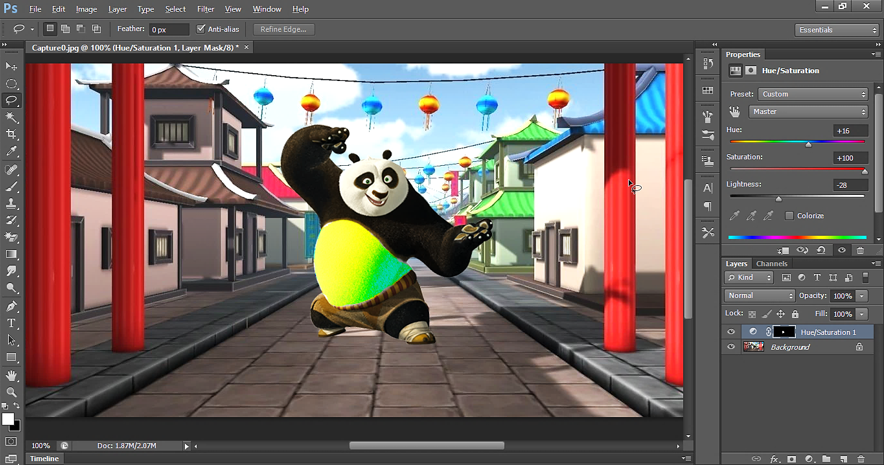
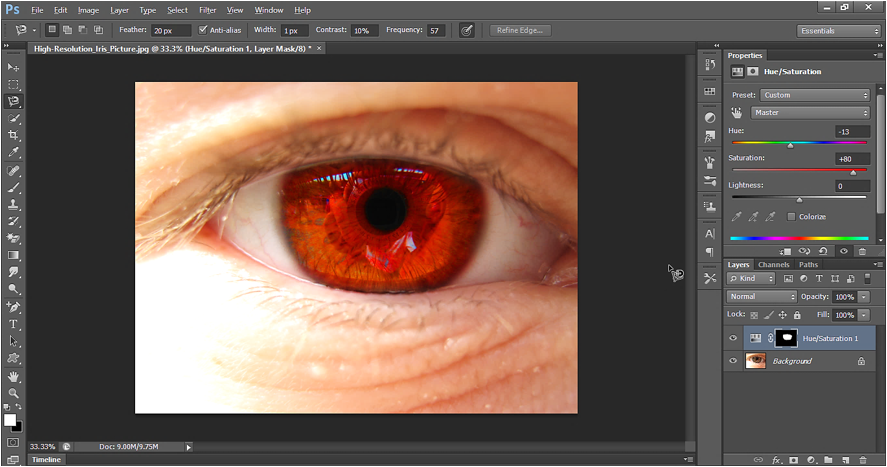
Now we can adjust the Hue/Saturation as shown below to adjust the color of the selection.
Below is the effect of Hue/Saturation in the Selection.
Lasso tool output:
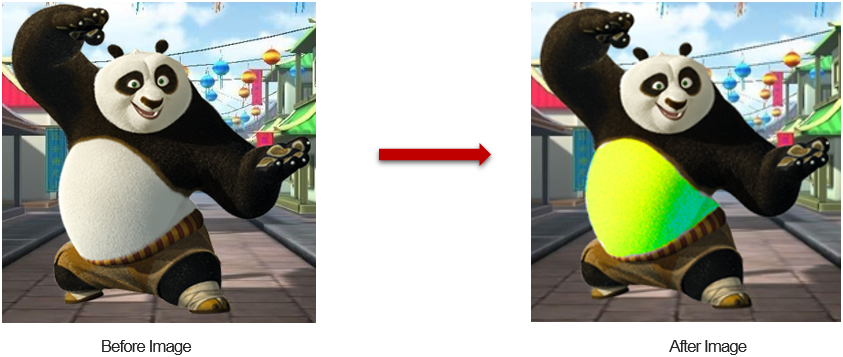
The problem with Lasso tool is that your drawing must be precise while going along the edge. On a curvy edge, it will be too difficult to draw the selection with Lasso tool.
Polygon Lasso Tool in Photoshop
Polygon Lasso Tool is used mainly to make selection of Polygon structure and then edit that selection.
Example - Polygon Lasso Tool
When we select Polygon Lasso tool, the cursor turns into  . With Polygon Lasso tool selected, when we click anywhere on the image, the cursor turns into
  . See below:

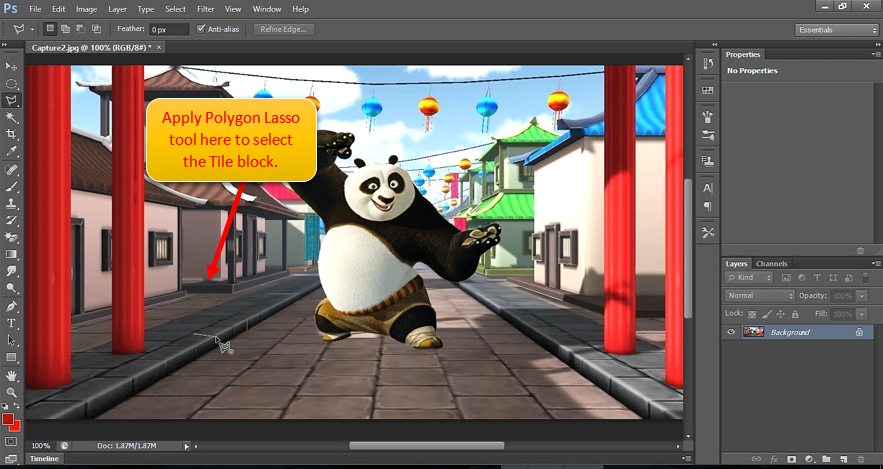
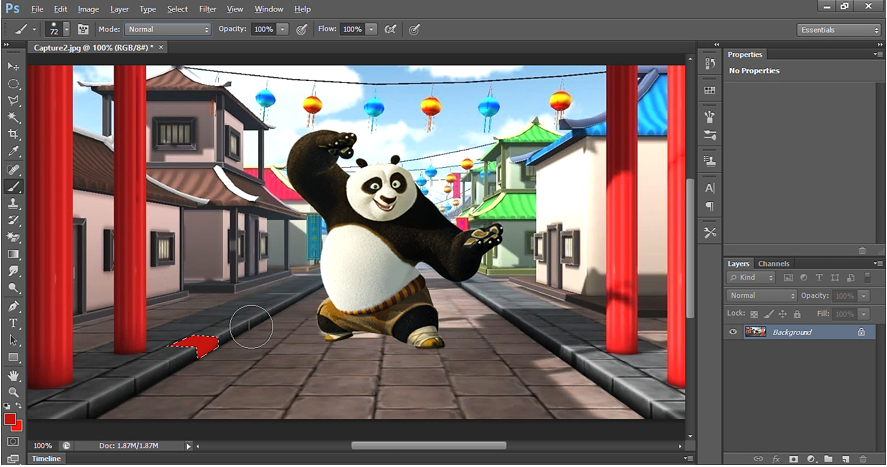
In above picture, figure out the Polygon structure and then make Selection of those Polygon shapes. As we can see Tiles block on the road are of Polygon shape. Let’s Select those Tile blocks and then color them.
With Polygon Lasso tool selected, click on one of the corner of the Tile block and start dragging the Cursor along the edge of the Tile block.
Once you reach at another corner of the Tile block, click again. When you click, it will stick to the next corner.

Close the drawn selection to cover the edges of the block as shown below.

Once the cursor reaches the starting position, click there and a Selection will be made as shown below:

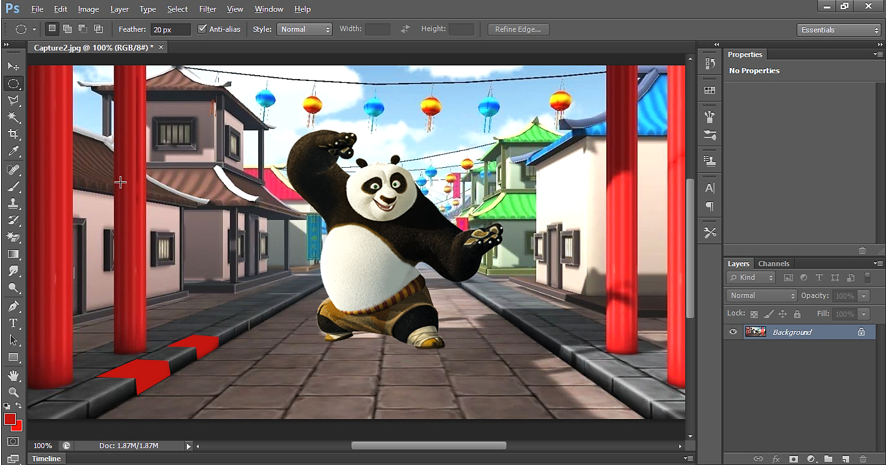
Once the Selection is done, click on Paint brush tool  and paint the Selected block. Below is how the painted block looks like.
Similarly, we can select other block and can apply the Paint brush tool to paint the segment. See below:

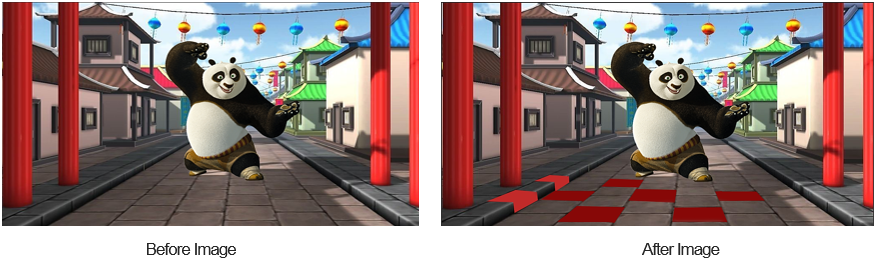
Let’s color few more tiles on the road. Below is the result.
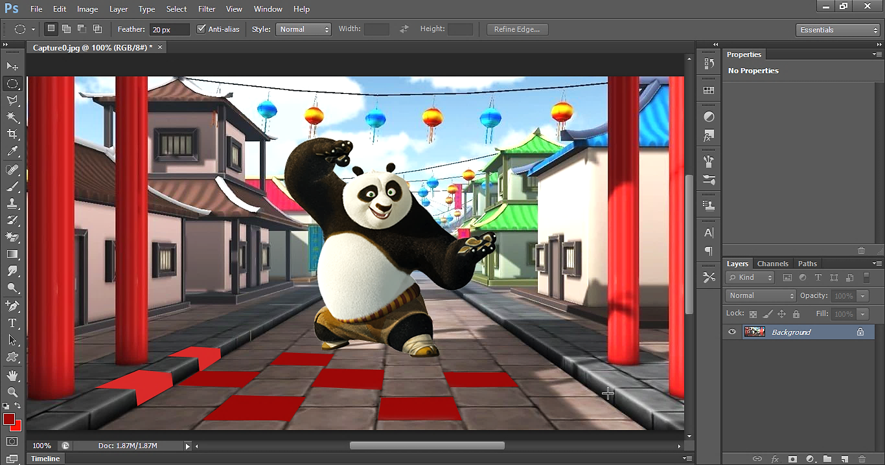
Output: Polygon Lasso Tool
Polygon Lasso tool Example- 2
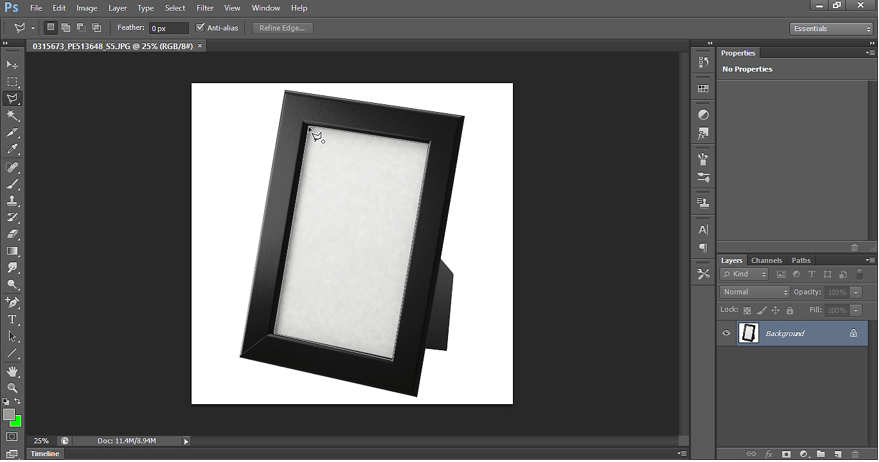
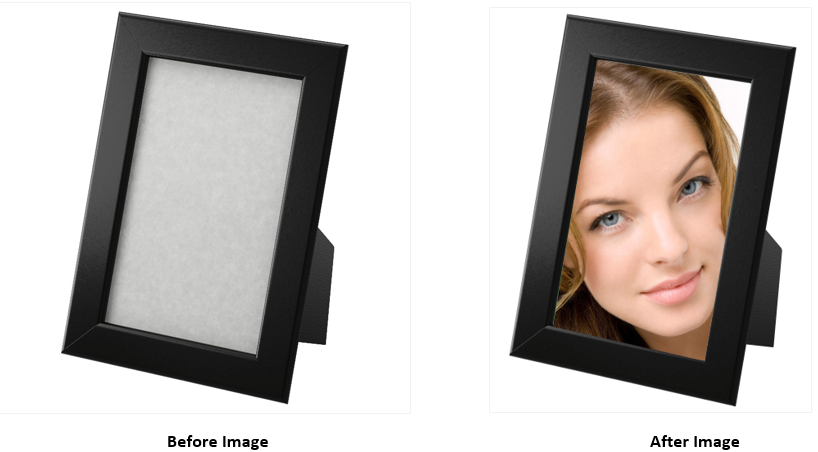
Open below frame in Photoshop application.


Now use polygon lasso tool to select the empty space of photo frame where we will position an image. Starting point is the corner of the Photo frame.
Drag the cursor from corner to corner to cover the entire frame.

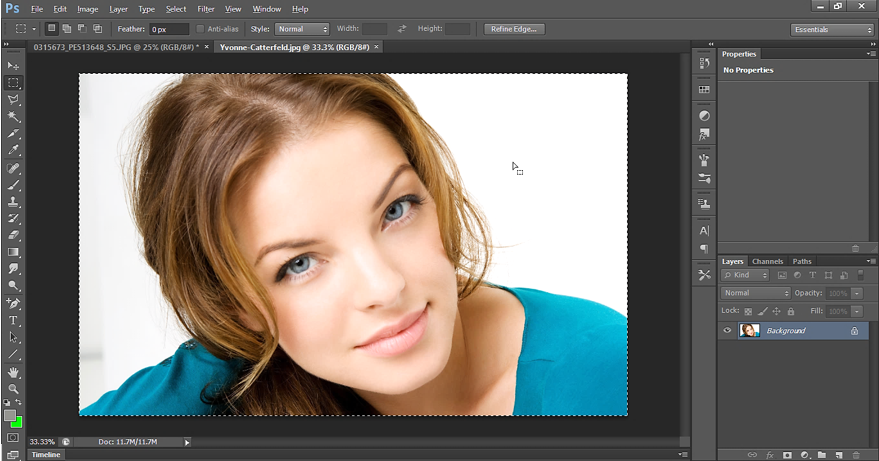
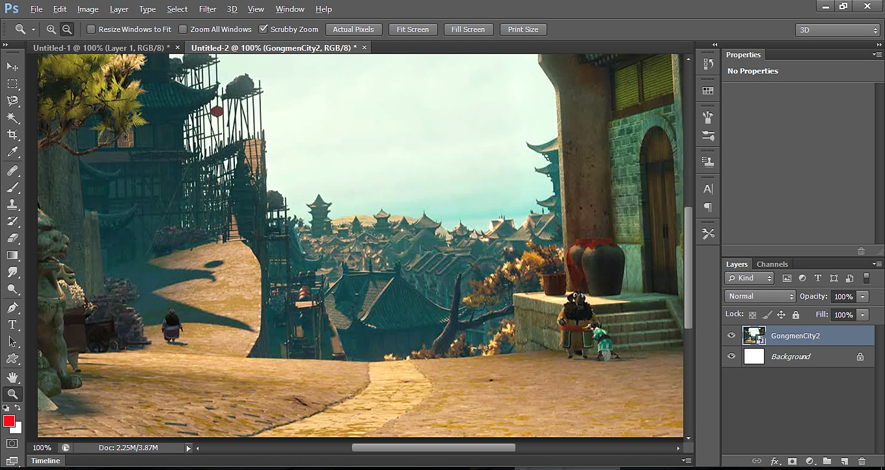
Now copy below image already opened in another tab in Photoshop application.
Now go back to previous tab with photo frame. Then go to Edit -> Paste Special -> Paste Into
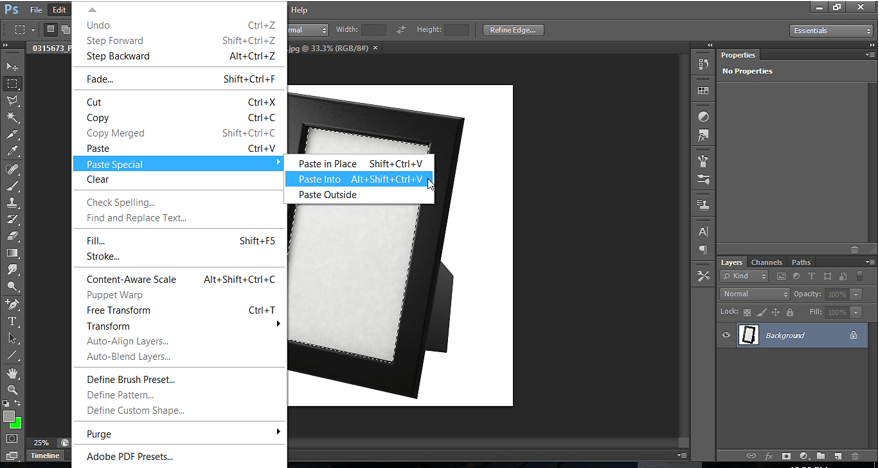
Paste Into is great feature to paste anything into Selection are on the canvas. See below the copied image into the frame.

Now click on move tool and transform the selection. Rotate it and adjust the width/length to fit it in the frame.
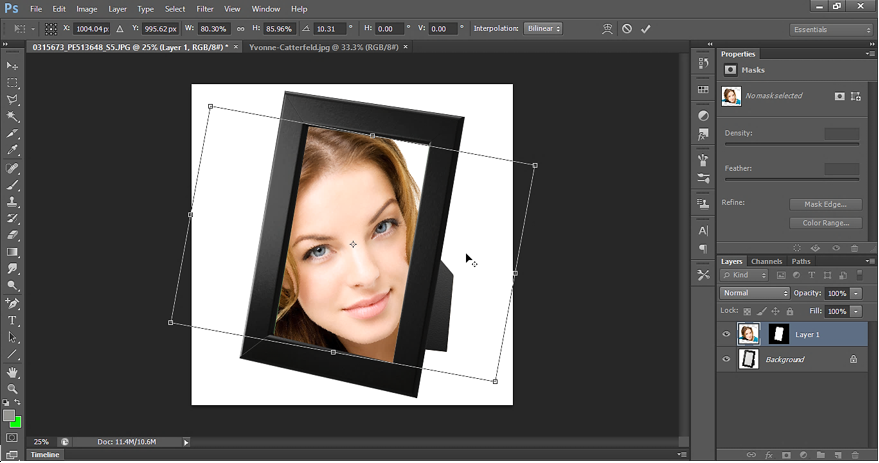
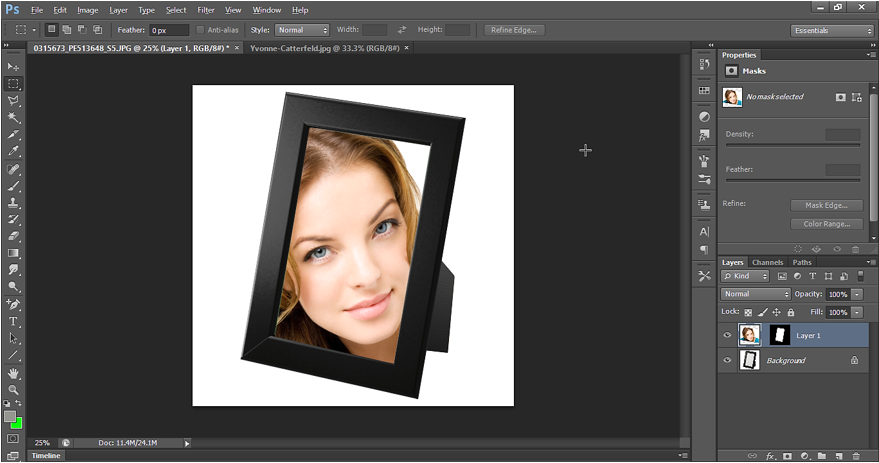
Output - Polygon Lasso tool
Magnetic Lasso Tool in Photoshop
Magnetic Lasso Tool  can be used to make complex selection.
The special feature of Magnetic Lasso Tool is that when we drag it along the edge, it automatically sticks to the edge and help us in making perfect selection along the edge.
To start select the Magnetic Lasso Tool and then click anywhere on the image. The cursor turns into 
Now drag the cursor along the edge. The selection is made based on difference of color contrast along the edge.
When we close the path, a Selection is made as shown below.
Now apply Hue/Saturation as shown below:

Below is the effect of Hue/Saturation.
Now draw the selection on Panda’s face. To do this, use Magnetic Lasso tool on the face.
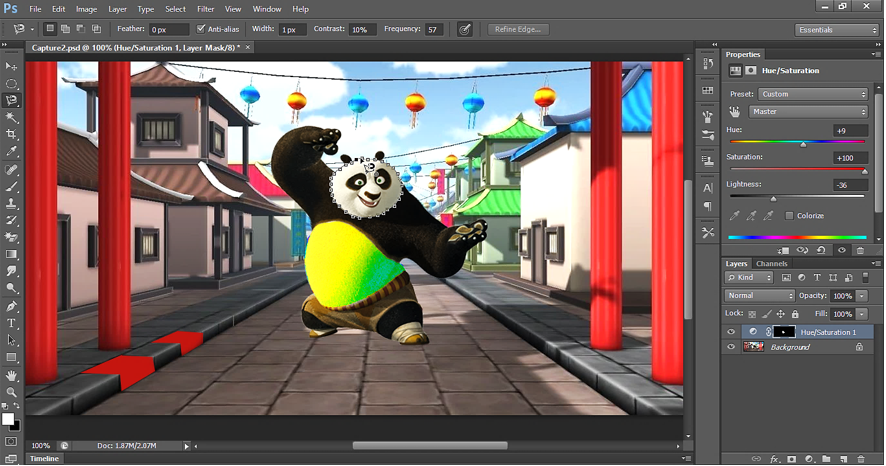
Now apply Hue/Saturation on Panda’s face.
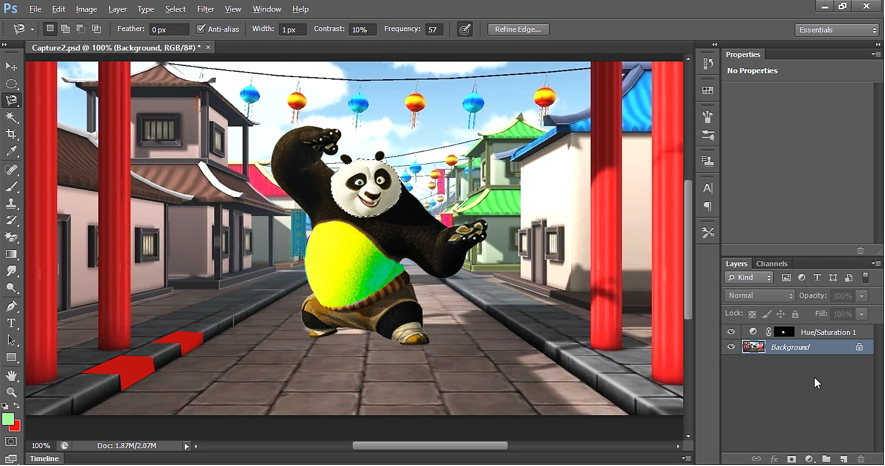
Below is the effect of Hue/Saturation on Panda's face.
Output: Magnetic Lasso Tool
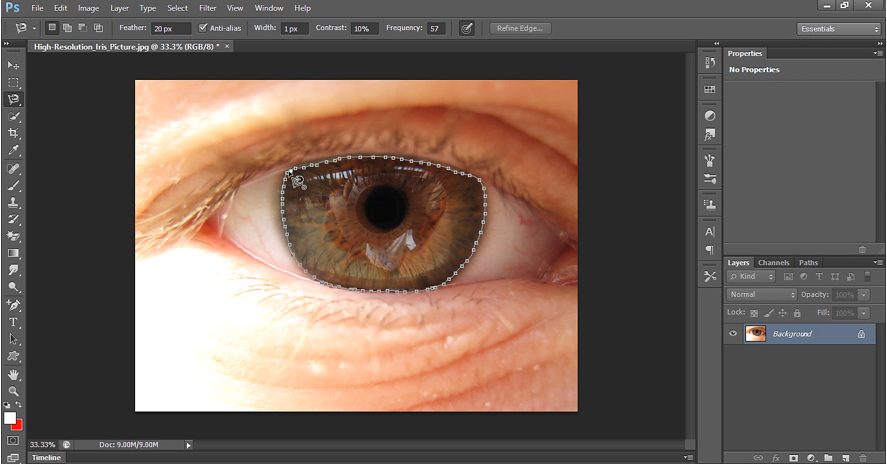
Feather Option in Magnetic Lasso Tool
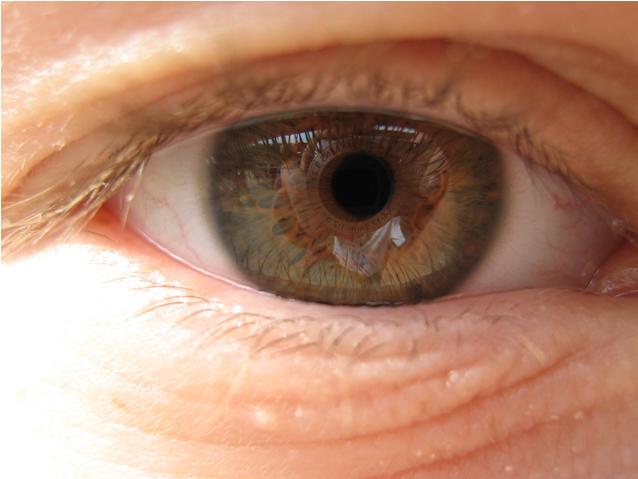
Open below image in Photoshop application.
Select Magnetic Lasso tool with Tolerance=20.
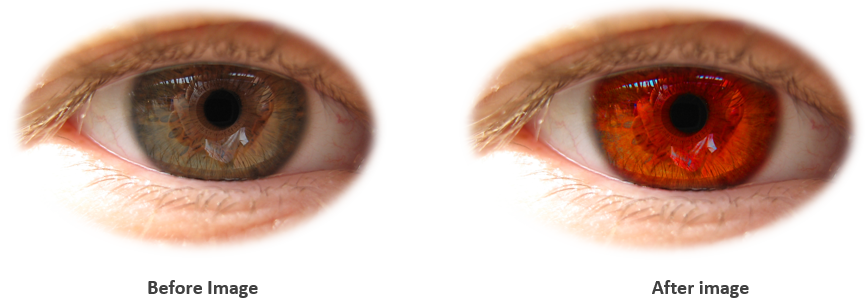
Now apply Hue/saturation as shown below:
After we apply Hue/saturation, we get below output:
Output: Magnetic Lasso tool with Feather option
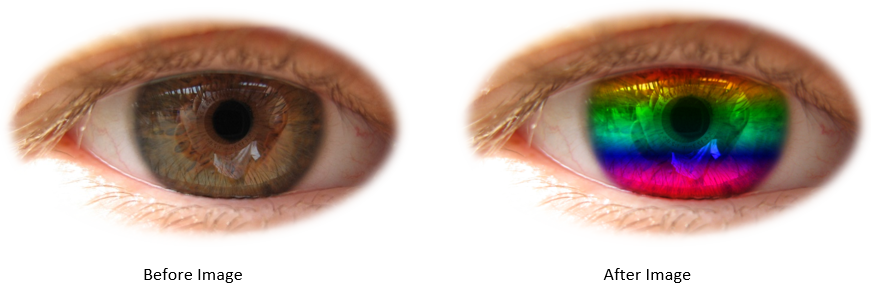
In above example, instead of applying Hue/Saturation, you can apply gradient on the eye to give rainbow effect to the eye.
Output - Feather Option in Magnetic Lasso Tool
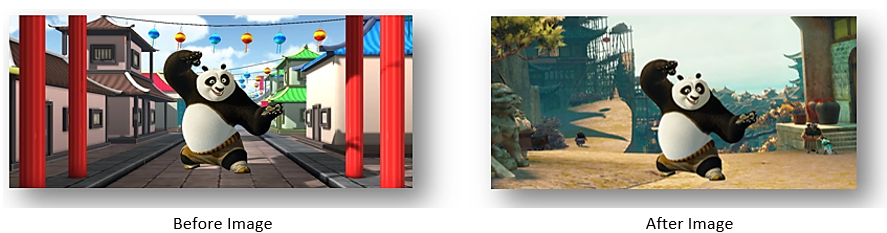
Change background using Magnetic Lasso Tool
Magnetic Lasso Tool does the Selection based on the difference of contrast along the edge. To understand this, let’s take an example.
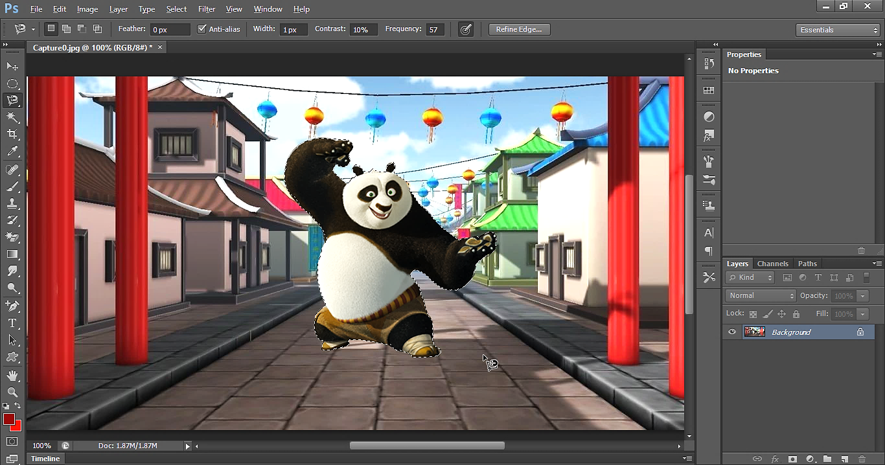
Suppose we have a Panda image as shown below and we want to change the background of Panda. We will use the difference of color contrast between Panda’s image and background image to make the Selection using Magnetic Lasso Tool.
To do so, we need to select only Panda. Then we can copy the selected Panda and can paste it to some other background.

To make Perfect selection, we need to zoom the Image. Use zoom tool  to zoom the image. After 1200% zoom, we get below image. The square block that we see here is pixel block.
Based on previous discussion, in below image Magnetic Lasso Tool will make selection based on difference of color contrast between Panda’s image and background image.
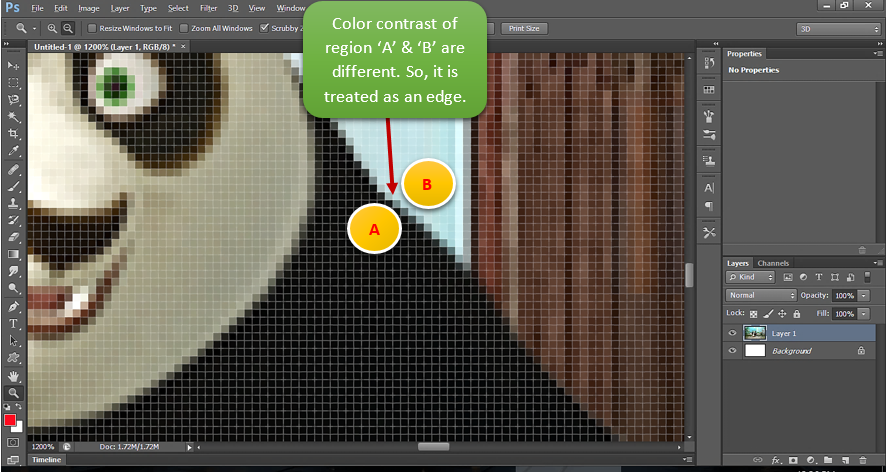
In above image, region ‘A’ denotes Panda’s image pixels and region ‘B’ denotes Background image pixels. The point where the difference in contrast appear for pixel of these two regions is treated as the edge and the Magnetic Lasso tool stick to this edge during edge selection process. See below:
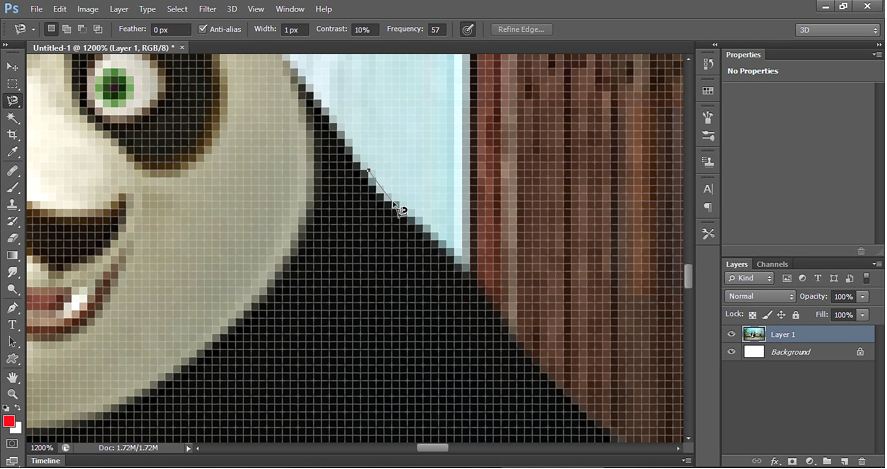
Option Bar of Magnetic Lasso Tool
Option Bar of Magnetic Lasso Tool, help us in making precise selection along the edges. These features are very useful while making selection path for complex image, where difference in contrast between background and main image, is not much.
Let’s discuss these features one by one:
1) Width

Width determines the number of pixels around the edge, Magnetic Lasso tool looks for; to draw the Selection path. Above it is set to 1px. Hence, the Magnetic Lasso tool will search 1px distance, around the edge to find the selection path. After selecting the Magnetic Lasso tool, we can press Caps Lock to turn the cursor into a block. Then, we can easily figure out how 1px wide distance is searched for path selection. See below:
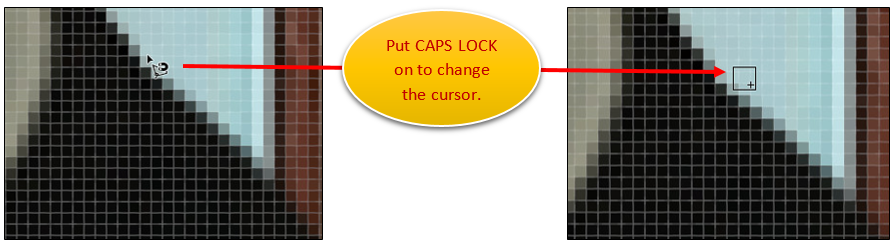
Now change the width to 5px, see how the selection search distance changes:

For path selection, 1px will work better here.
2) Contrast
As discussed earlier, Magnetic Lasso tool uses contrast difference between the main image and background image to find the edge for selection.
We can set the amount of contrast difference that the Magnetic Lasso Tool will use as shown below:

Default 10% works well for most of the images.
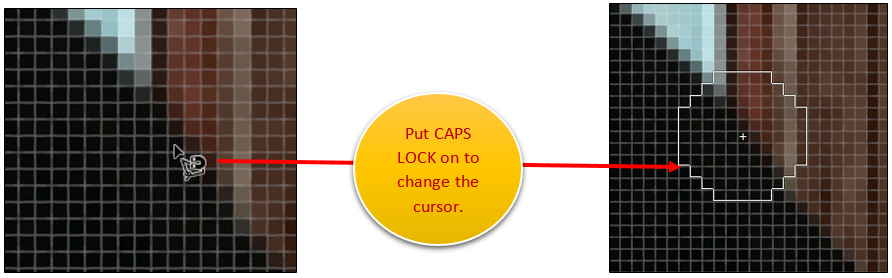
3) Frequency
When we drag the Magnetic Lasso Tool along the edge of the main image, it put some anchor points which clings to the edges and keeps the line firm along the path. More number of anchor points is needed for more curved edges as shown below.
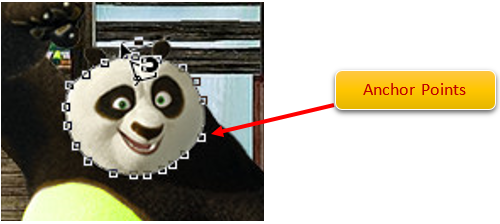
If we don’t have more anchor points, then it may be difficult for the line to cling to the path, as we proceed further in Selection process. To have more anchor points, we can set the Frequency attribute as shown below.

Hence, Frequency denotes how frequent the anchor point will occur in the path during selection process.
Default Frequency value - 57 works well for most of the images.
> Add anchor points manually
We can also put anchor point manually whenever we need it. We can just click on the path to put an anchor point.
> Delete anchor points manually
Sometimes while dragging, we can place the anchor point at wrong place on the image. To remove the last anchor point, just press Backspace. Press more Backspaces to remove more anchor points in reverse.
Example - Change background of Panda
Let’s complete the selection process and change the background of Panda. After selection process, the image will look like below:

Below is how the final selection looks like.
Now do 'Ctrl + C' to copy the selected Panda image. Now open another document with different background and do Ctrl +V to paste the selected image.
Paste, results into below image:
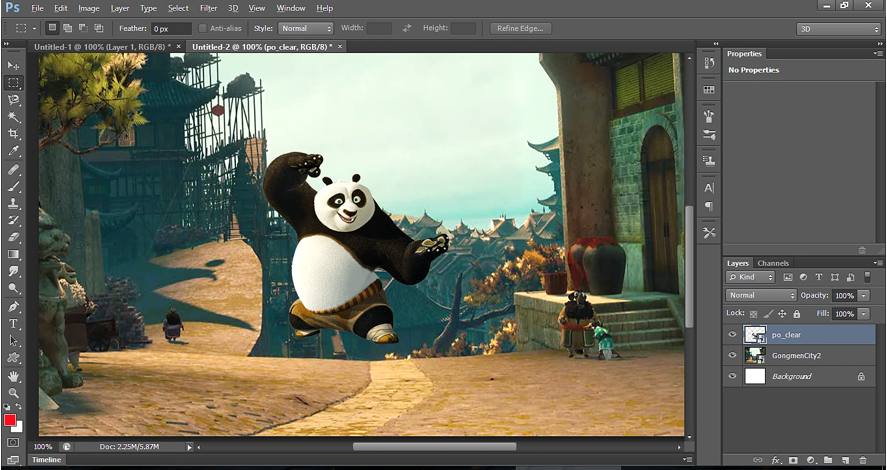
Let’s align Panda in the picture using Move tool  . Below is the final Output.
Output: Magnetic Lasso Tool