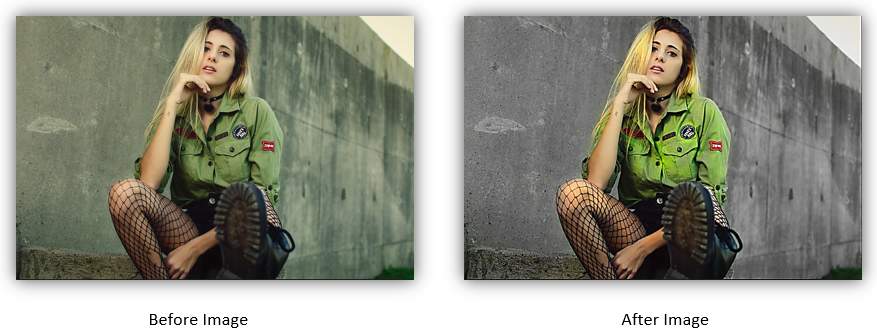
Dodge Tool and Burn Tool in Photoshop
Dodge Tool in Photoshop is used to lighten the area of an image and Burn Tool in Photoshop is used to darken the area of an image.
Many a times when we take the pic in natural light (sunlight), then the area of subject exposed to the sun, gets brighter tones while the area not exposed directly to sunlight gets darker tones. To get rid of darken tone, we need to use Dodge tool and to get rid of brighter tone, we use Burn tool in Photoshop.
Dodge Tool and Burn Tool example - Correct light exposure on the image
Let’s open below image in Photoshop application:

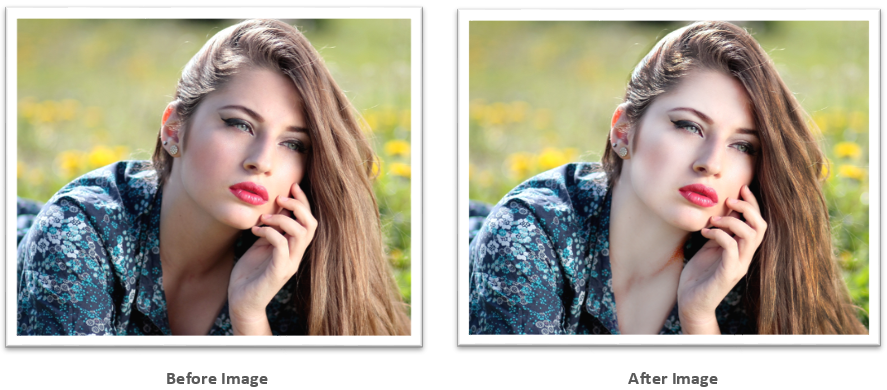
Select Dodge tool  and paint the dark area to lighten it. As we can see left face area, neck area are darken in shades due to non-exposure of sunlight on these area. We need to apply dodge tool on these areas.
Before we apply the dodge tool, we need to set the brush range. There are 3 types of brush range:
(1) Midtones = This is the most frequent Brush Range used in dodge tool. This is used for lighten the middle range of dark shades.
(2) Shadows = This brush range is used to remove the dark shadows which appears at the corner areas of an image.
(3) Highlights = Changes the light areas.
Select dodge tool and set the option bar as shown below. Range=Shadows, Exposure=25%, where exposure tells the intensity of the brush.

Now apply the dodge tool on neck area which has most of the part as shadows. After applying dodge tool, we get below result:
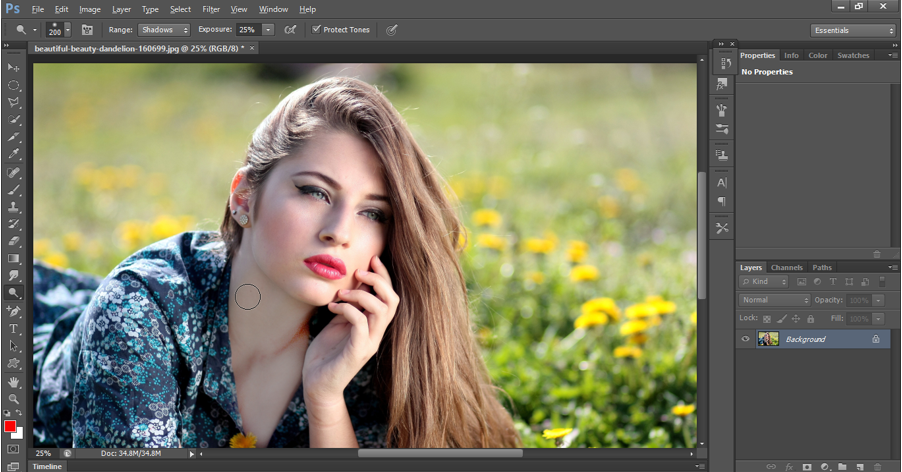
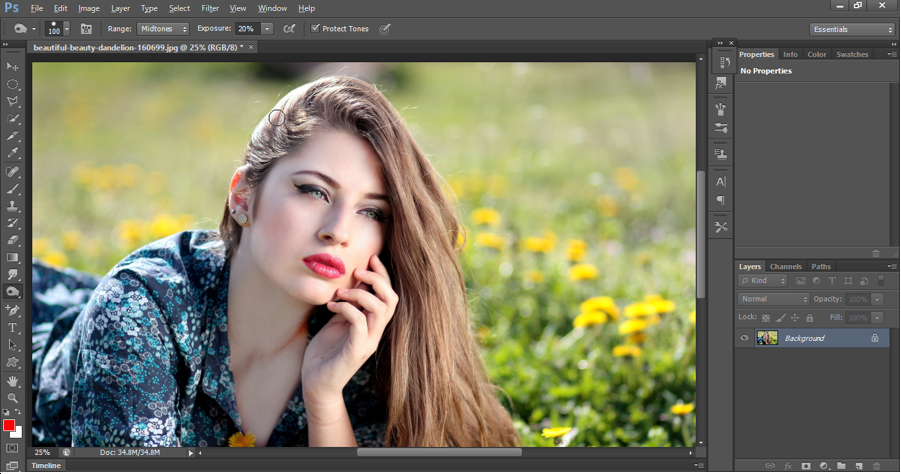
Now set the option bar as shown below: Range=Midtones, Exposure=25%.


Now apply burn tool in the hair area which is too much exposed to sunlight. Paint it over to all over the hair to make it darker.

Dodge tool and Burn Tool Output:
Sponge Tool in Photoshop
Sponge Tool in Photoshop is used to lighten the color(desaturate) or to darken the color(saturate) of an image. We paint the area which we want to saturate or desaturate with color. Let’s see it with an example:
Sponge Tool example in Photoshop
Let’s open below image in Photoshop application:

Now select sponge tool and set the Mode as Desaturate. Make Flow=100%.

Now paint the background area to desaturate it. We get the image as shown below:
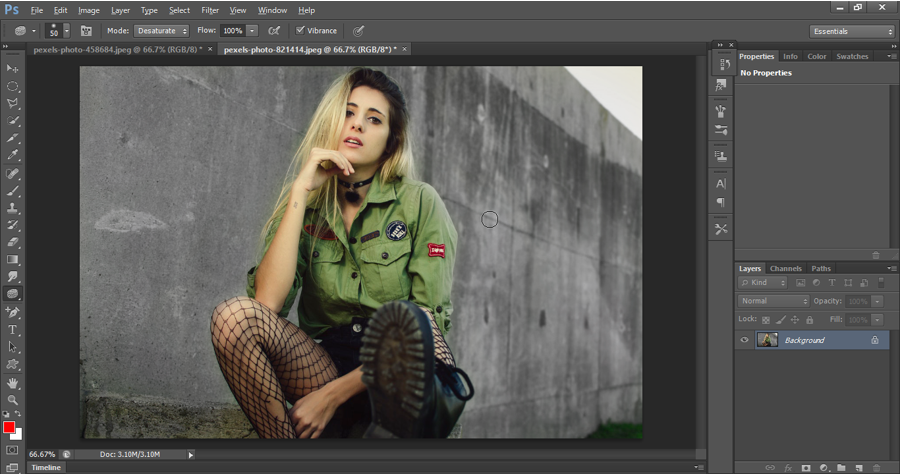
Now saturate some parts of the shirt, hair by using sponge tool with the settings as shown below.

We get the output as shown below:
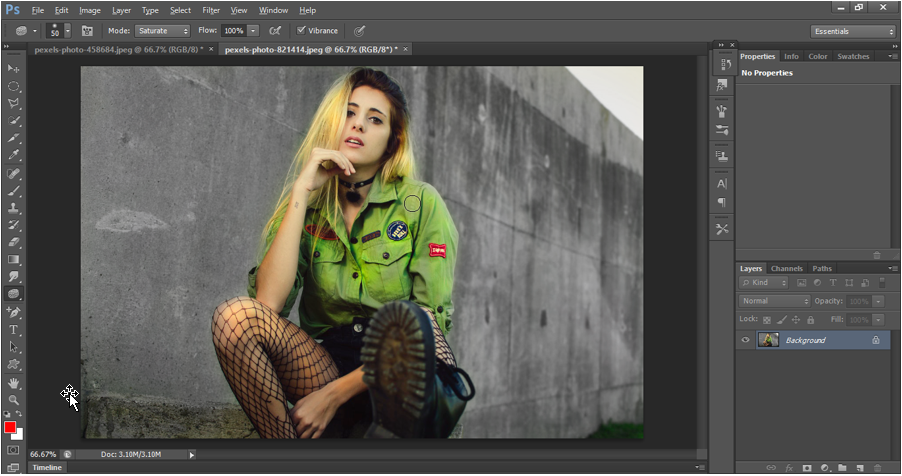
Sponge tool output
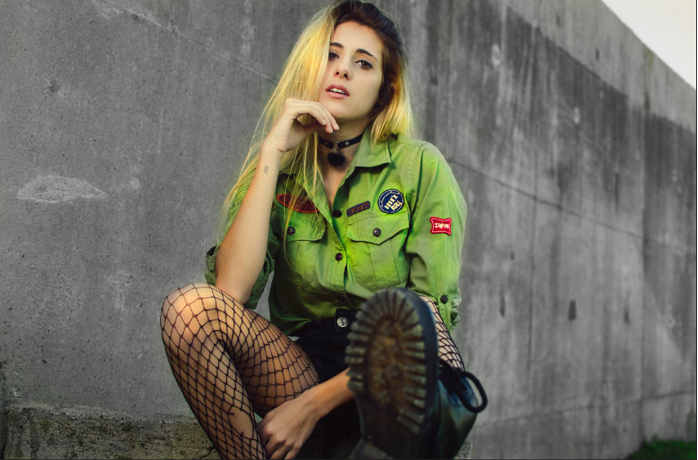
Sponge tool output
