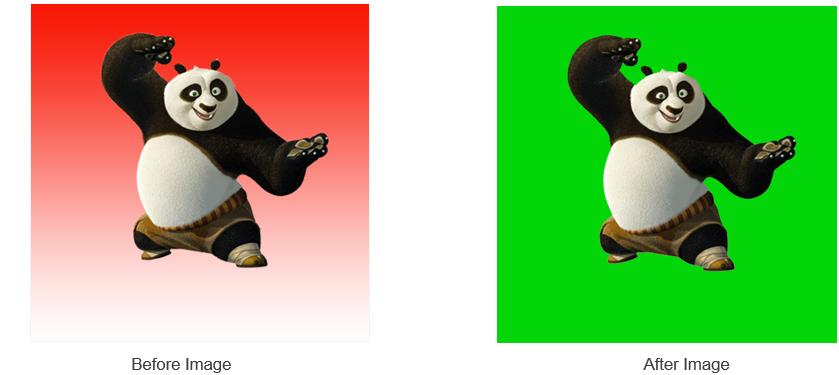
Quick Selection Tool in Photoshop
If we are working on images which has well-defined edges, then it would be quite easy for us to do the selection. For images with well-defined edge, Quick Selection tool is a better option compared to Lasso tool, as it can do quick selection.
Quick Selection tool  paints a selection by analyzing same color/tone. When we drag the cursor, then the selection grows. When we click on some other area, then the selection gets added to the current selection.
Below is where to find the Quick Selection Tool in Toolbox. There are two variations of Quick Selection Tool as shown below:

Quick Selection tool Example-1: Change background made of single color
Let’s start Photoshop application and open the document with below image. As we can see, below image has same color tone in the background.

Now click on Quick Selection tool  in the tool bar. Using Quick Selection tool, it is very easy to make the selection.
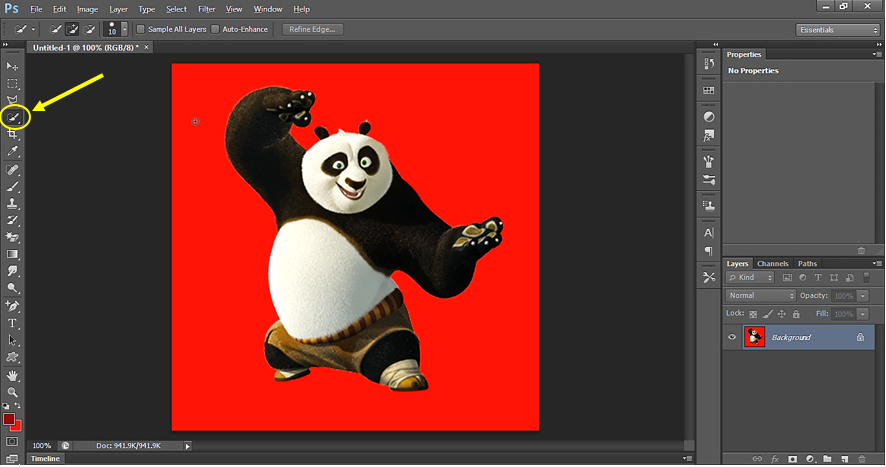
When we select the Quick Selection tool, the cursor changes to  . Drag the cursor in the area you want to select. It is just like you are painting the area with Quick selection tool. The selection area increases as we drag the cursor to cover the whole background and finally whole background area is selected.
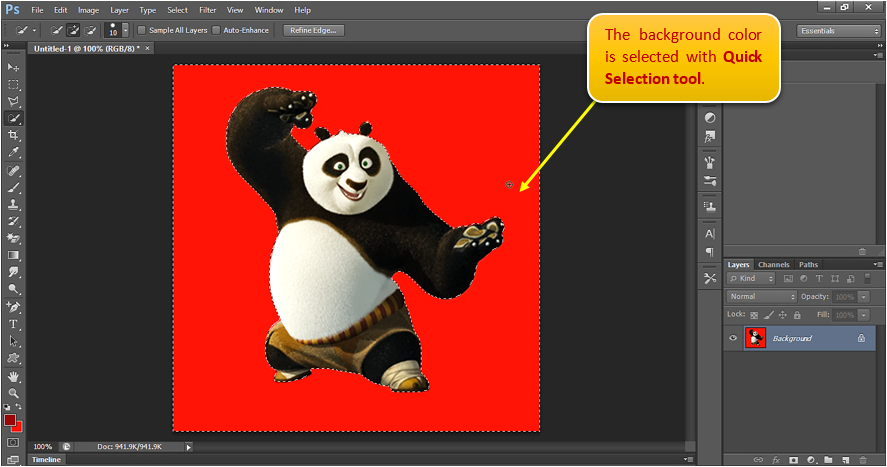
Click on Rectangular marquee tool  and right click on the picture to Fill the Color as shown below:
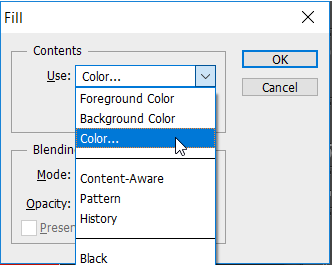
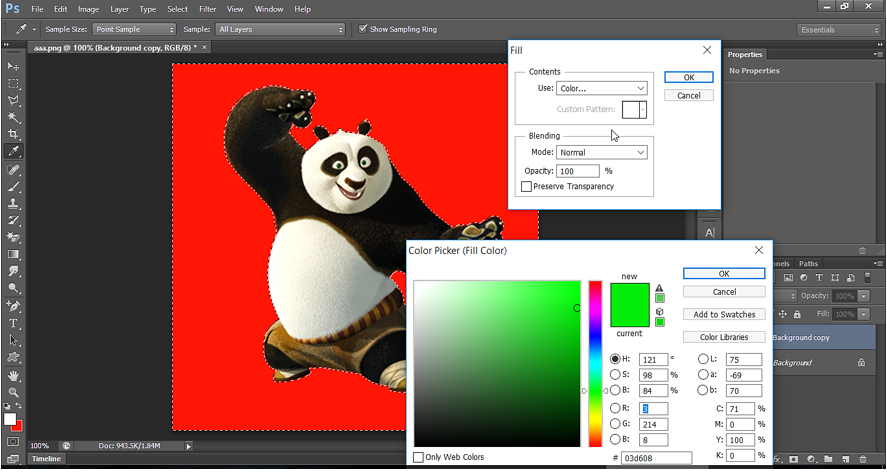
Now change the color picker location to select any specific color and press OK.
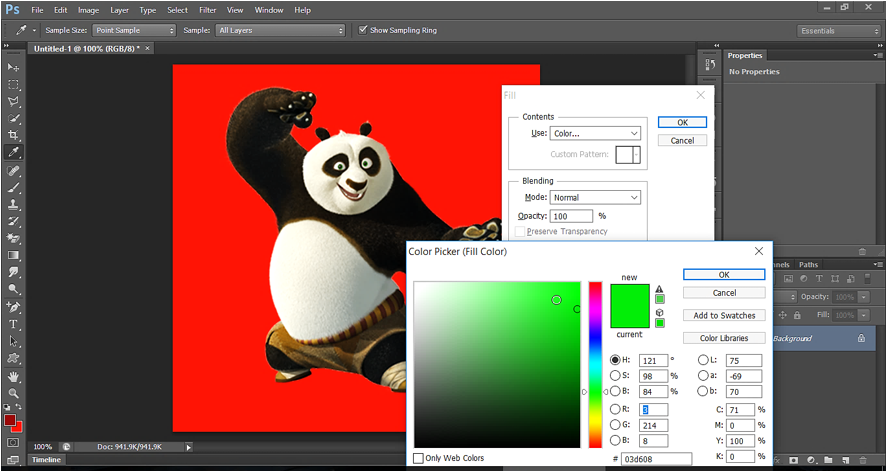
We get the image background colored with green.
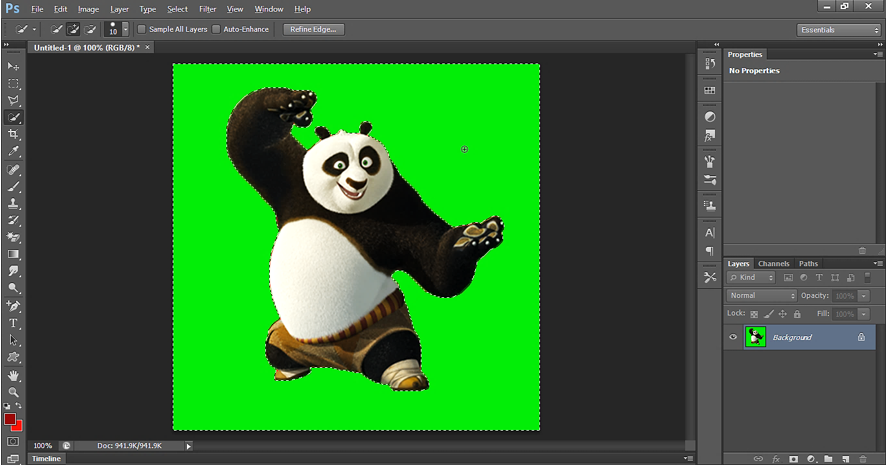
Output: Quick Selection tool to remove background
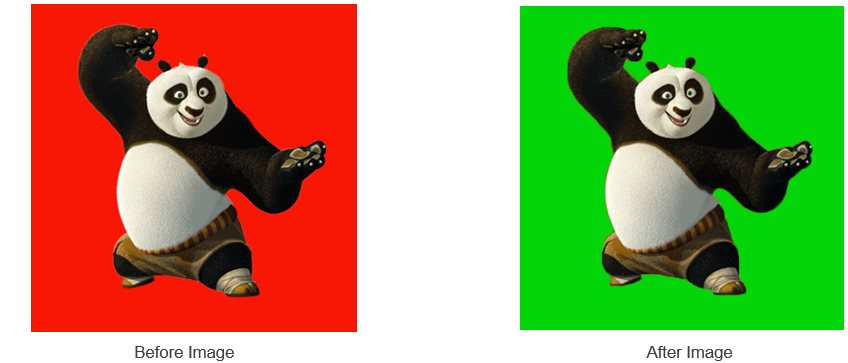
Quick Selection tool Example-2: Change background made of different color
Let’s start Photoshop application and open the document with below image.
As we can see, below image has dissimilar color tone in the background and it won’t be an easy task to make the selection of background using Quick selection. But it would be easy to select Panda in the picture. Since Panda has well defined edge (i.e. different contrast of Panda’s border with respect to background). It would help us to select the Panda.
Click on Quick Selection tool  in the tool bar.
Here Instead of selecting background, we will select Panda as discussed above.
Below is how the Selection looks like.
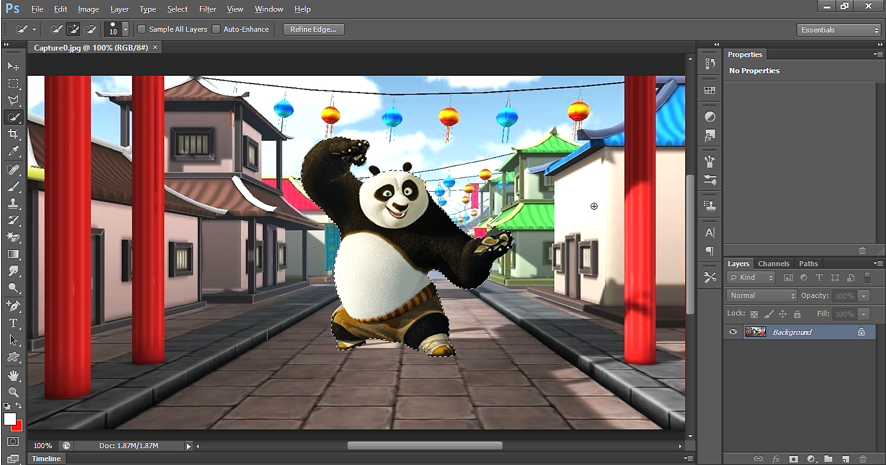
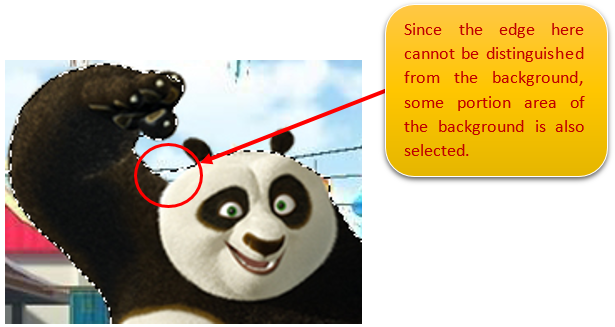
The Selection is still not perfect in below segment of the picture due to less difference in contrast along the edge.
If any unwanted area is selected due to poor contrast difference of edges, then we need to correct the selection. We can use ‘Subtract from selection’  tool to remove those unwanted areas.
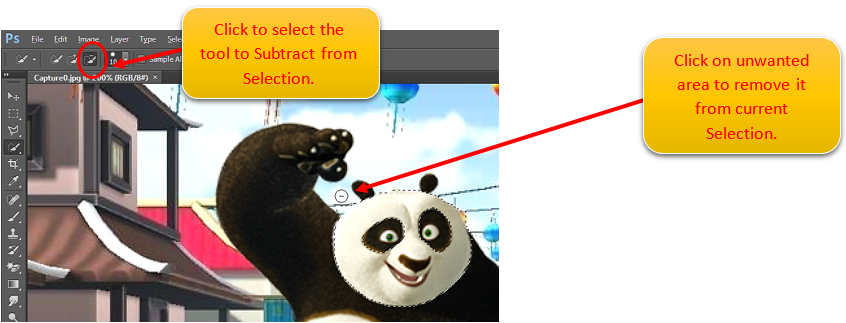
We can also use Alt key as a shortcut to decrease a selection from the current selection. Just hold the Alt Key and then click on unwanted selection.

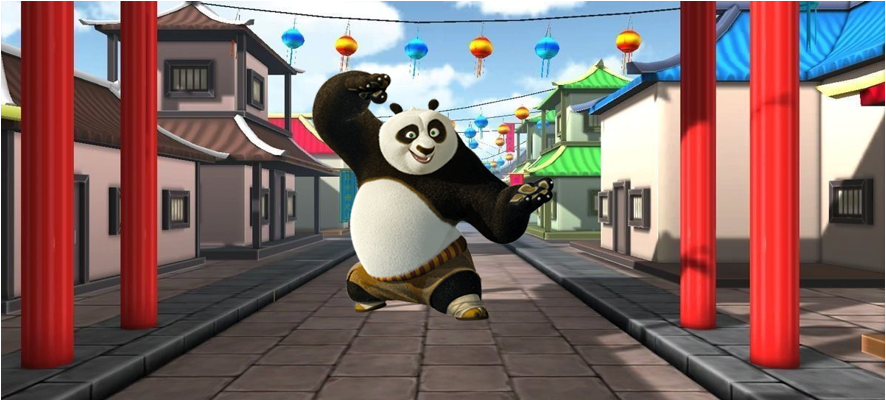
Let’s copy(Ctrl+c) the Selection (Panda) and paste it on a different background. To paste it on a different background, open the background in a new Photoshop tab (File -> Open). Just do Ctrl+v.
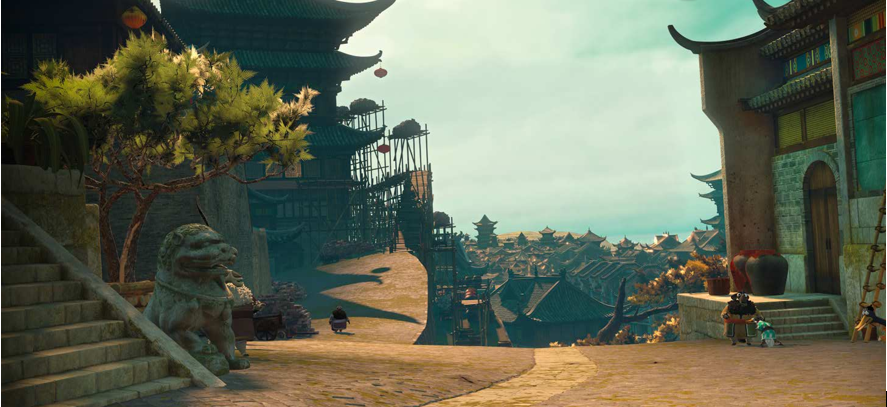
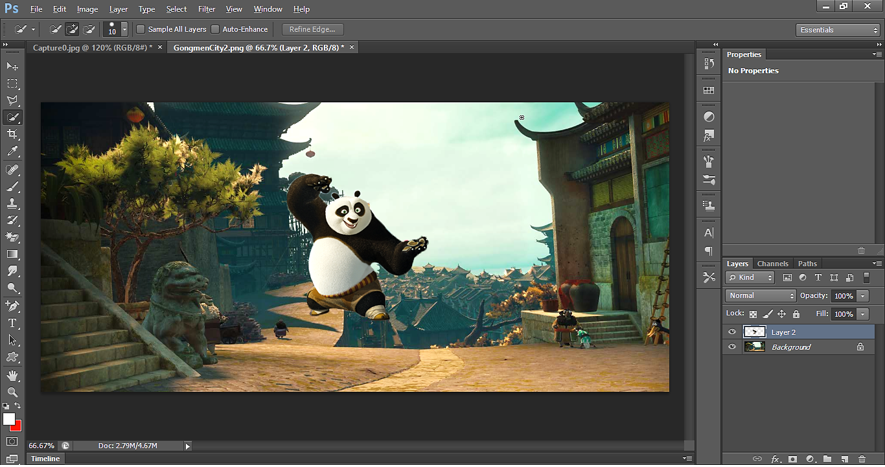
Drag Panda image to align it in the background and we get the image we require.
Output: Quick Selection tool to remove background.

*Summary: Use Quick selection tool, only in case there is good contrast difference along the edge to do the selection.
Magic Wand Tool in Photoshop
Magic Wand Tool  is also an image Selection tool. It selects pixels based on tone and color(Shade of color).
When we click on an area in the image with Magic Wand Tool, Photoshop looks at the tone and color around the area and select similar colored/toned area.
Magic Wand Tool Example-1
Let’s take an example. In below example, we will use Magic Wand Tool to change the background of image.
Open the Photoshop application with below image. Here Instead of selecting background, we will select Panda. Click on Magic Wand Tool  and click on Panda image.
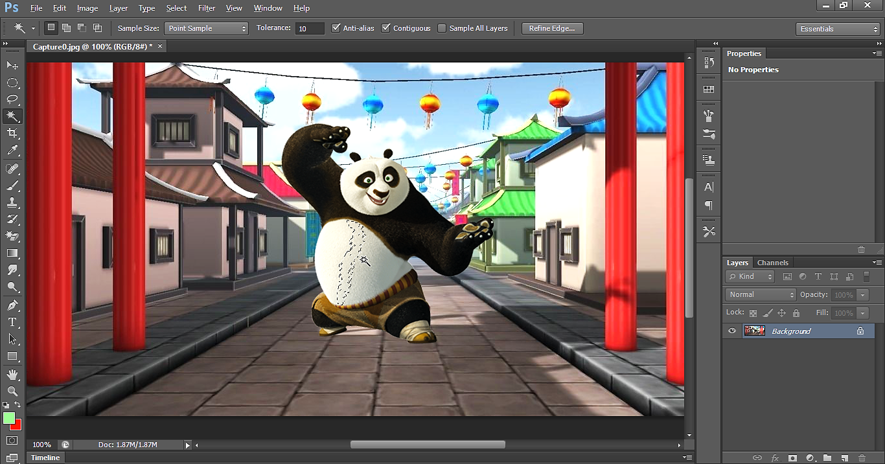
We can see that very less area is selected. The reason is that the area we clicked, is in the form of gradient (Shades of Grey) and we know that Magic wand tool can only select similar colored/toned area. Hence, very less area is selected as similar color tone. So, what is the solution for such cases?
The solution is to use the tolerance.
Tolerance
When we do Selection on image, Magic Wand Tool selects only same colored/toned area. But if we want to select the nearby area with different shades of color then we can do it with the help of Tolerance.
***Note: If we change the Tolerance to 255, the we can select all the colors/shades. 255 is the maximum limit for the shades.
We can adjust tolerance in option bar of Magic wand tool. Set the tolerance to 15 as shown below:

With tolerance=15, use magic wand tool and click on the area to select.
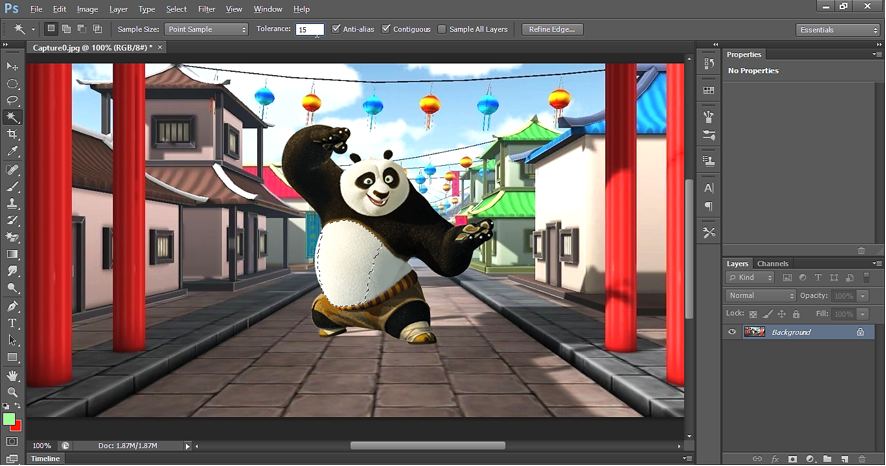
As we can see that tolerance=15 and doesn’t solve the problem. Let’s increase the tolerance a little bit more. Set it to 25.
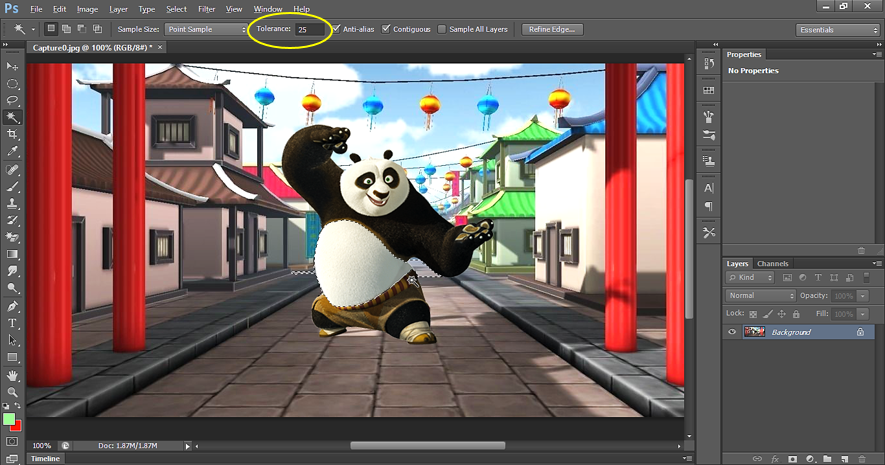
We can see below that some unwanted area from the background is also selected.
If somehow, some outside pixels are selected, then we can remove it from current Selection by pressing & holding ‘Alt’ Key and then clicking in unwanted area.
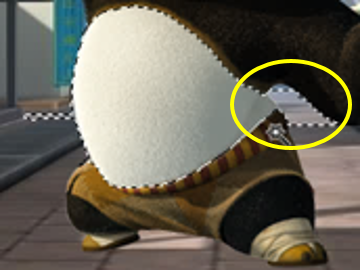
When we the tool with Alt key, ‘-‘ sign appears with the Tool. See below:
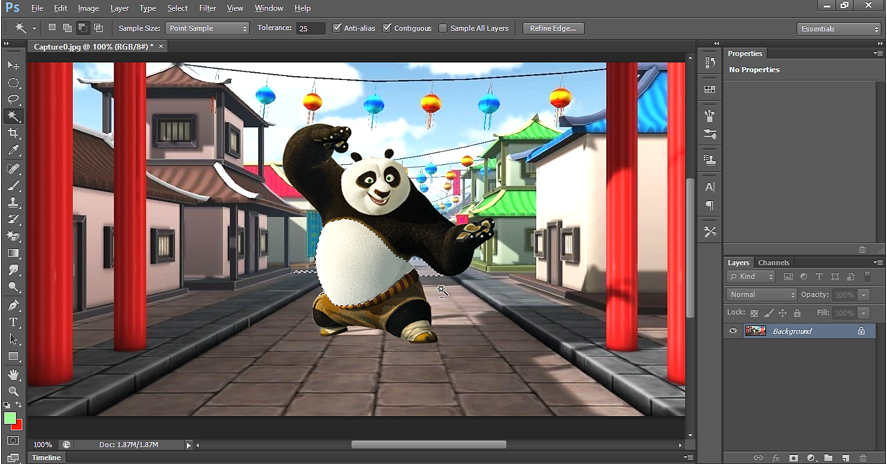
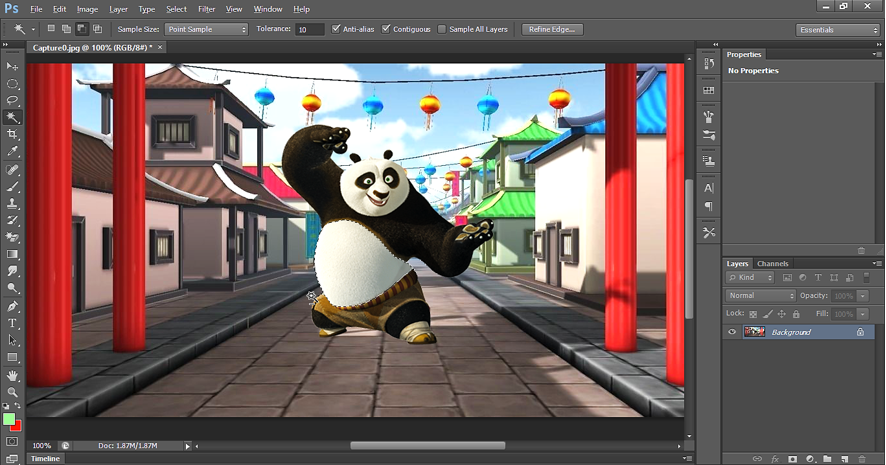
Finally, we have below Selection.
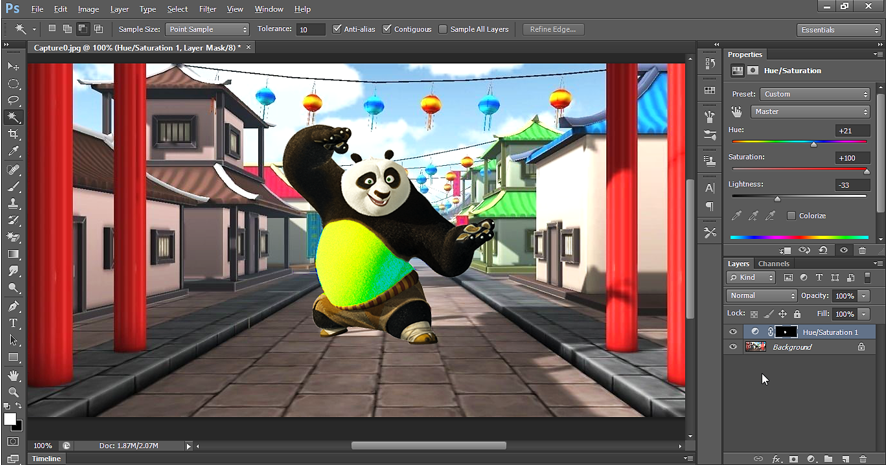
Now select Hue/Saturation and set it as below:
Magic Wand Tool Example-2 : Remove single colored background
Let’s start Photoshop application and open the document with below image. As we can see, below image has same color tone in the background.

Now click on Magic Wand tool  in the tool bar. Using Magic wand tool, it is very easy to make the selection. Just a single click and it select the whole background at once.
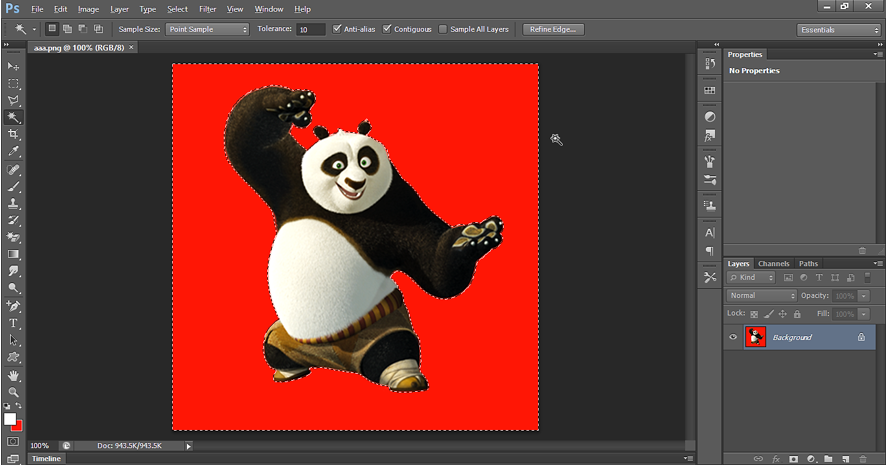
Click on Rectangular marquee tool  and right click on the picture to Fill the Color as shown below:
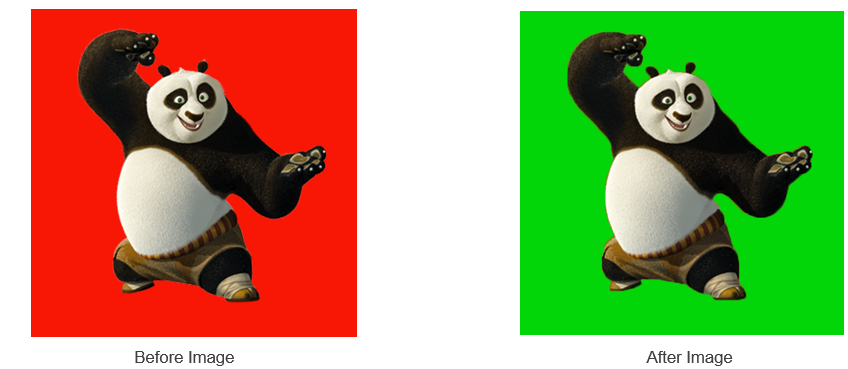
Output: Magic wand tool to remove background
Magic Wand Tool Example-3 : Remove shades of color in background
If the image has a shades of color in the background, then we can use tolerance to cover more area. The place we click, is picked as a base color and the shades with respect to that color is picked for selection based on Tolerance value. We can enter tolerance from 0 to 255.
Let's open below image in Photoshop application.

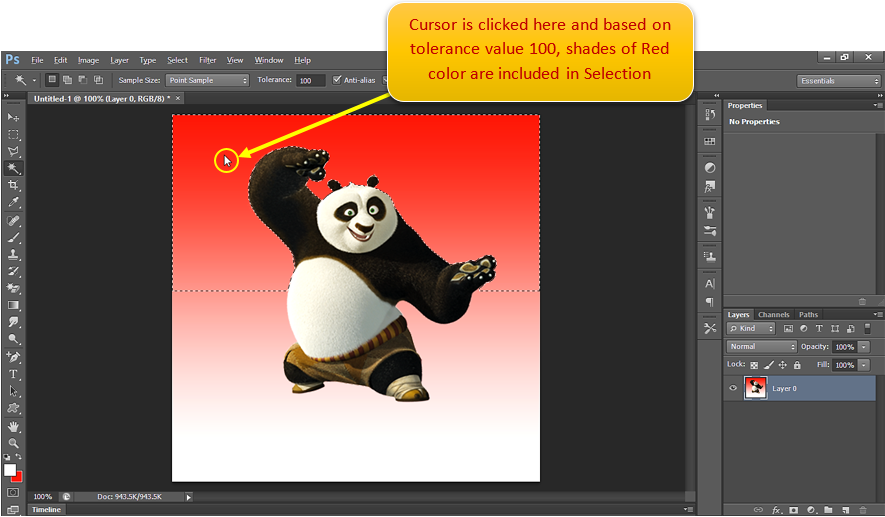
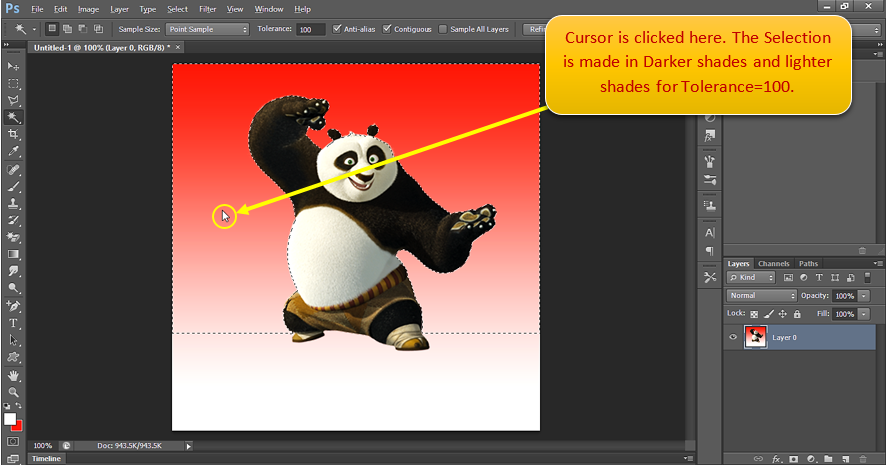
Now to select the rest of the background, click on ‘Add to Selection’ icon  in Option bar. Now whatever Selection we do, is added to previous Selection.
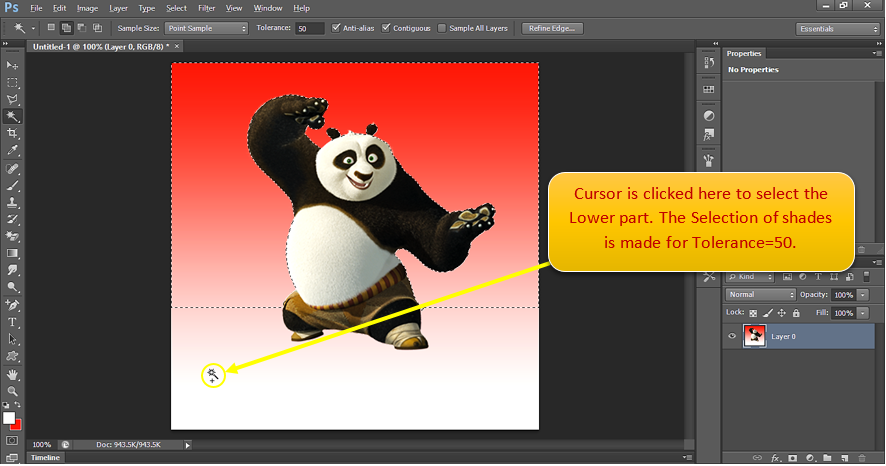
Let’s set the Tolerance to 50 and click on the lower part of the background. It will make selection of lower part and will be added to upper selection already made and we will have the final selection equal to whole background.
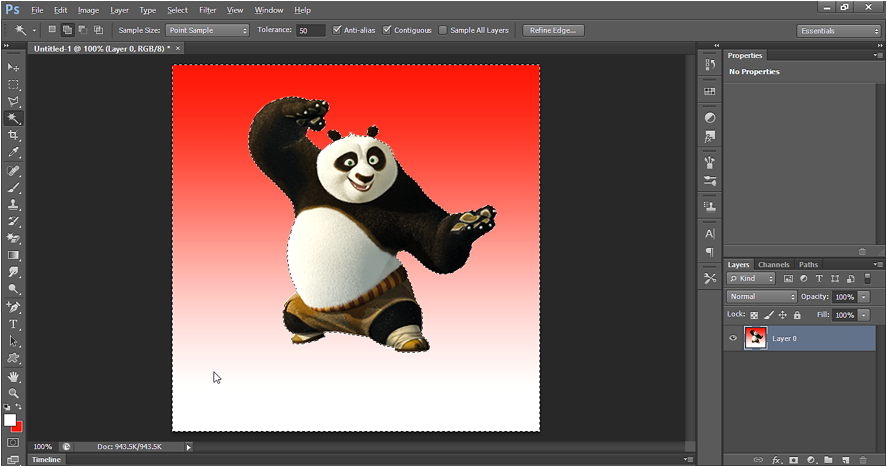
Below is final Selection.
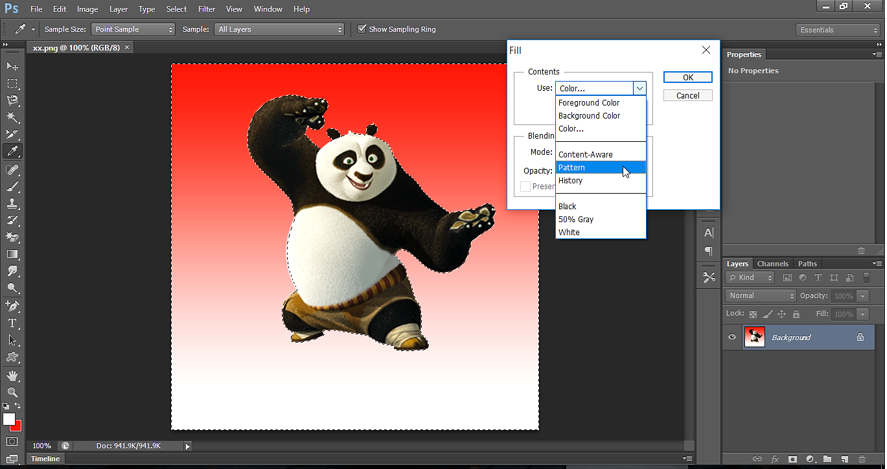
Click on Rectangular marquee tool  and right click on the picture to Fill the Color as shown below:
Output: Quick Selection tool to remove background of different shades of a color
