Satin in Photoshop
Satin in Photoshop is one of the Layer style attribute. Satin is used to provide smooth/glossy surface/metallic look to the text.
Satin Example in Photoshop
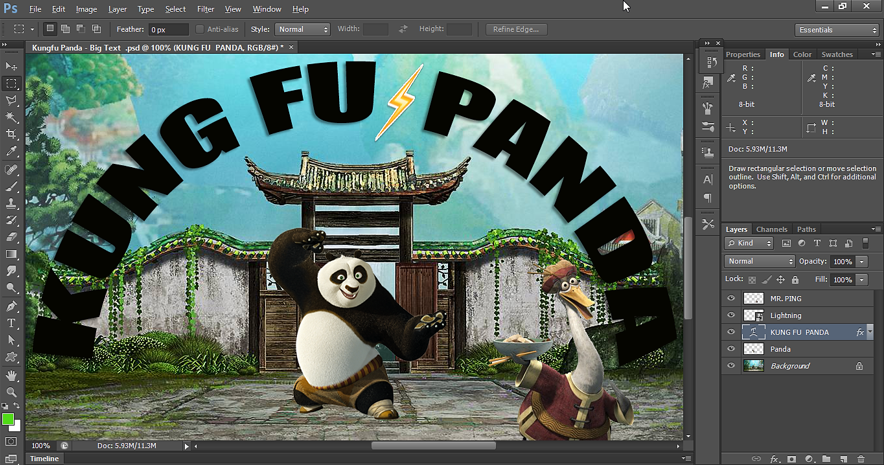
Let’s open the photoshop file with Text Layer as shown below. We will apply the Satin on Text layer and will see the effect of Satin on Text layer.
To apply Satin, right click on the text layer and select Blending Options. Then select Satin in the Layer Style window as shown below.
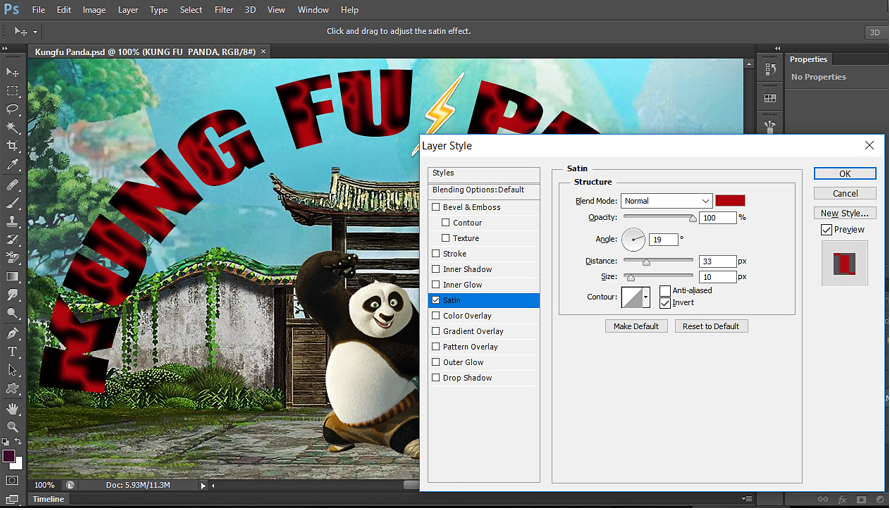
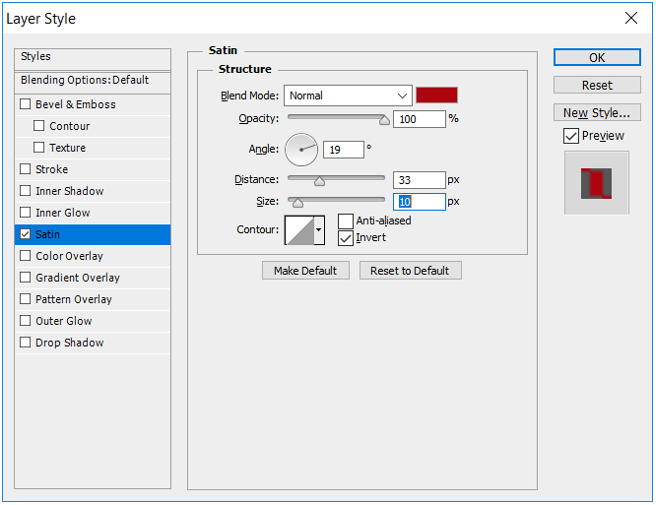
Below settings have been applied:
Below is the Output of above Satin effect:

Contour:
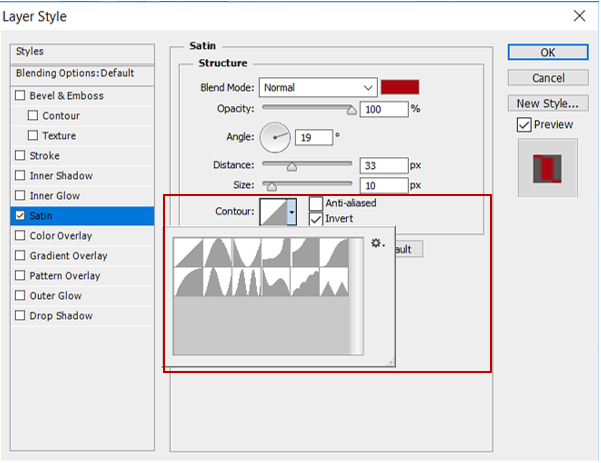
Contour tells us how will be the outline of Satin applied. The Satin effect outline can further be changed with the use of property Contour.
Below are different Contour available to Satin:
Let’s see the effect of selecting different Contour. By default, 1st one is selected and is the basic contour. We have already seen this above.
Contour example-1:
Let’s select the Contour as shown below.
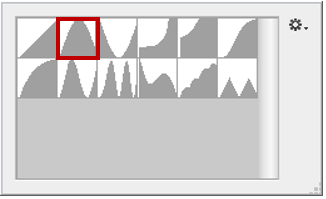
Below is the output for above Contour.

Contour example-2:
Let’s select the Contour as shown below.
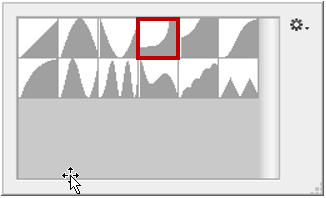
Below is the output for above Contour.

Contour example-3:
Let’s select the Contour as shown below.
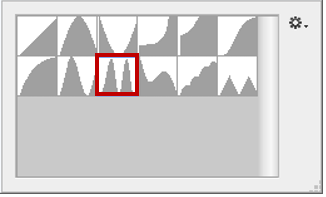
Below is the output for above Contour.
