Crop Tool in Photoshop
Crop tool in Photoshop is used to remove the unwanted pixels image from outside of an image.
In adobe Photoshop, we have various options to crop the image. Go to Toolbar and click on  icon on the left. Under Crop option, you have 4 tool options:
(a) Crop Tool (b) perspective Crop tool (c) Slice tool (d) Slice Select tool
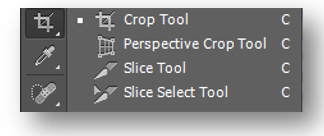
(a) Crop Tool
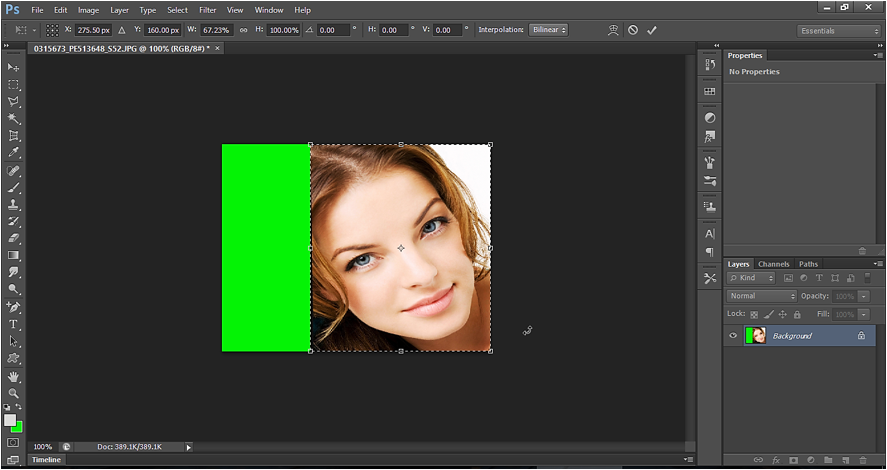
By default, standard crop tool is selected. Standard Crop Tool is used to crop the image to reduce length, width. Also, we can rotate the image to give the image proper orientation while cropping.
Example of Crop tool:
Let’s open below image in Photoshop:
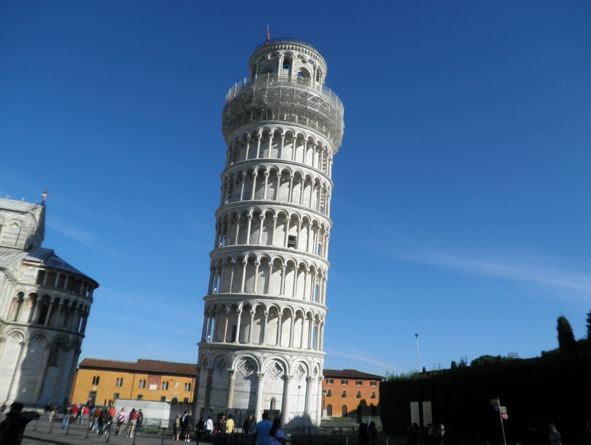
Here we will use Crop tool to rotate the image to make the Pisa tower vertical and will cut some of the image pixel at bottom and left area.
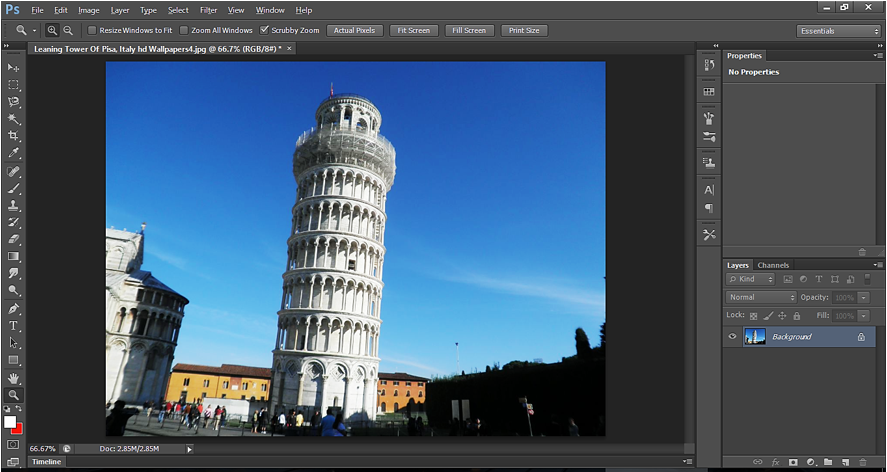
Just select the Crop tool and we are presented with below crop control. Drag the crop control on border area to change the size. At the corner, we can the control to rotate the image.
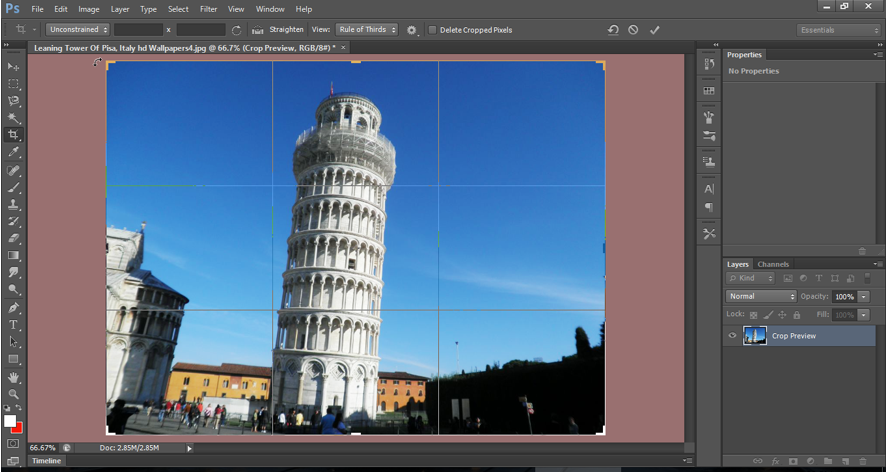
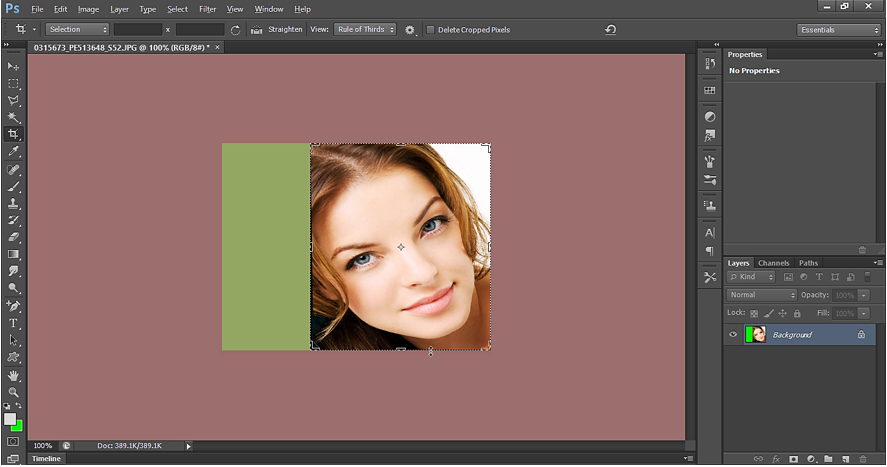
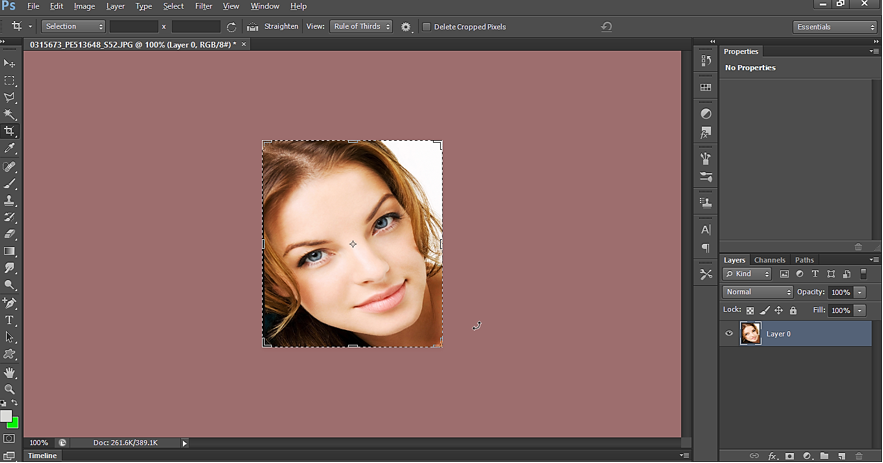
Let’s rotate the image to make the Pisa vertical as shown below:
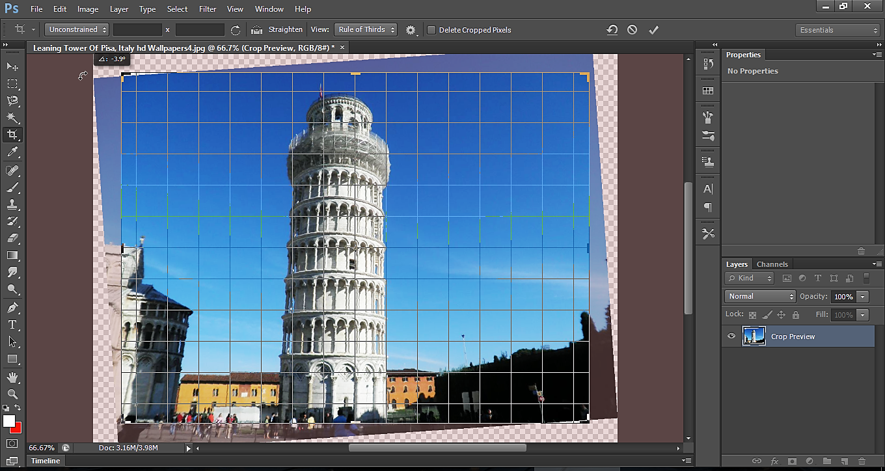
Once the rotation is done press Enter (Windows) or Return (Mac OS) to accept the changes. Below is what we get. Select Rectangular marquee tool to come out of crop tool.
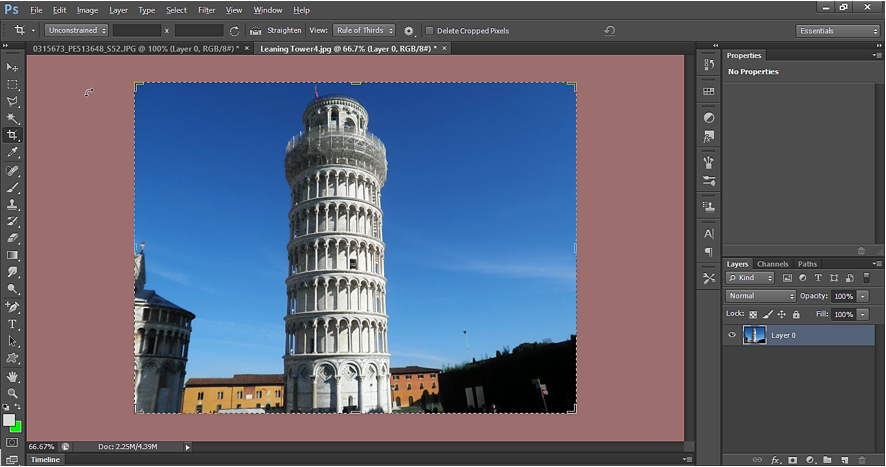
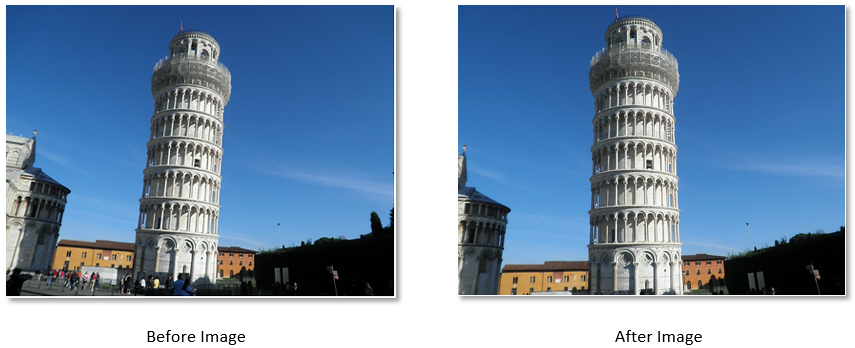
Crop Tool Output
(b) Perspective Crop tool
Perspective Crop tool in Photoshop is used straighten photos. We can change the Perspective of an image using Perspective Crop tool  .
.
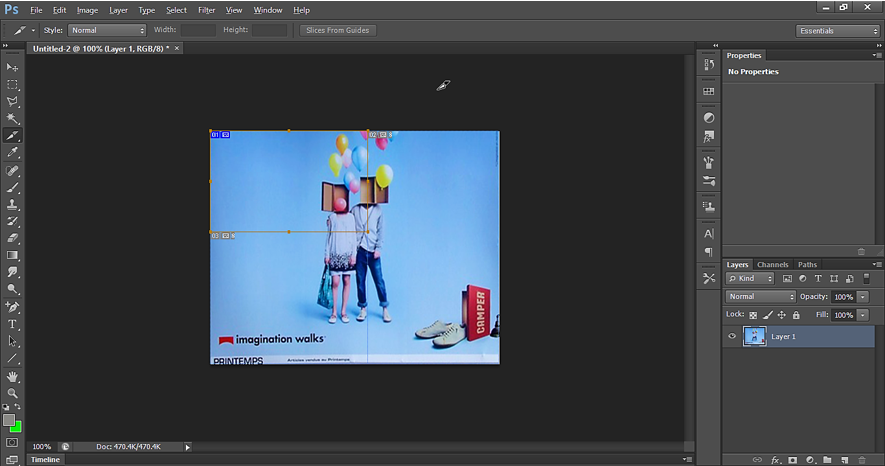
Let’s open below image in Photoshop application. As we can see, below image has different Perspective, to straighten the image we must change its Perspective.

First place the cursor at top-left corner of photo and drag it towards another corner.

Once you reach another end, it will be as shown below:

Now drag the cursor to 3rd corner as shown below.
Finally drag the cursor to 4th corner.

Press Enter (Windows) or Return (Mac OS), when the selection is complete by Perspective tool. If the image is not perfect, then use the standard crop tool to adjust height & width.
Use crop tool now and delete the unwanted area.
Press Enter (Windows) or Return (Mac OS) for 2 times and below is what we get:
Perspective Crop tool Output

(c) Slice tool
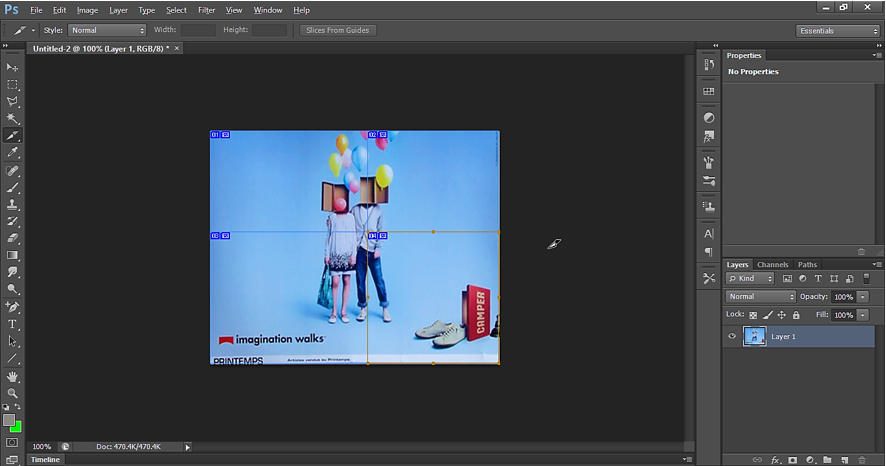
Slice tool in Photoshop is used to slice a large image into smaller sections. Normally we do this kind of work, when we have large images like big hoarding/banner/billboard. These images cannot be printed all at once. We must print the image in sliced segments. After printed each sliced segment, it is pasted on hoarding to give the view of full image.
There are two sub-tools for Slice tool:
(1) Slice (which creates the slices)
(2) Slice Select (which enables us modify the existing slices).

Now slice the image using the slice tool into 4 segments. Make the 1st slice on the top-left as shown below.
Make rest of the slices as shown below:
Now go to File -> Save for Web

Once we save it, we get 4 images in “Image Folder” on the save location.
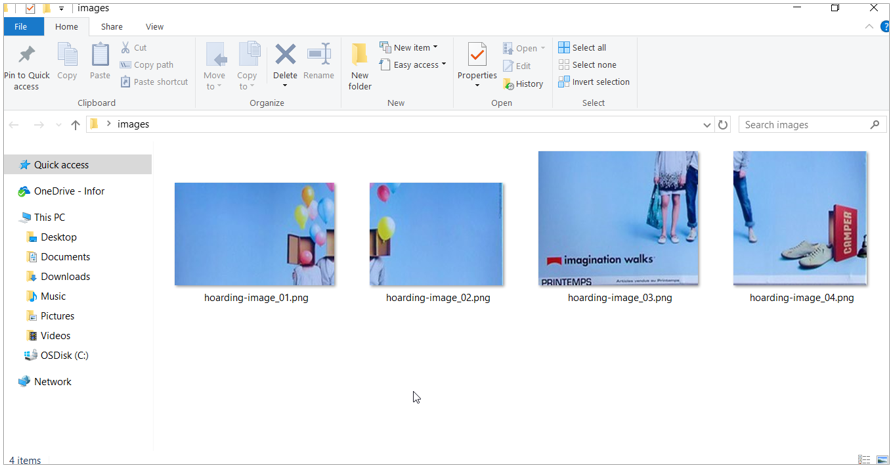
Now we can print each image and can paste on the hoarding separately to give the final image on the hoarding.