Bevel & Emboss in Photoshop
Bevel & Emboss in Photoshop is one of the Layer style attribute. It gives bumpy look to the text.
e.g.
In below pic, we can see how the Text “KUNG FU PANDA” has got a bumpy look on the background. Bevel & Emboss is used in Photoshop to get such kind of Text effect.

To set Bevel & Emboss, right click on the Text layer and select Blending Options. It opens the Layer Style window. Now select Bevel & Emboss.
There are various parameters that we can set in Bevel & Emboss panel to give the Text a bumpy look. See below the options available for Bevel & Emboss:
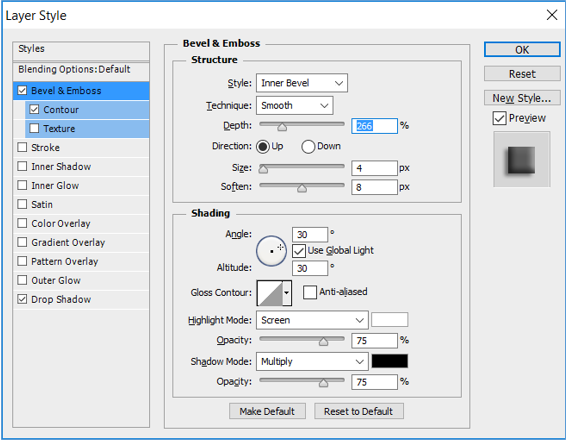
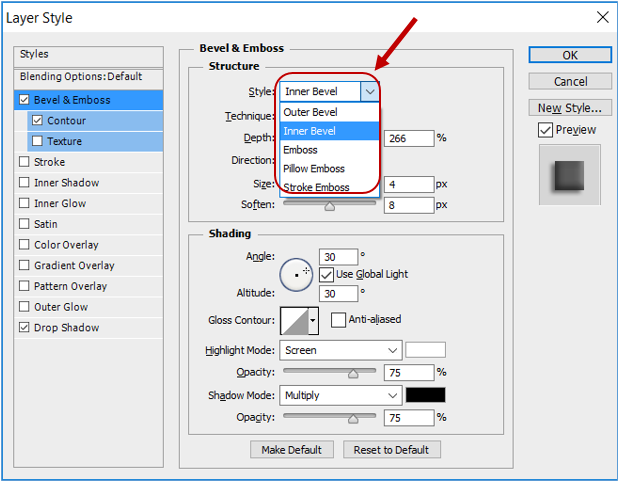
Bevel & Emboss has different methods of Embossing the Text. e.g. Inner Bevel, Pillow Emboss etc.
In this example, we use Inner Bevel. You can experiment with different Bevel/Emboss here.
Using Bevel & Emboss with Drop shadow gives the Text more embossed look. Above, we have given a little bit of shadow by clicking on Drop Shadow.
Based on above Bevel & Emboss settings, we get the output shown below:
Output: Bevel & Emboss in Photoshop

Contour:
Contour tell us about the outline/curves of embossed surface. The embossed surface can further be modified by using the property Contour.
To understand Contour, let’s apply the Bevel & Emboss on Text layer as shown below:
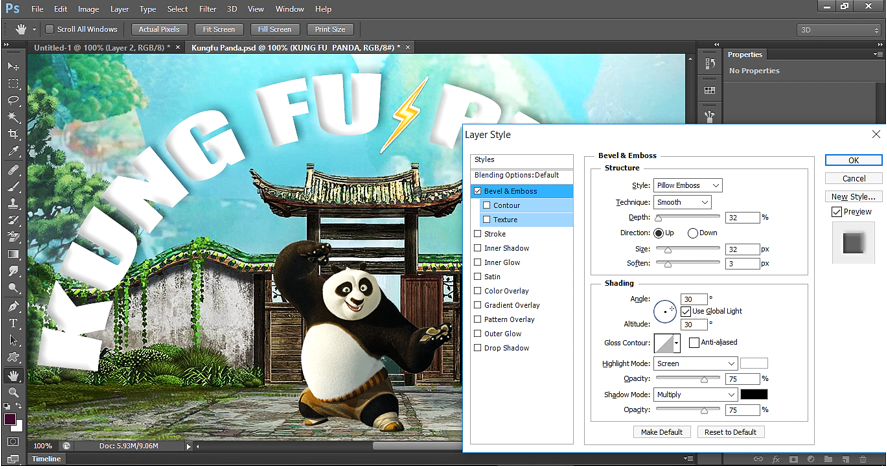
Then click on Contour to give a different look to the embossed surface of text.
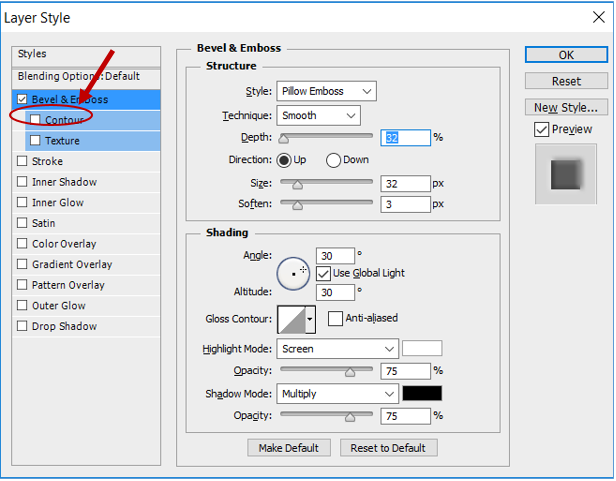
Clicking Contour opens a Contour panel on the Right as shown below:
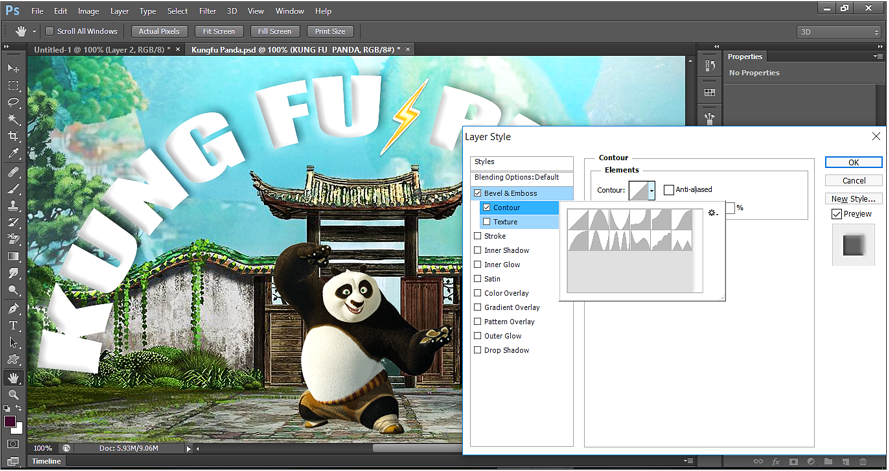
Now let’s see the effect of applying different Contour.
Contour example-1:
By default, 1st one is selected in the Contour list. This is the basic Contour.
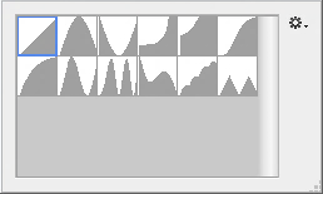
Below is the output for above Contour.

Contour example-2:
Let’s select the Contour as shown below.
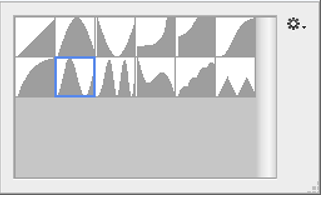
Below is the output for above Contour.

Contour example-3:
Let’s select the Contour as shown below.
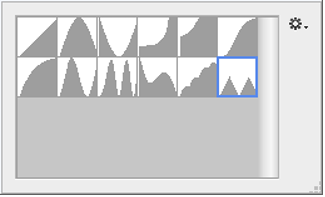
Below is the output for above Contour.

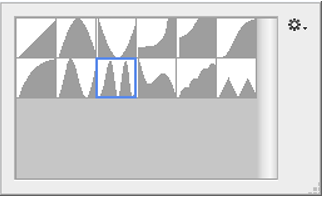
Contour example-4:
Let’s select the Contour as shown below.
Below is the output for above Contour.
